Application
Application provides container and hypervisor app management, including Overview, App Store, Template management, and Docker image import.
Overview
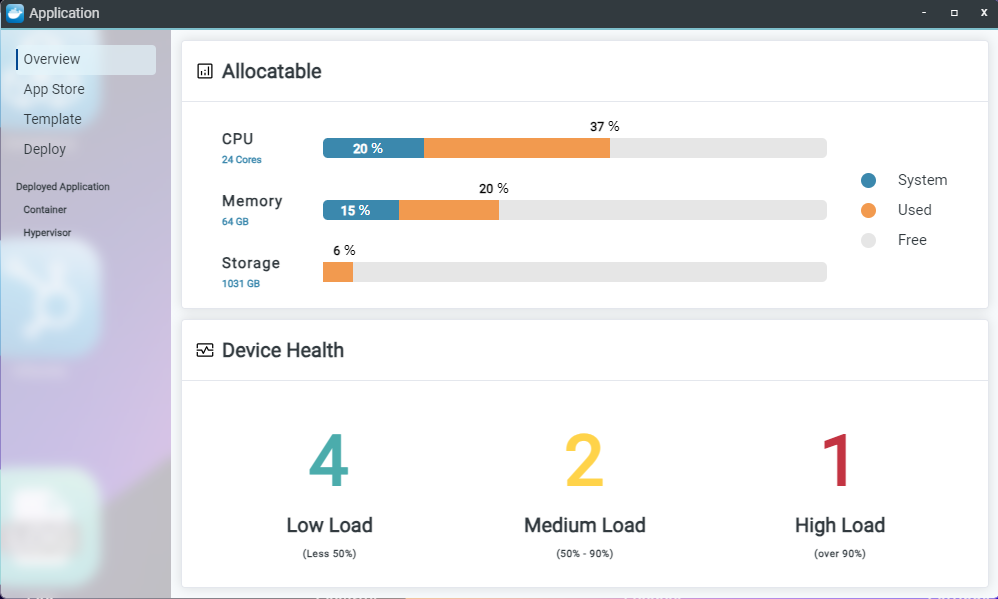
The Overview page displays allocatable CPU, memory, and storage, as well as device load status.
App Store
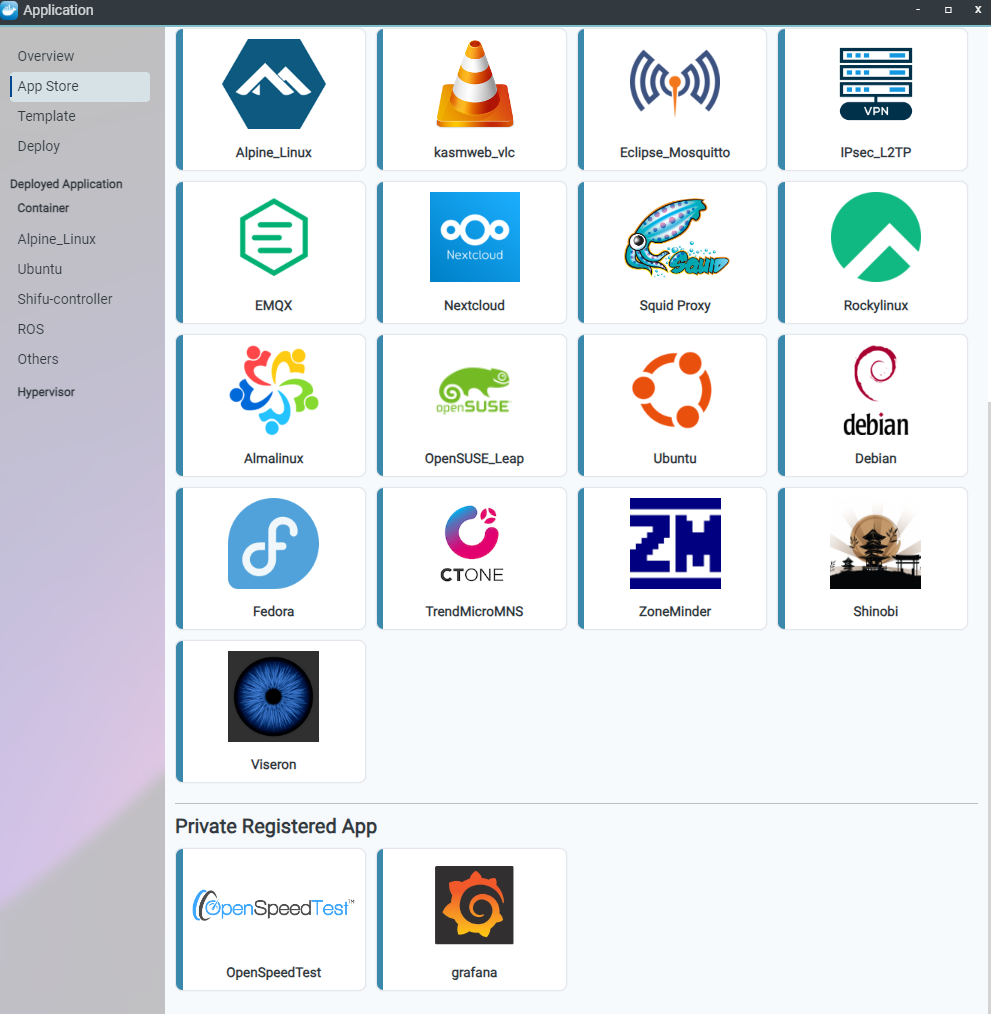
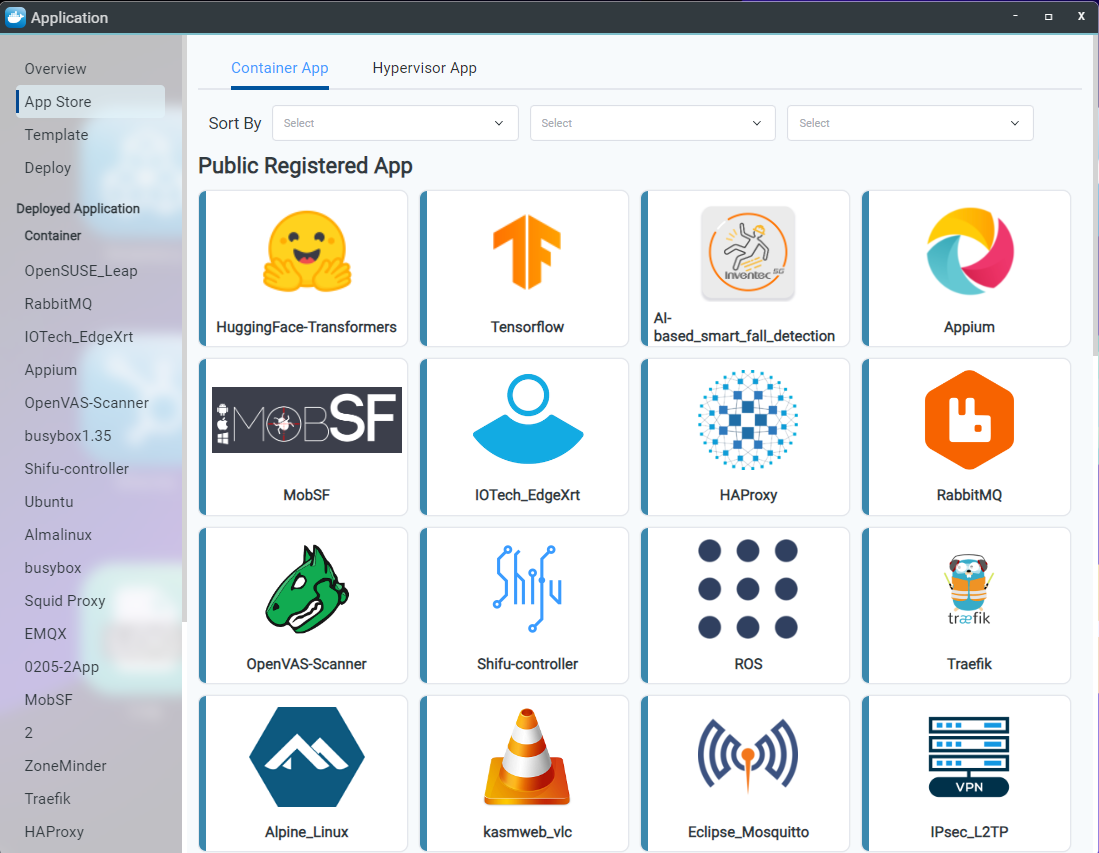
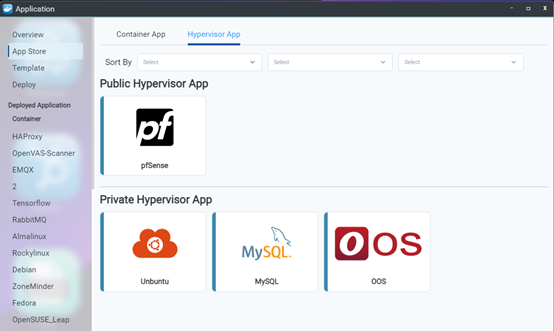
The App Store displays both public and private Apps for containers and hypervisors. OOS Controller provides a range of registered apps from third-party application vendors or Docker Hub. Users can also create their own Apps from the Template page to add them to Private Registered Apps.
Container App
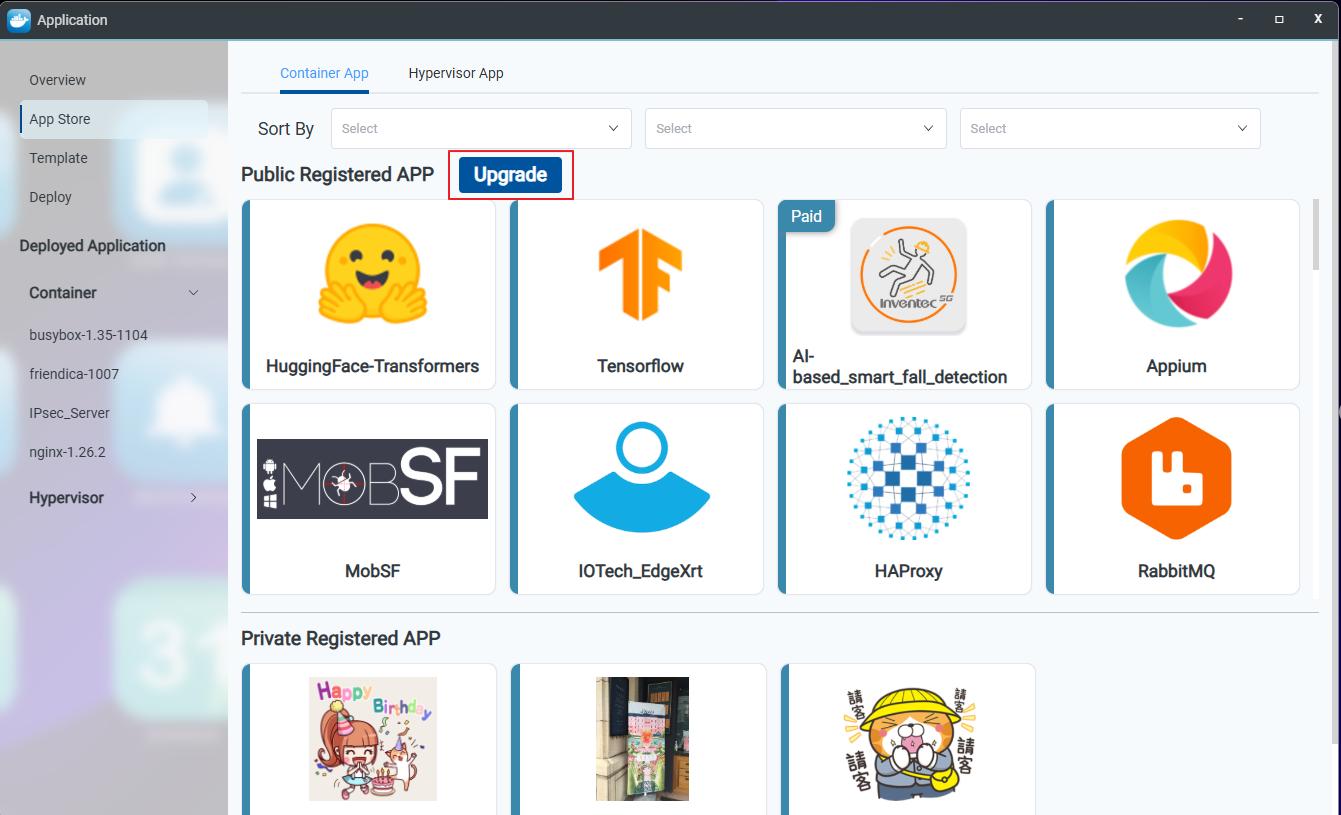
Only administrators can see the Upgrade button on the Application > APP page. If a container app has an available update, clicking the Upgrade button synchronizes the update.
Additionally, update activity can be reviewed on the OOS Controller under Settings > Activity. This page displays which apps have been updated and is accessible only to administrators.
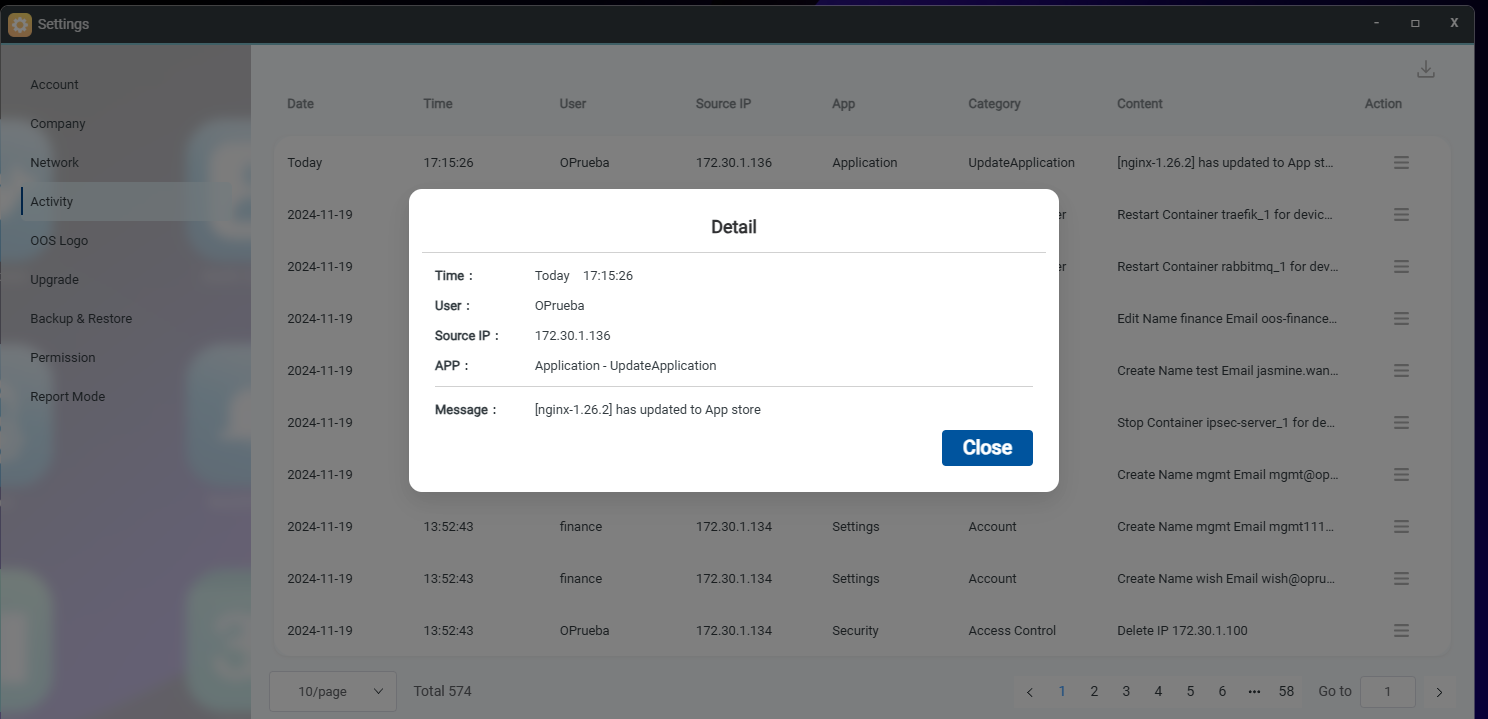
Hypervisor App
Template
The Template page allows users to create and manage container and hypervisor templates.
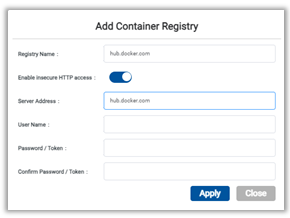
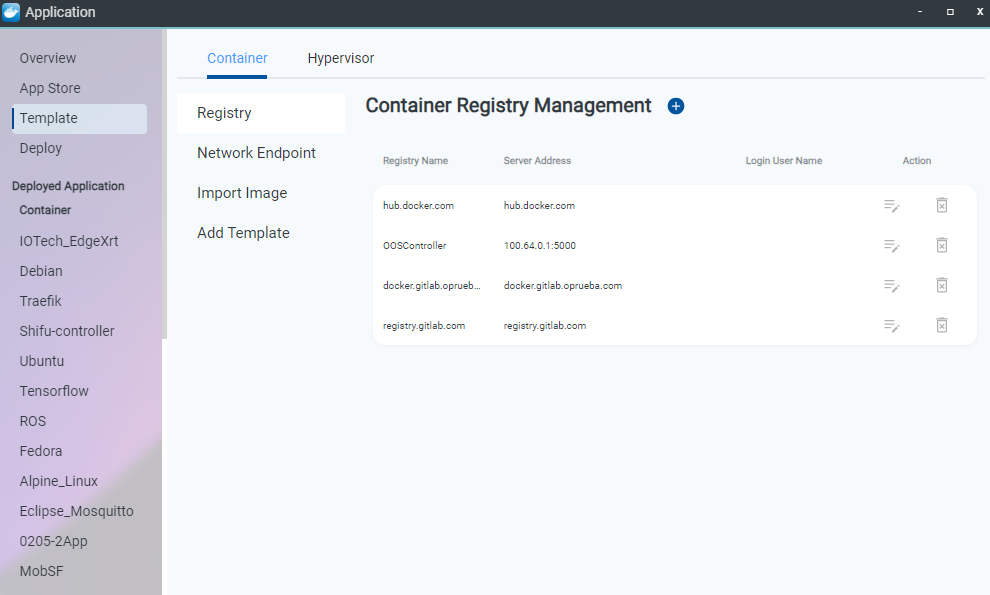
1. Manage Container Registry
- Step 1: Go to Application > Template > Container > Registry.
- Step 2: Click the add button
 and modify parameters in the "Add Container Registry" dialog box.
 - Step 3: Click the Apply button and verify the result in the registry list.
2. Manage Container Network Endpoint
- Step 1: Go to Application > Template > Container > Network Endpoint.
- Step 2: Click the add button and modify parameters in the "Add Network Endpoint" dialog box.
- Step 3: Click the Apply button and verify the result in the network endpoint list.
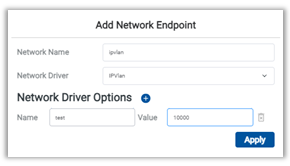
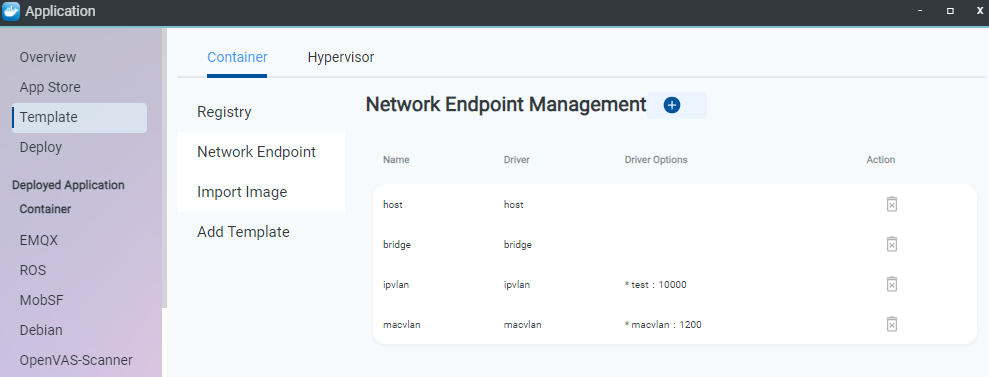
3. Import Container Image
Users can import images to the OOS Controller via Docker commands or file upload.
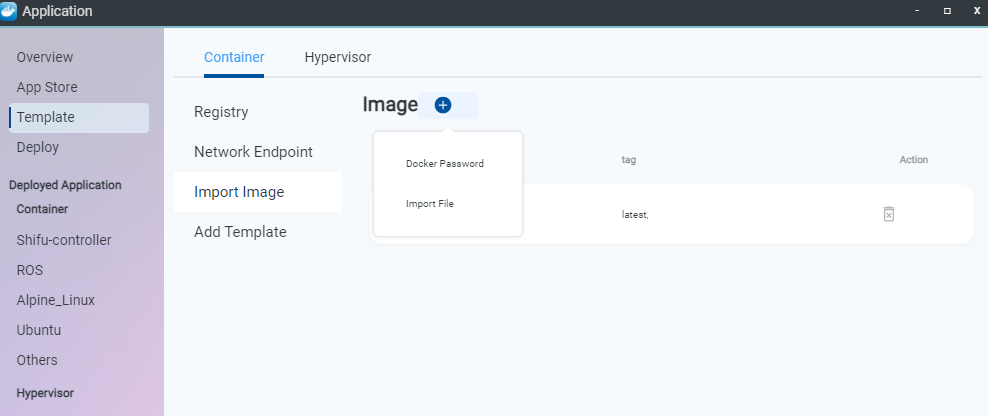
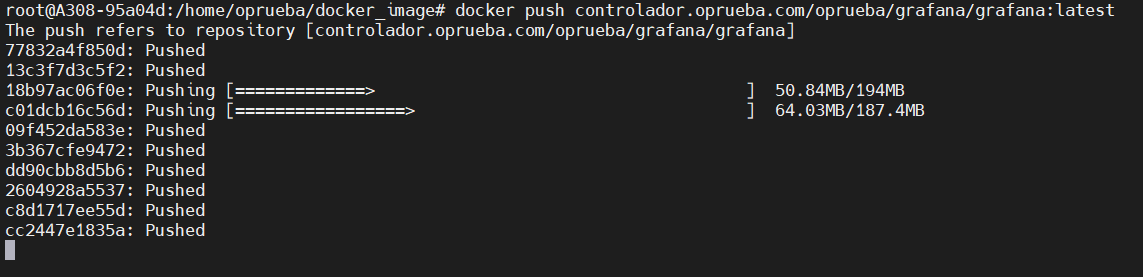
4. Push Container Image Using Docker Command
- Step 1: Go to Application > Template > Container > Import Image.
- Step 2: Click and select "Docker Password". Verify the Docker account and password. Prepare to use the Docker command in your terminal to push containers to the OOS Controller.
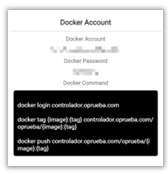
- Step 3: Use the command
docker login controller.domainto log in to the OOS Controller.

- Step 4: Use the command
docker tag {image}:{tag} controller.domain/company/{image}:{tag}to tag the image.

- Step 5: Use the command
docker push controller.domain/company/{image}:{tag}to push the container to the OOS Controller.
5. Upload Container Image Using "Import File"
- Step 1: Go to Application > Template > Container > Import Image.
- Step 2: Click the button and select "Import file".
- Step 3: Upload the image file and specify the Image Name and Tag.
- Step 4: Click the Upload button and verify the result in the image list.
6. Add Container Template
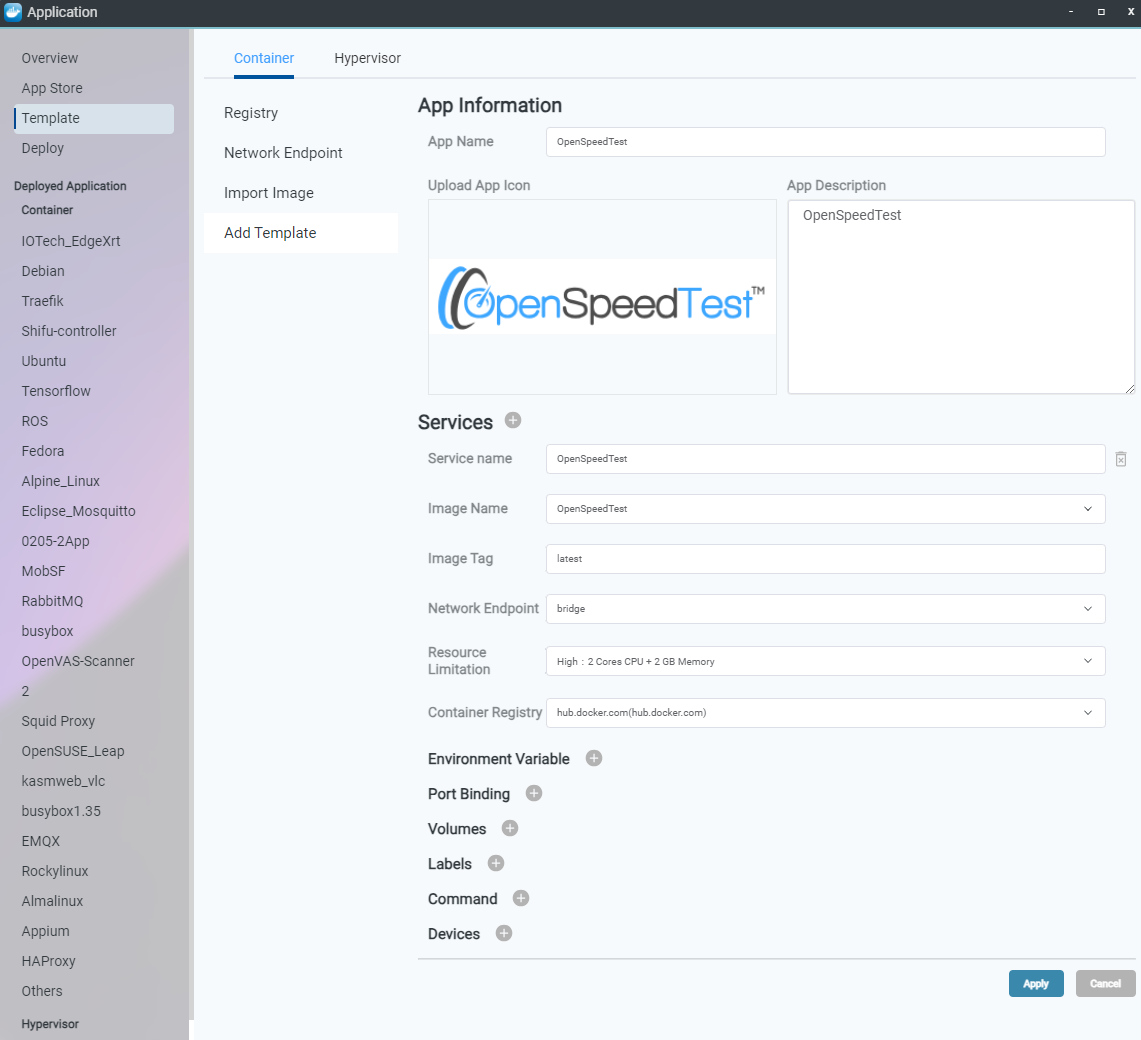
Users can add container templates from open-source registries. Below is an example using openspeedtest from hub.docker.com:
- Step 1: Go to Application > Template > Container > Add Template.
- Step 2: Type the App Name and Description.
- Step 3: Upload the App icon.
- Step 4: Enter Image Name as
openspeedtest. - Step 5: Enter Image Tag as
latest. - Step 6: Select Network Endpoint as
bridge. - Step 7: Select Resource Limitation as
High: 2 Cores CPU + 2 GB Memory. - Step 8: Select Container Registry as
hub.docker.com. - Step 9: Click the Apply button.
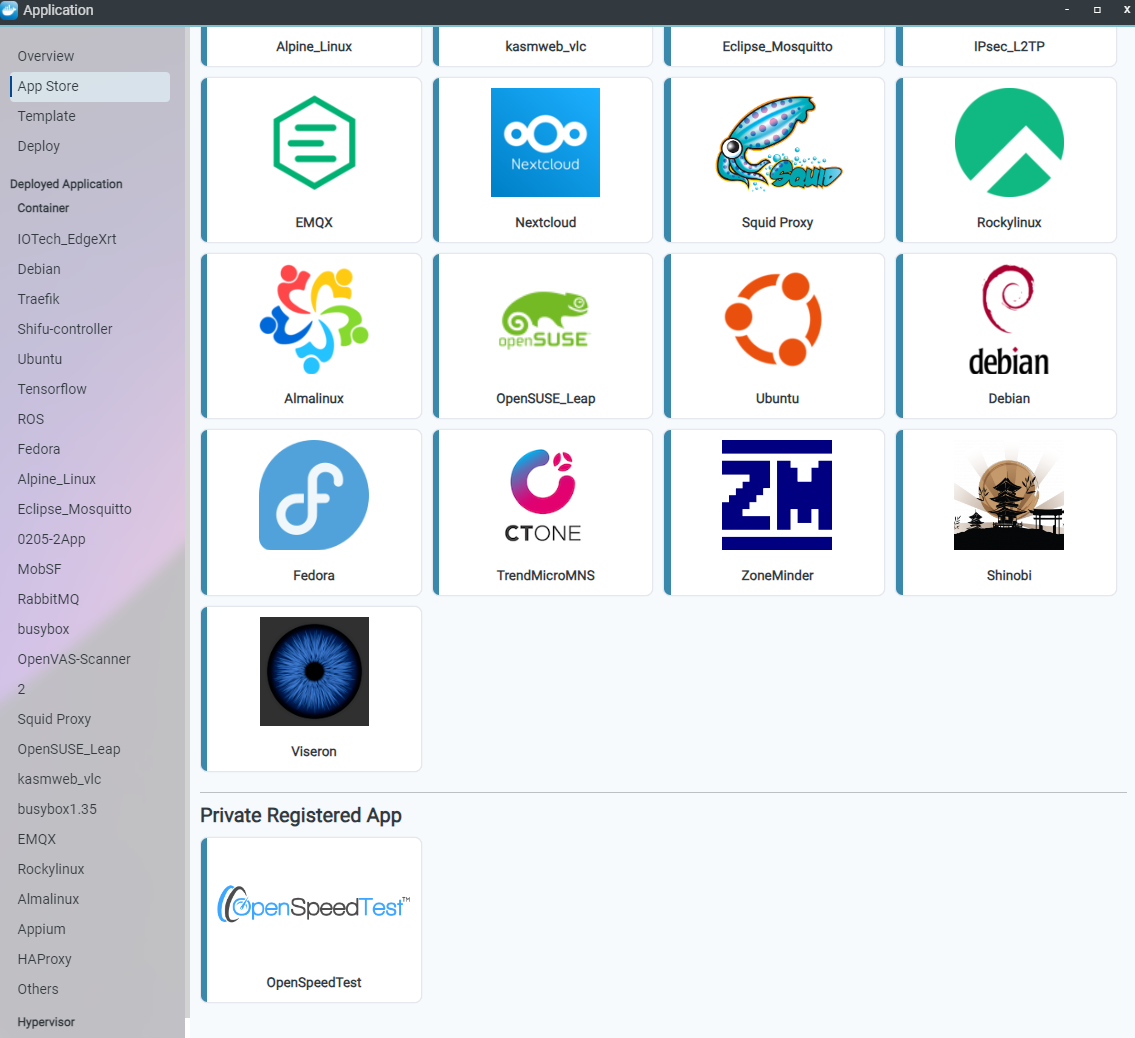
The application will be displayed in App Store > Container App > Private Registered App.
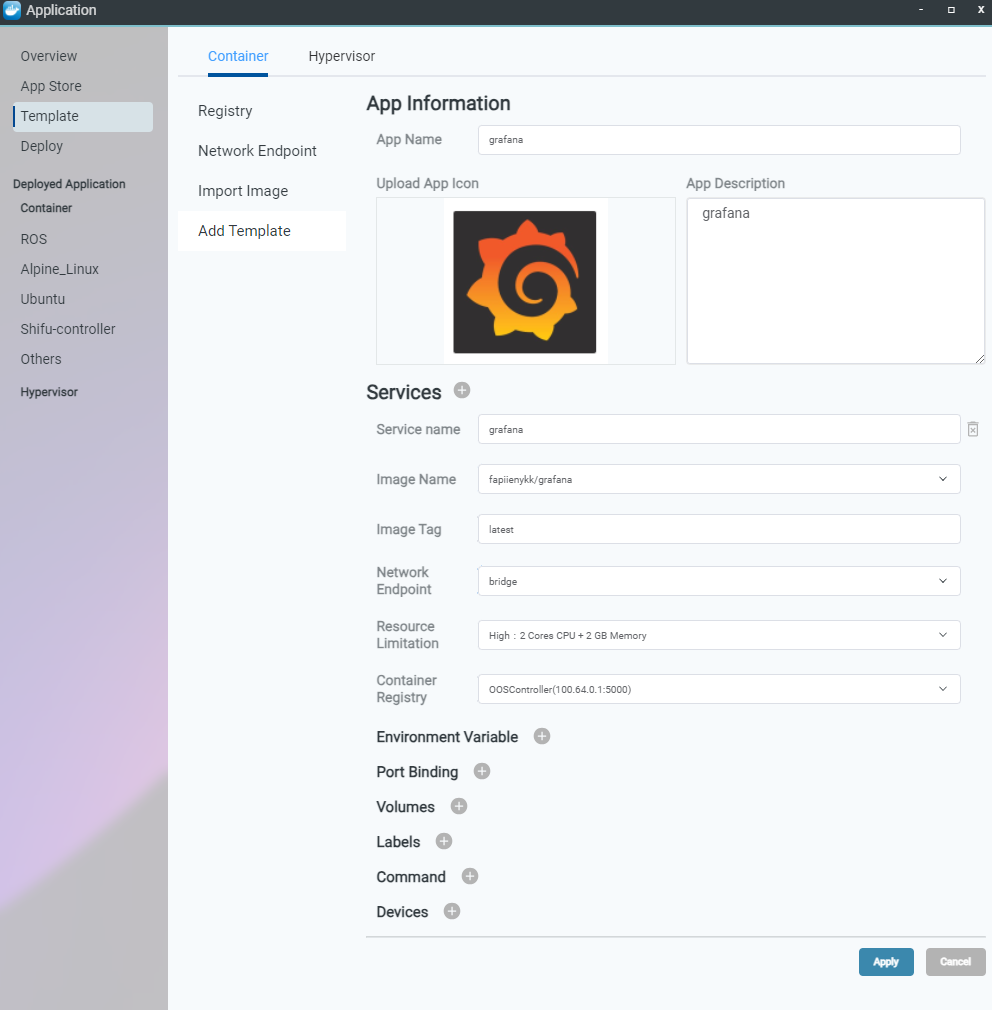
Users can also add container templates from imported images. The following example demonstrates setting up Grafana on OOS Controller:
- Step 1: Go to Application > Template > Container > Add Template.
- Step 2: Set App Name, App Description, and Service Name to
grafana. - Step 3: Upload the App icon.
- Step 4: Select Image Name as
fapiienykk/grafana. - Step 5: Enter Image Tag as
latest. - Step 6: Select Network Endpoint as
bridge. - Step 7: Select Resource Limitation as
High: 2 Cores CPU + 2 GB Memory. - Step 8: When selecting an imported/local image, Container Registry automatically sets to OOS Controller.
- Step 9: Click the Apply button.
The application will be displayed in App Store > Container App > Private Registered App.