General
OOS General Settings manual, covering Host configuration, TimeZone, Backup & Restore, System Upgrade, and Developer Mode.
The General settings page includes device host information, geolocation settings, OOS Controller connectivity, time synchronization, backup and restore, system upgrade, and developer mode.
1. Host Settings
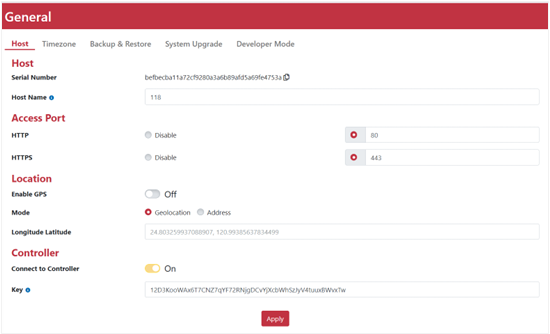
Host settings include device naming, local access ports, GPS positioning, and OOS Controller connection settings.
| Parameter | Description |
|---|---|
| Host Name | Sets the device name, which is displayed on the login page. |
| Local Access Configuration | Default HTTP port is 80 and HTTPS port is 443. These can be adjusted manually here. |
| GPS | Enables GPS to automatically retrieve location data (indoor reception may be limited). |
| Geolocation | Manually enter the GPS latitude and longitude coordinates. |
| Address | Enter approximate address details. For precise locations, use the Geolocation coordinates. |
| OOS Controller | OOS Controller is a network management system supporting Zero Touch Provisioning (ZTP) to manage OOS devices. |
| Connect to OOS Controller | Enter the OOS Controller key if unmanaged. Once adopted, a toggle switch allows leaving Controller management. |
2. TimeZone
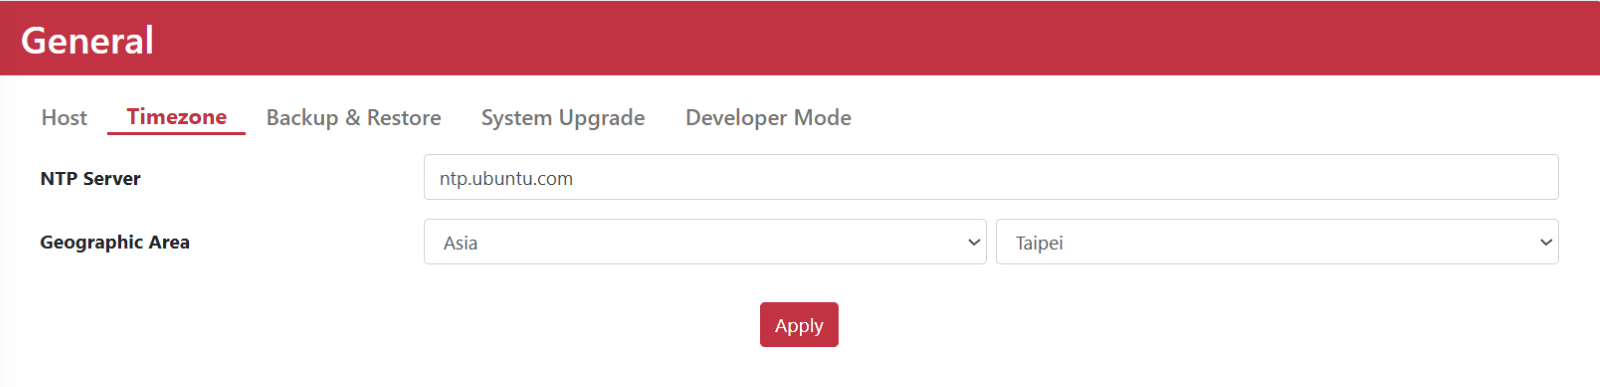
TimeZone settings configure NTP servers and geographic regions to ensure precise system time.
| Parameter | Description |
|---|---|
| NTP Server | Specifies the NTP server for time synchronization (default: ntp.ubuntu.com). |
| Geographic Area | Select the region and city from the drop-down menu to set the correct time zone. |
3. Backup & Restore
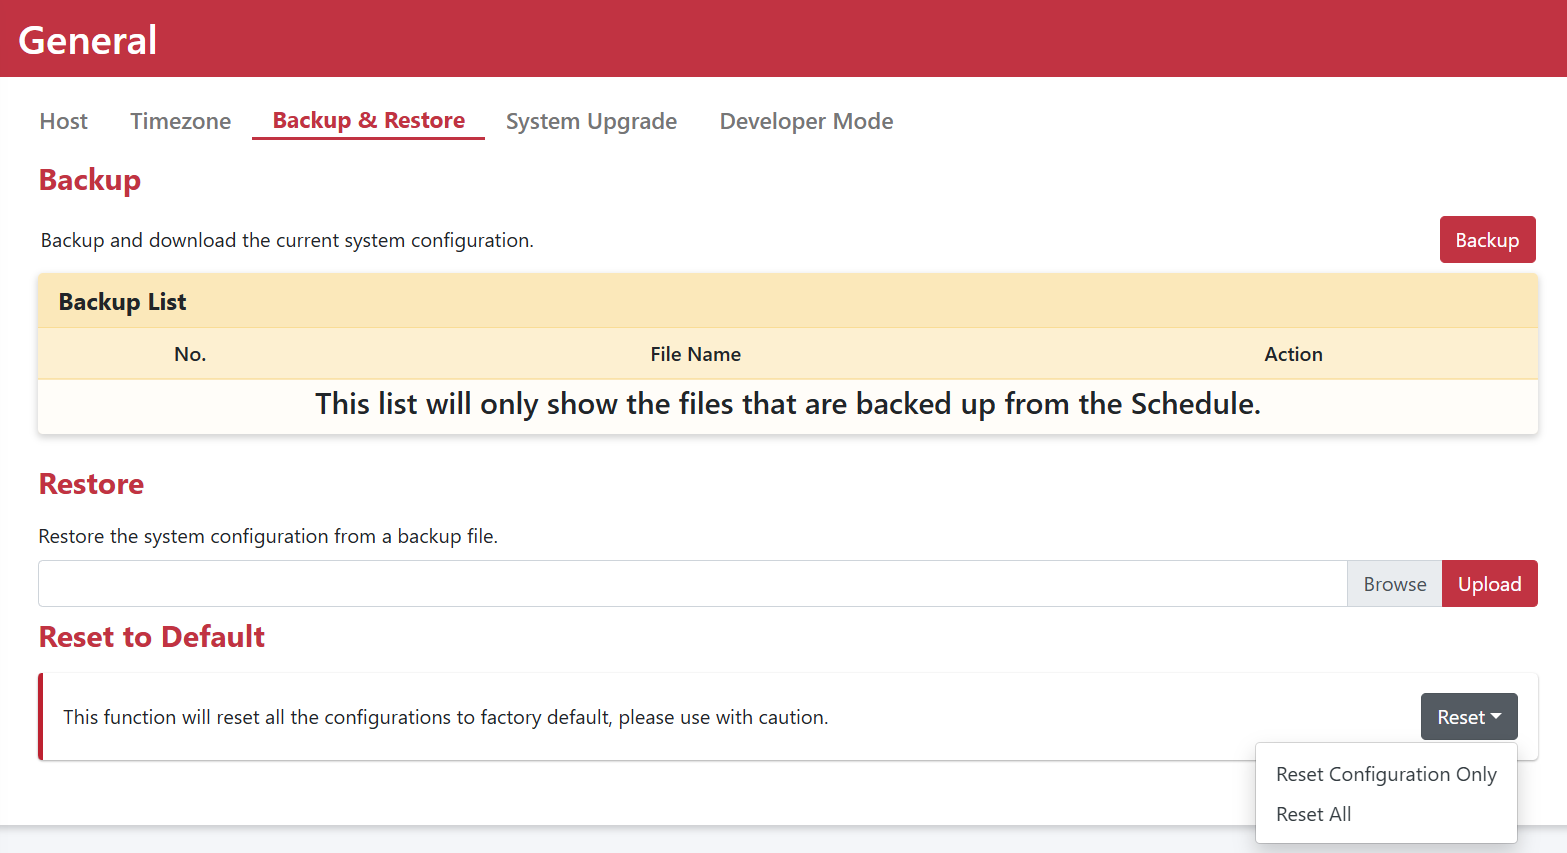
The system maintains up to five recent backup versions, allowing users to restore, download, or delete specific versions as needed.
| Parameter | Description |
|---|---|
| Backup | Stores up to five recent backup snapshots for restoration, downloading, or deletion. |
| Restore | Upload a configuration file to perform a restoration. |
| Revert to Factory Default | Resets device to factory defaults (Reset Configuration only or Reset All). |
Restoration Methods
Restoration can be performed using two methods:
Method 1: Select a Backup Version
- Go to Settings > General > Backup & Restore.
- Select a backup version from the Backup Management table.
- Click the Restore icon.
- Click Yes in the confirmation message dialog.
- The system restores settings and reboots automatically.
Method 2: Upload Backup File
- Go to Settings > General > Backup & Restore.
- Browse and select the backup file.
- Click the Upload button.
- In the Confirmation dialog box, click Yes.
- The system restores settings and reboots automatically.
4. System Upgrade
System Upgrade allows checking for online releases or uploading firmware image files manually to keep the system updated.
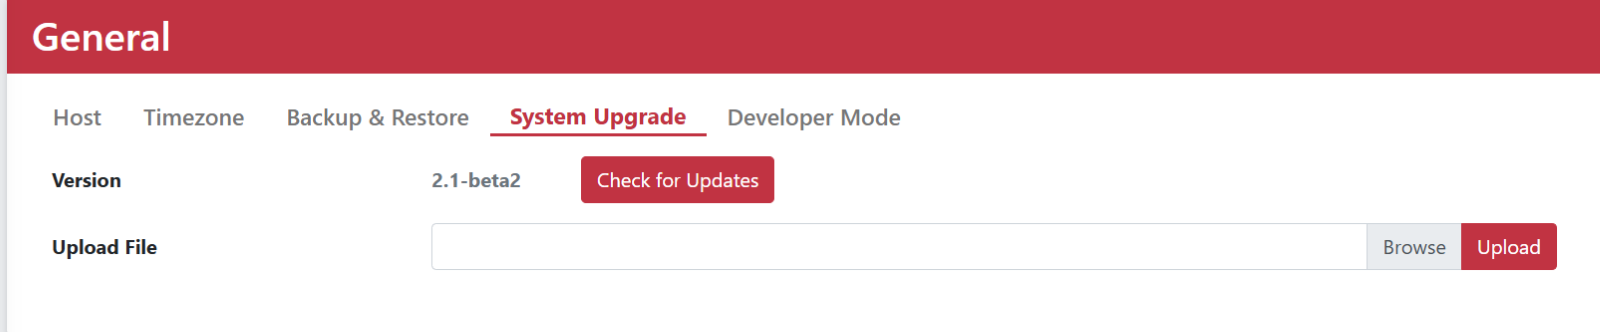
| Parameter | Description |
|---|---|
| Software Version | Displays the current running software version. |
| Check for Upgrade | Detects new versions online and performs direct upgrades. |
| Software Upload | Manually uploads a software image to initiate an upgrade. |
Upgrading via Check for Upgrade
- Click Check for Upgrade to query for new software releases.
- The system detects any available upgrade version.
- Click Upgrade to automatically perform the upgrade process.
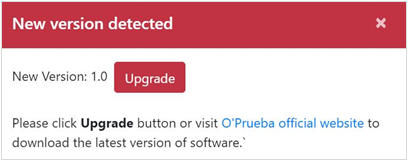
- The device reboots automatically once the upgrade completes.
5. Developer Mode
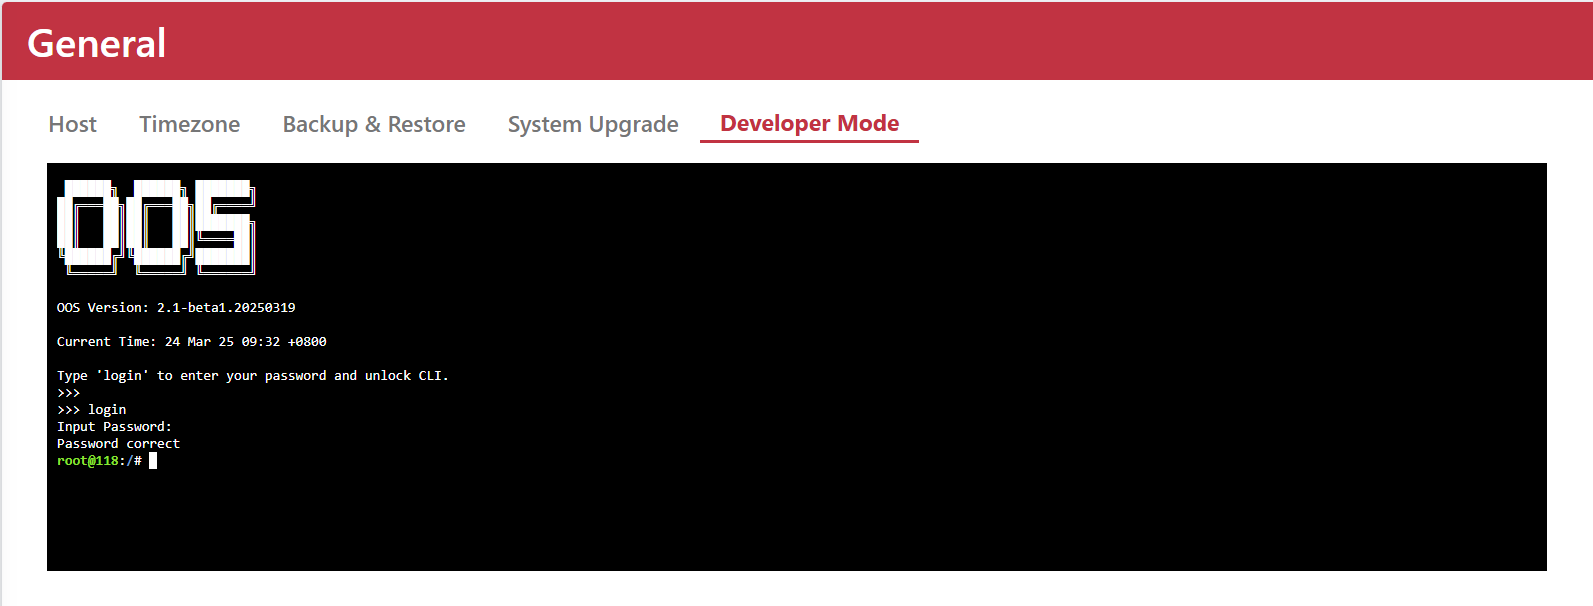
Developer Mode allows opening a terminal session directly from the Web GUI for advanced system tasks.
- Go to Settings > General > Host and copy the Host Serial Number (SN). The SN acts as the password for root access.
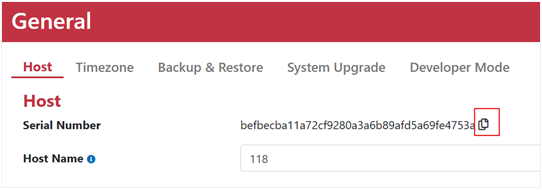
- Go to Settings > General > Developer Mode, review the disclaimer, and click Confirm.
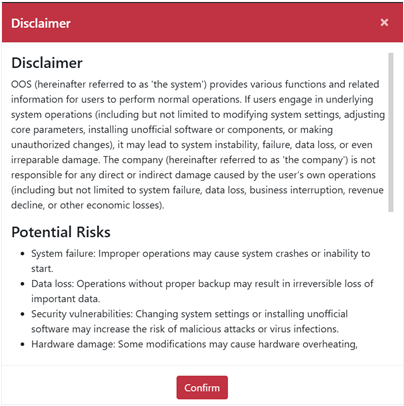
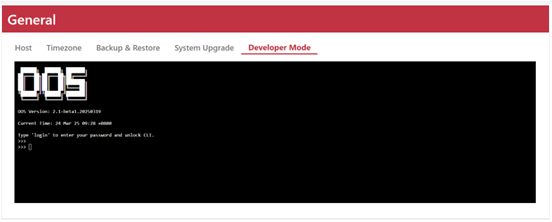
- Type
login. - Paste the SN as the password to access the terminal.