OOS Installation Guide
System requirements, installation steps, first login, and default network settings for OOS.
System Requirements
OOS supports x86 systems only and requires UEFI boot mode. The physical hardware or virtual machine must meet these minimum requirements:
- CPU: 2 cores
- Memory: 2 GB
- Storage: 20 GB
Before You Begin
- Prepare a USB flash drive.
- Download the ISO file from the OOS download page.
- Use Rufus or a similar tool to select the downloaded ISO, then follow the on-screen instructions to create a bootable USB drive.
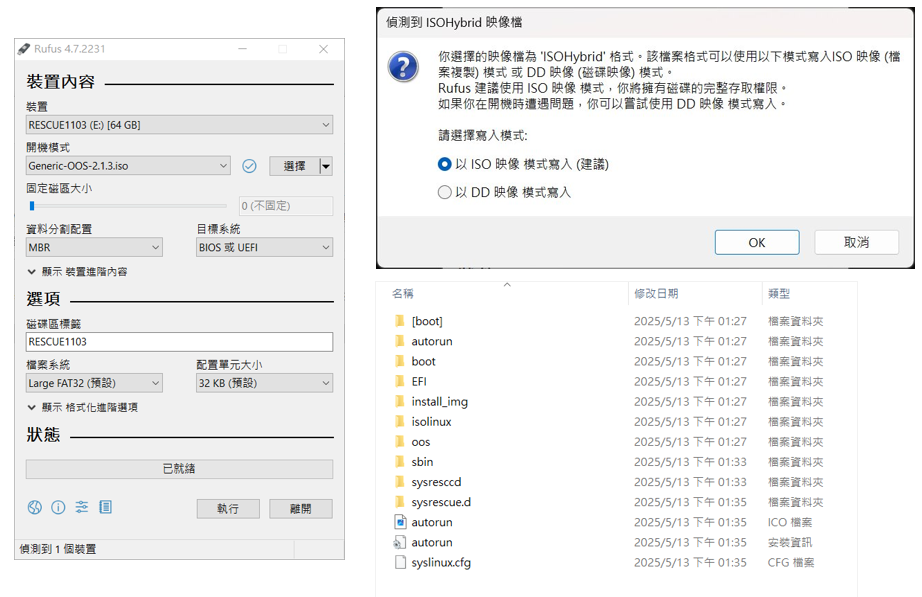
Installation Procedure
1. Boot from USB
Insert the OOS bootable USB drive into the target device.
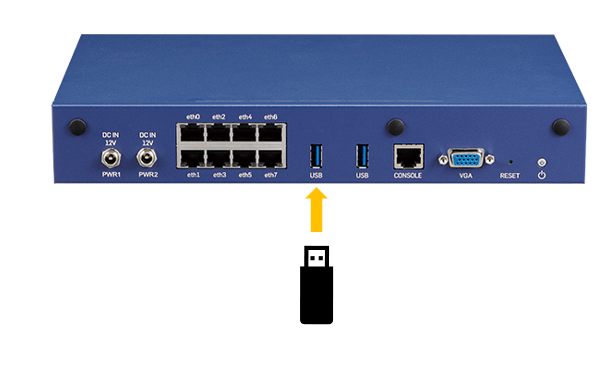
Power on the device, enter the BIOS setup, and select USB as the boot device.
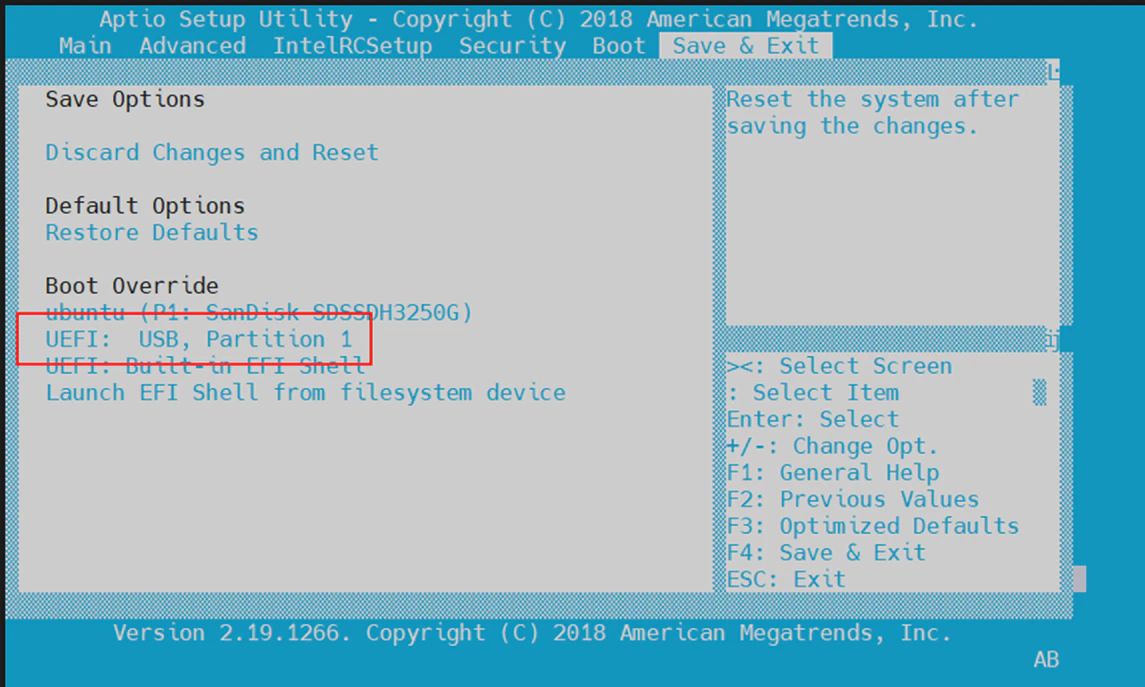
2. Select the Installation Interface and License
Select the interface that matches your device's output method:
- Serial Console: Use a serial console.
- HDMI/VGA: Use an external monitor and keyboard.
Then select the Demo license version.
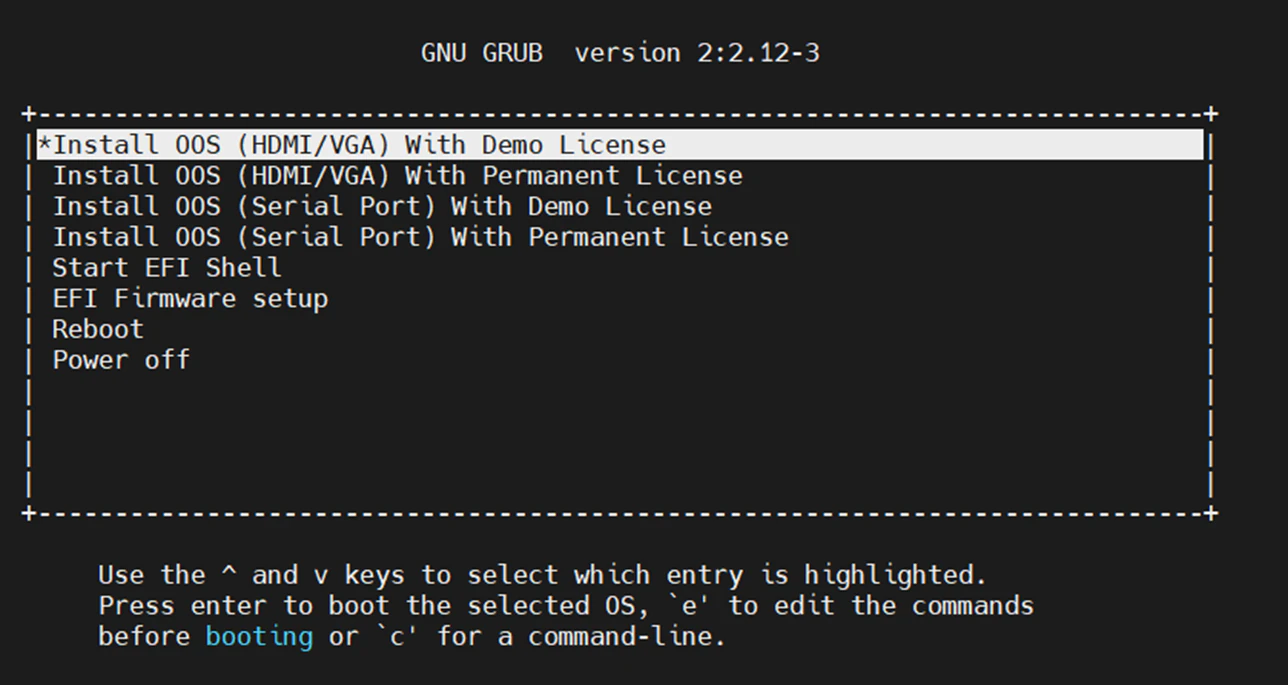
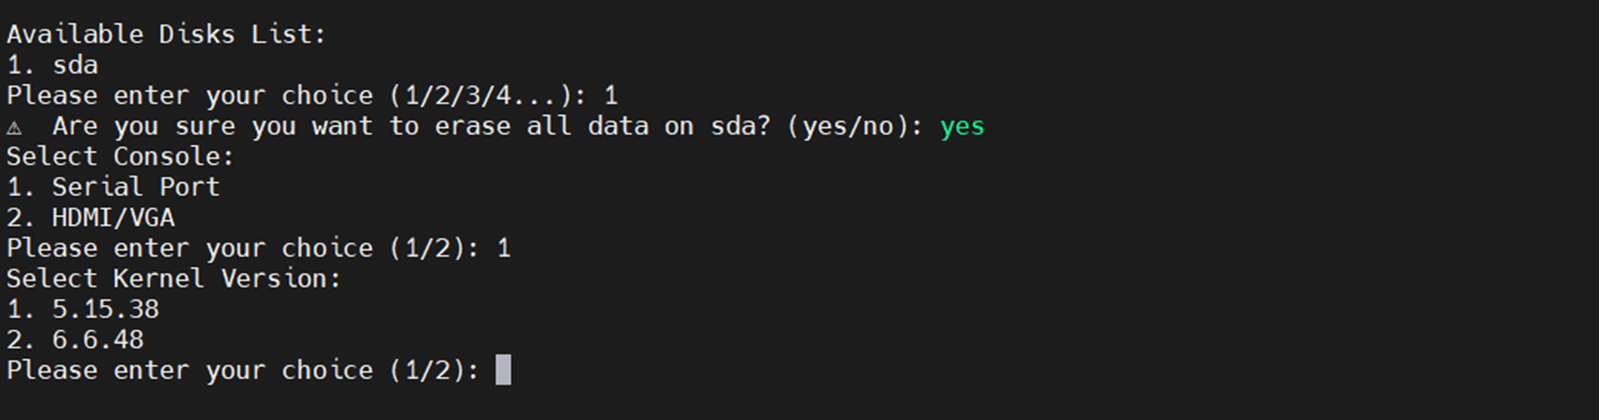
3. Select the Installation Disk
Select Install & Initialize.

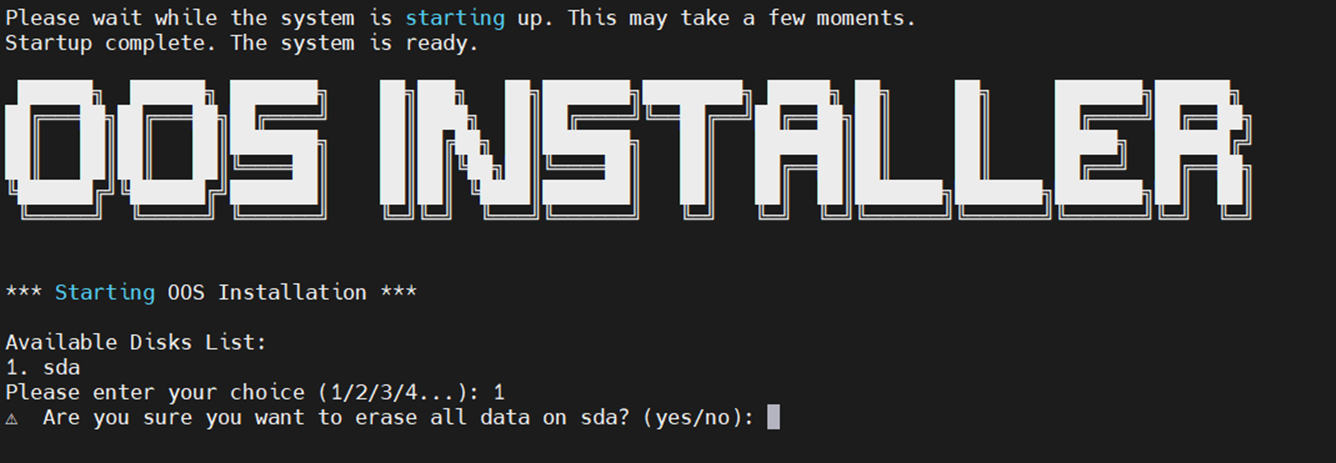
Select the target disk from the list of available disks.
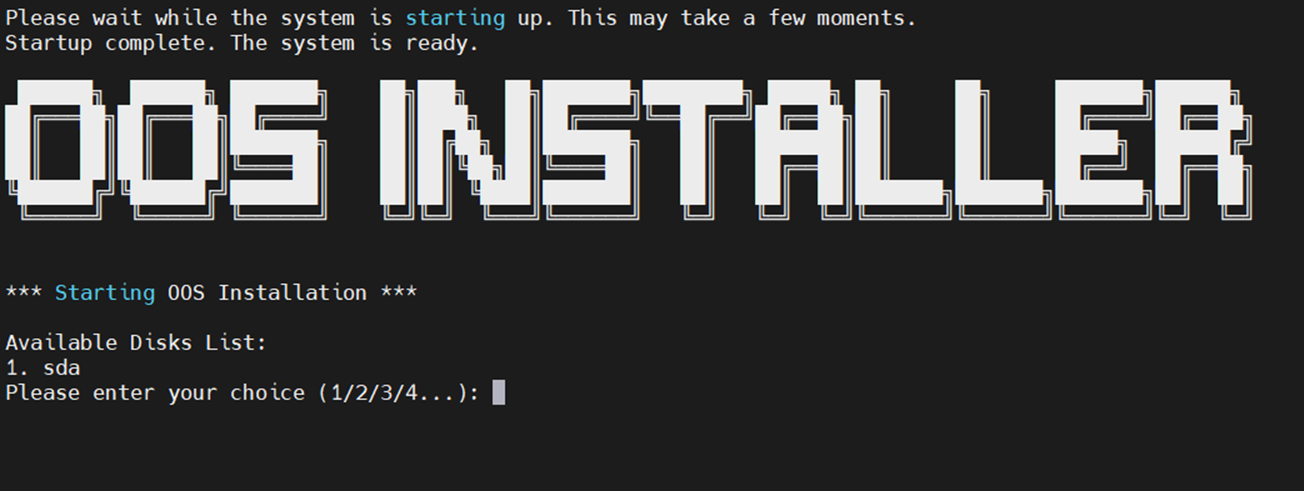
!WARNING The installation process erases all data on the selected disk. Before continuing, verify that you selected the correct disk and backed up any required data.
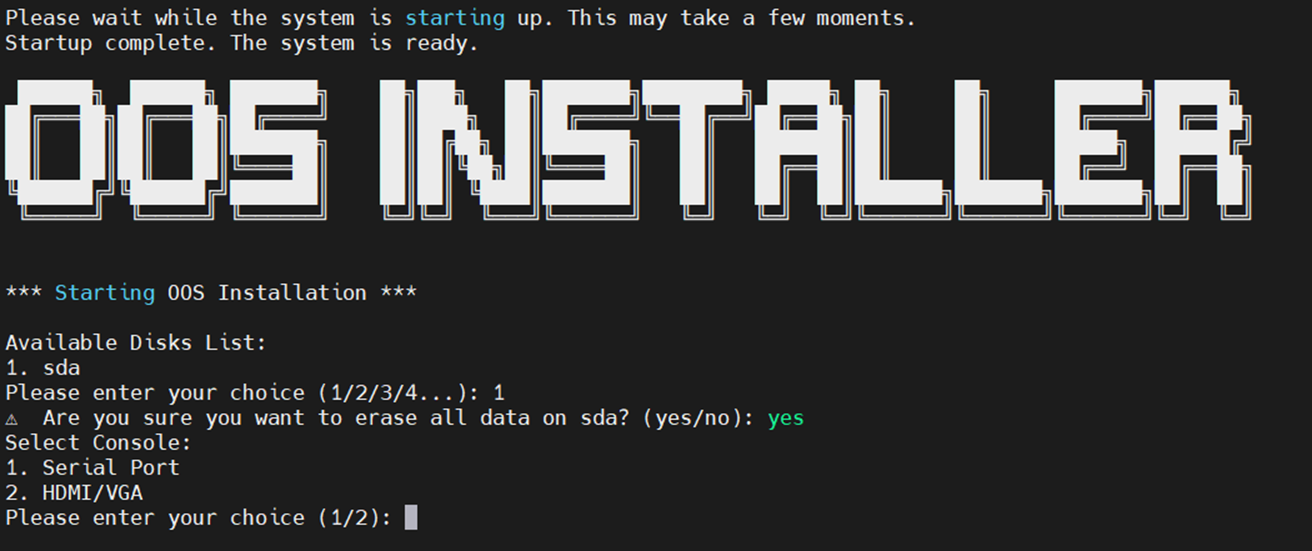
4. Confirm the Display Interface
Confirm the display interface that OOS will use after installation.
5. Select a Kernel Version
Select a kernel version based on your hardware:
- 5.15.38: Includes support for 5G and Wi-Fi modules. It is recommended for existing deployments but may require tuning on systems with a high core count.
- 6.6.48: Supports newer hardware, but communication modules may not work out of the box.
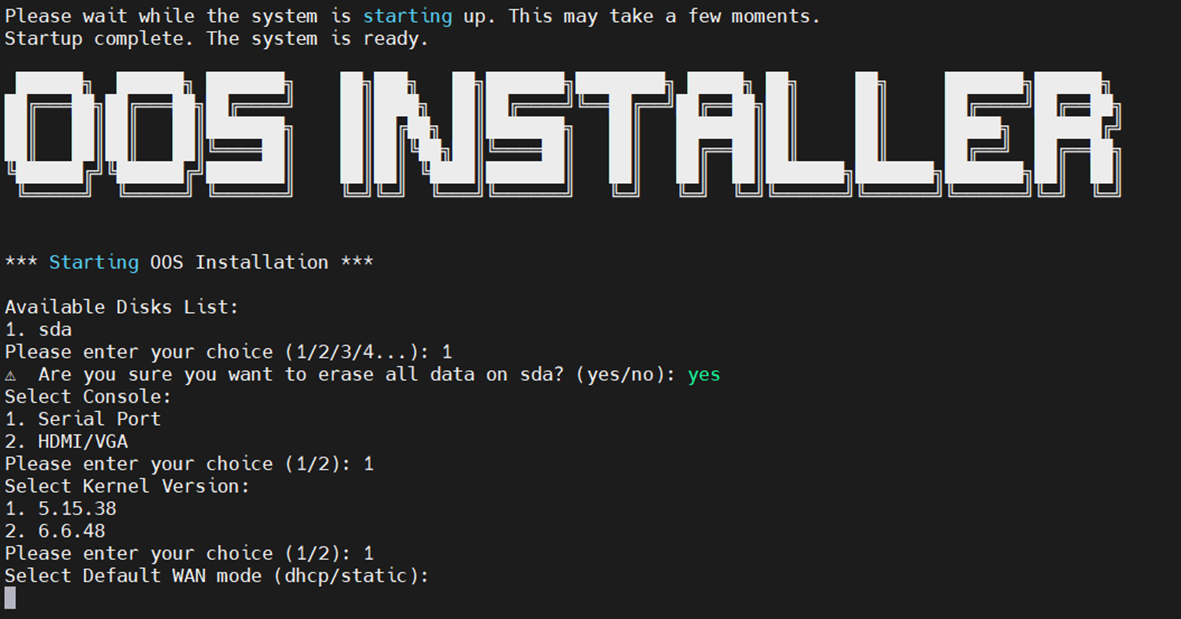
6. Configure the WAN Interface
Select the default WAN mode:
- DHCP: Obtain an IP address automatically.
- Static: Assign the IP address, gateway, and DNS manually.
7. Start the Installation
Review all settings, then start the installation.
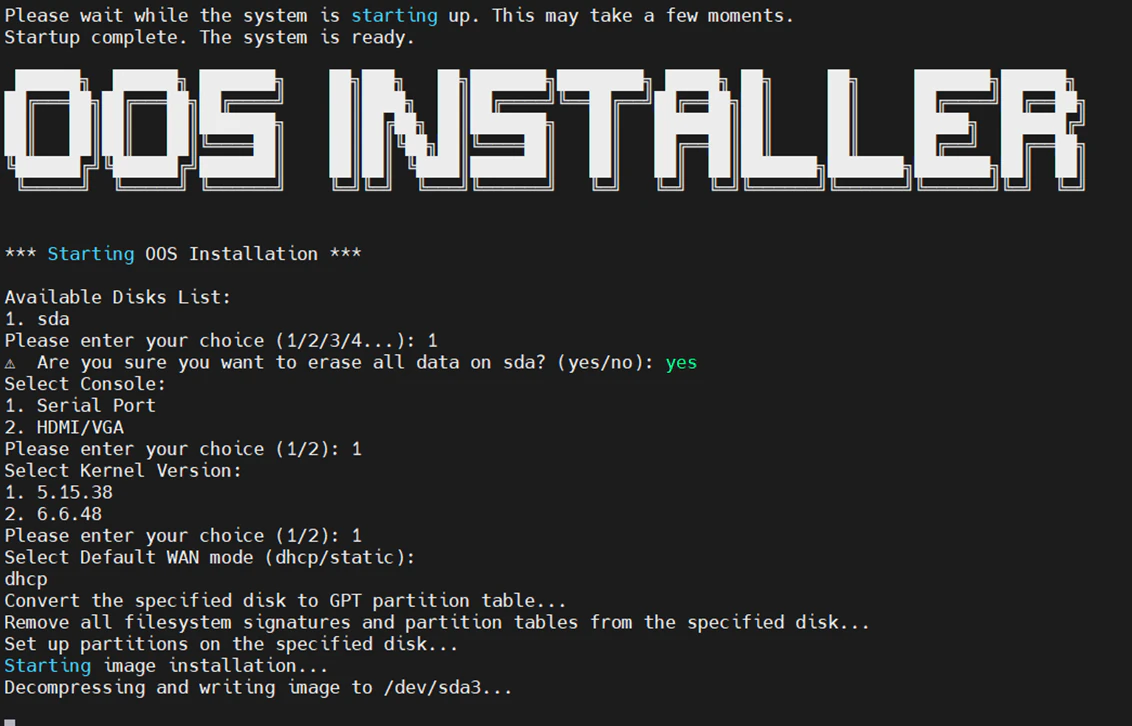
The system restarts automatically when the installation is complete.
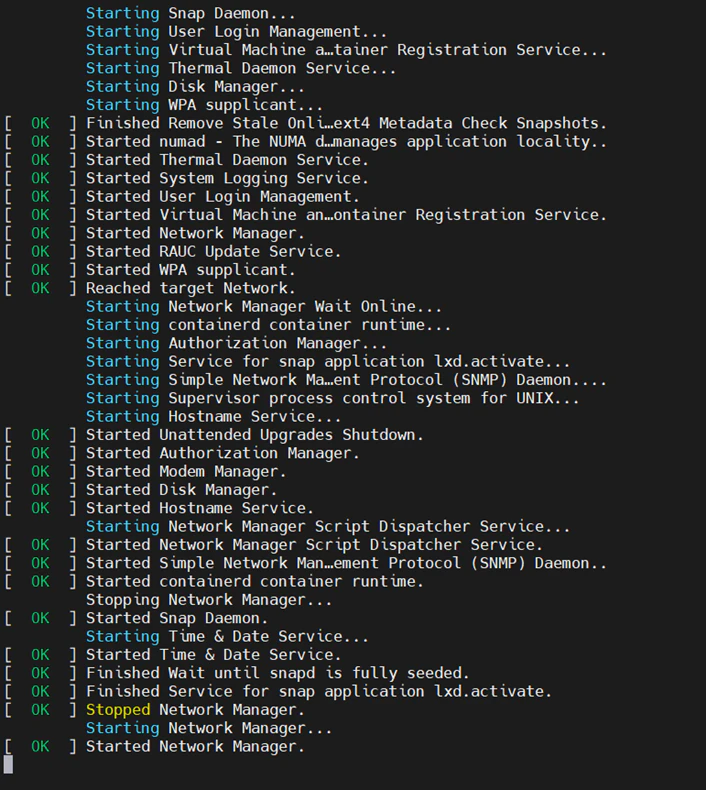
First Boot and Login
- On the first boot, wait for the
OOS loginprompt to appear on the console or display.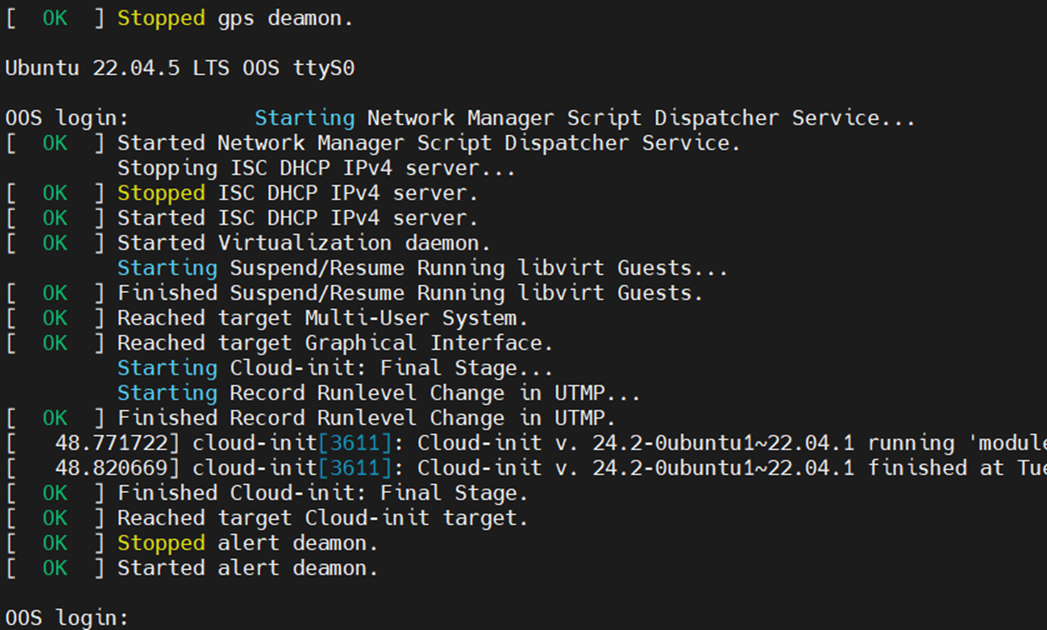
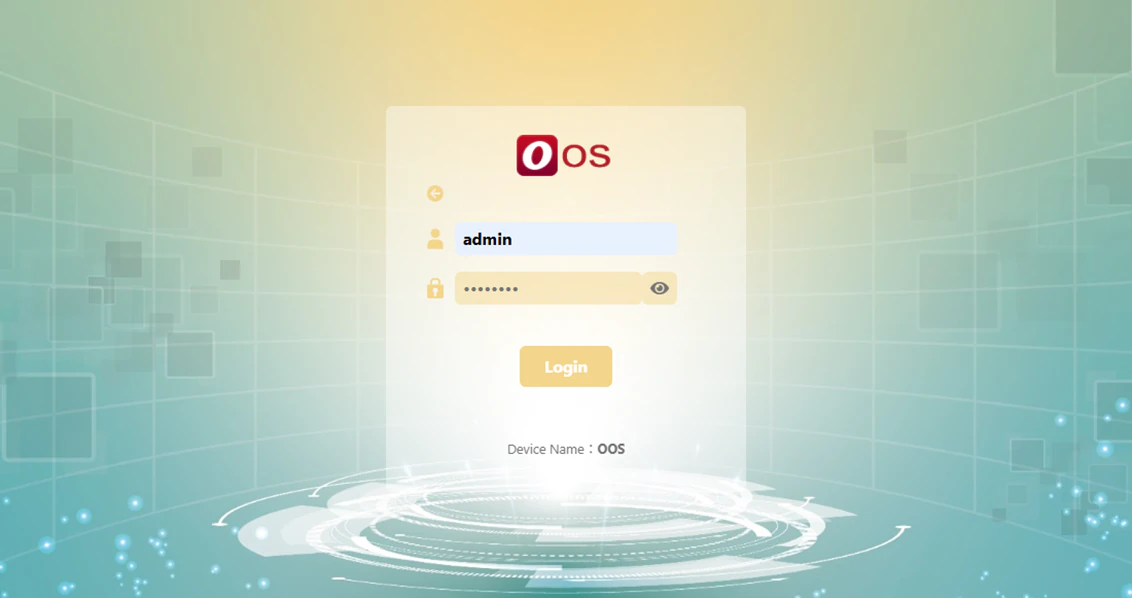
- Log in using either of these methods:
- Use the HDMI/VGA interface with a connected keyboard.
- Connect a laptop to the OOS LAN port, then open a browser.

- Sign in with the default credentials:
- Username:
admin - Password:
password
- Username:
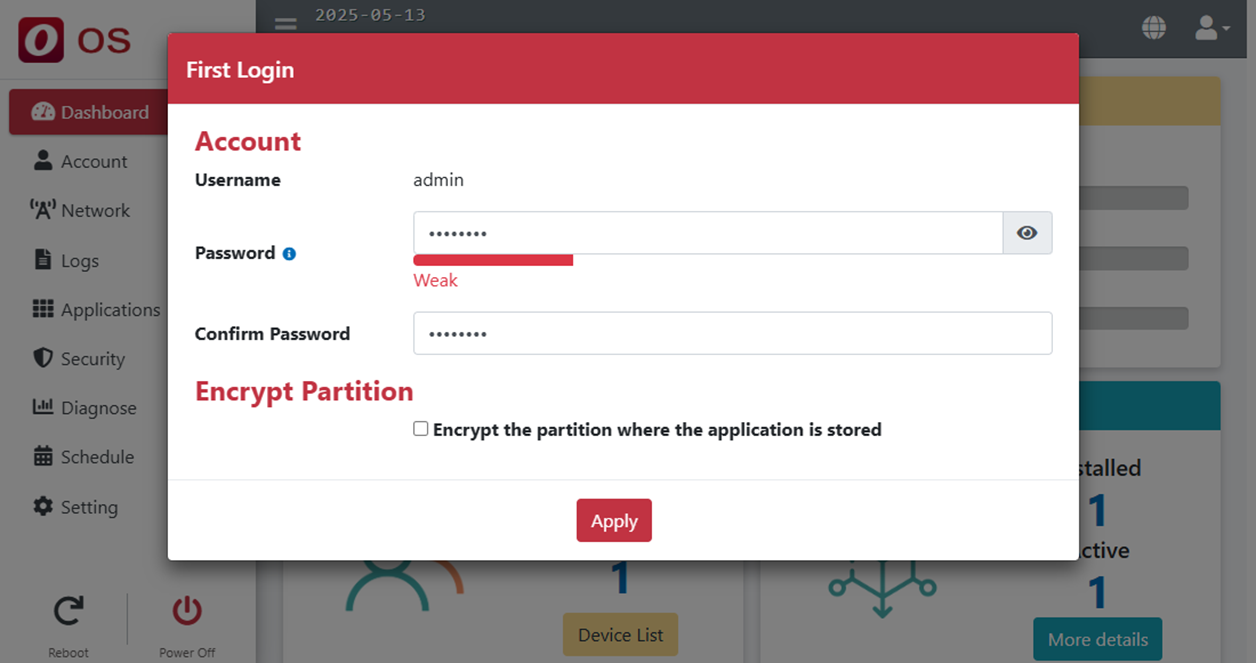
- OOS prompts you to change the password after the first login.
Default Network Interface Settings
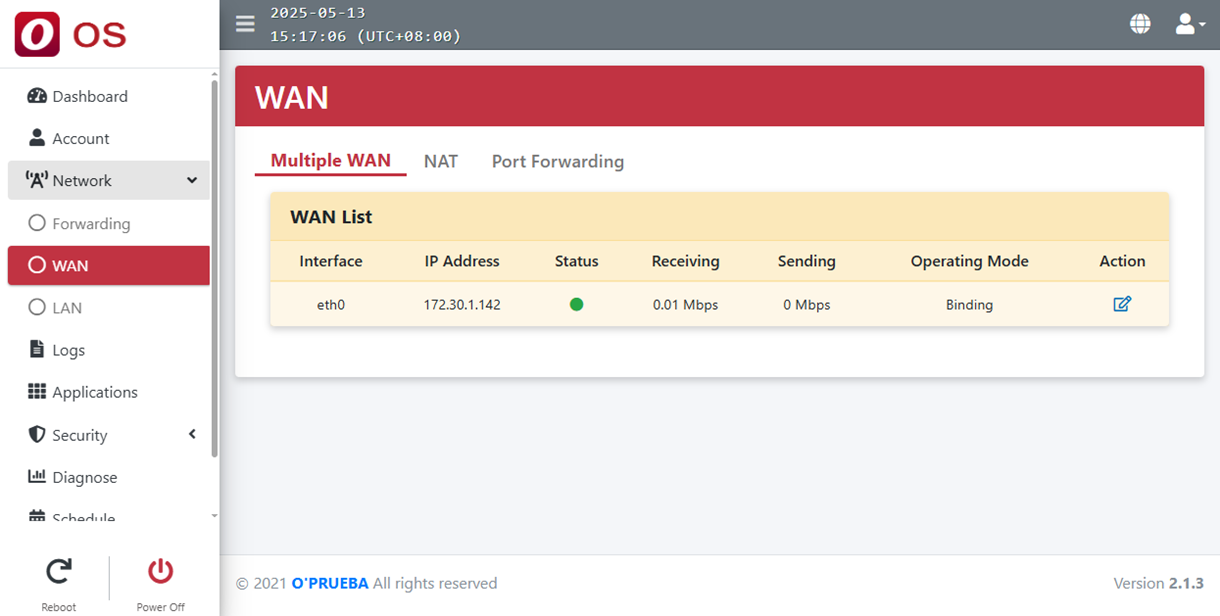
By default, OOS assigns eth0 as WAN and configures all other interfaces as LAN.
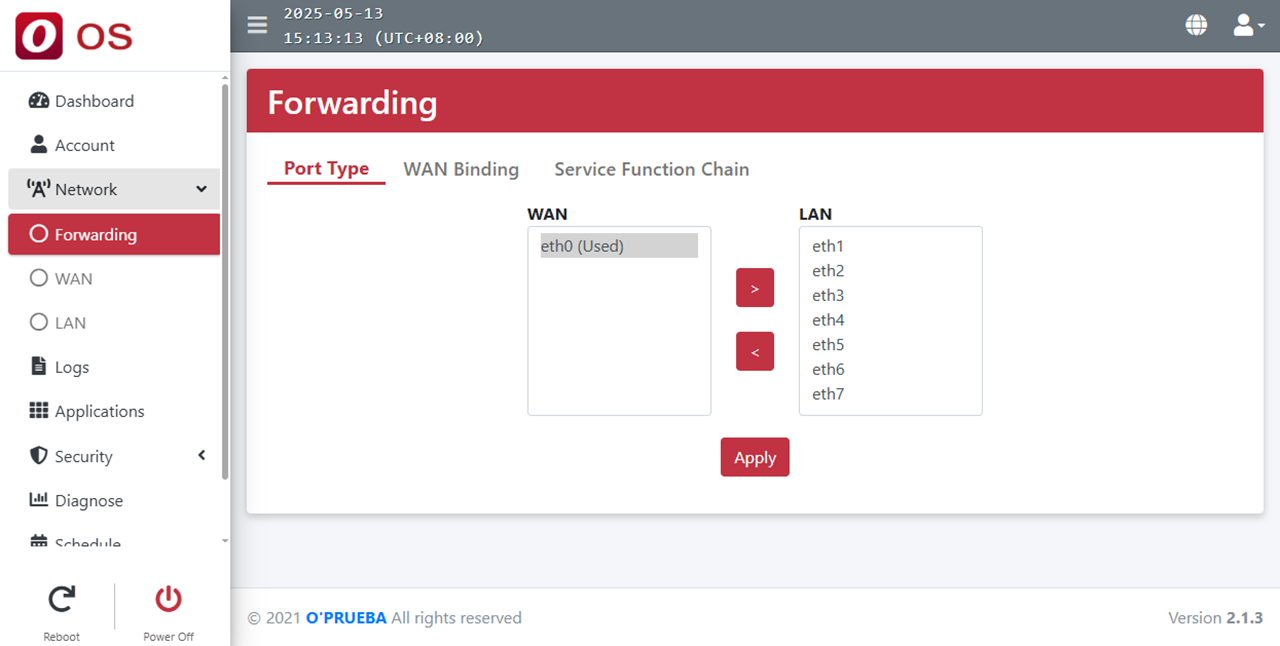
When eth0 uses DHCP mode, it obtains an IP address automatically after connecting to a network that provides DHCP service. You can modify the interface configuration from the Web UI's Action menu.
Default LAN IP Address Range
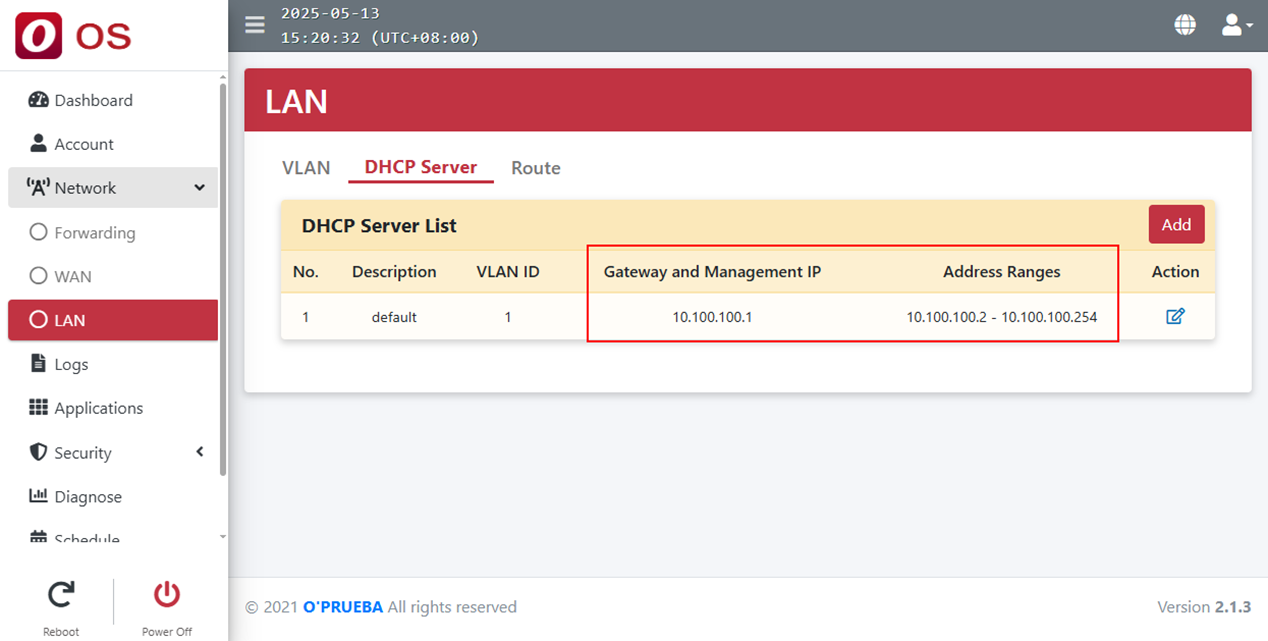
The default LAN IP address range is 10.100.100.2 through 10.100.100.254.
Static Mode
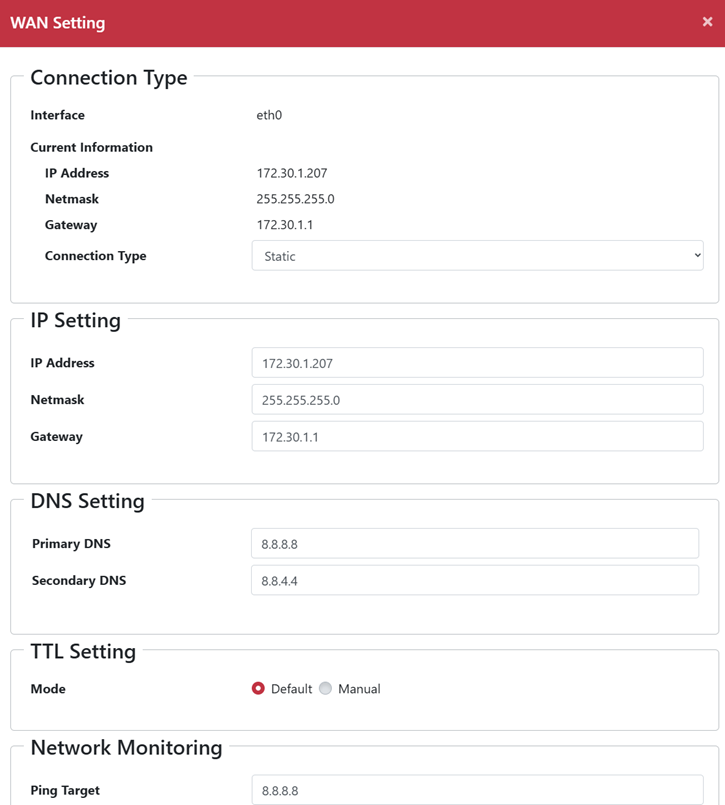
In Static mode, configure the IP, Netmask, Gateway, and DNS manually.