orpheagentVersion 1.1.9
Docker
OrpheAgent Docker Installation Guide
OrpheAgent Container: One-Click Installation Guide
This guide explains how to deploy the OrpheAgent container with the one-click script, provision the device through OrpheLink, rebuild the image, and persist runtime data.
Step 1: Download the Latest Release
- Download the file to your device from the O'Prueba website.
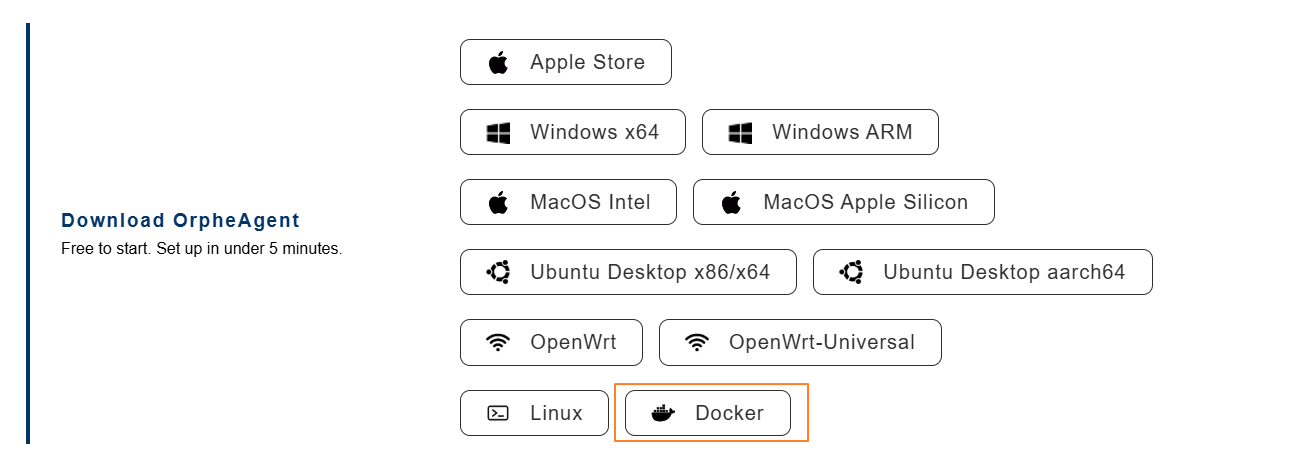
- Extract the downloaded
.tar.gzfile:
tar -zxvf orphe-agent-1.1.3-container.tar.gz
Step 2: Generate a Provision Key in OrpheLink
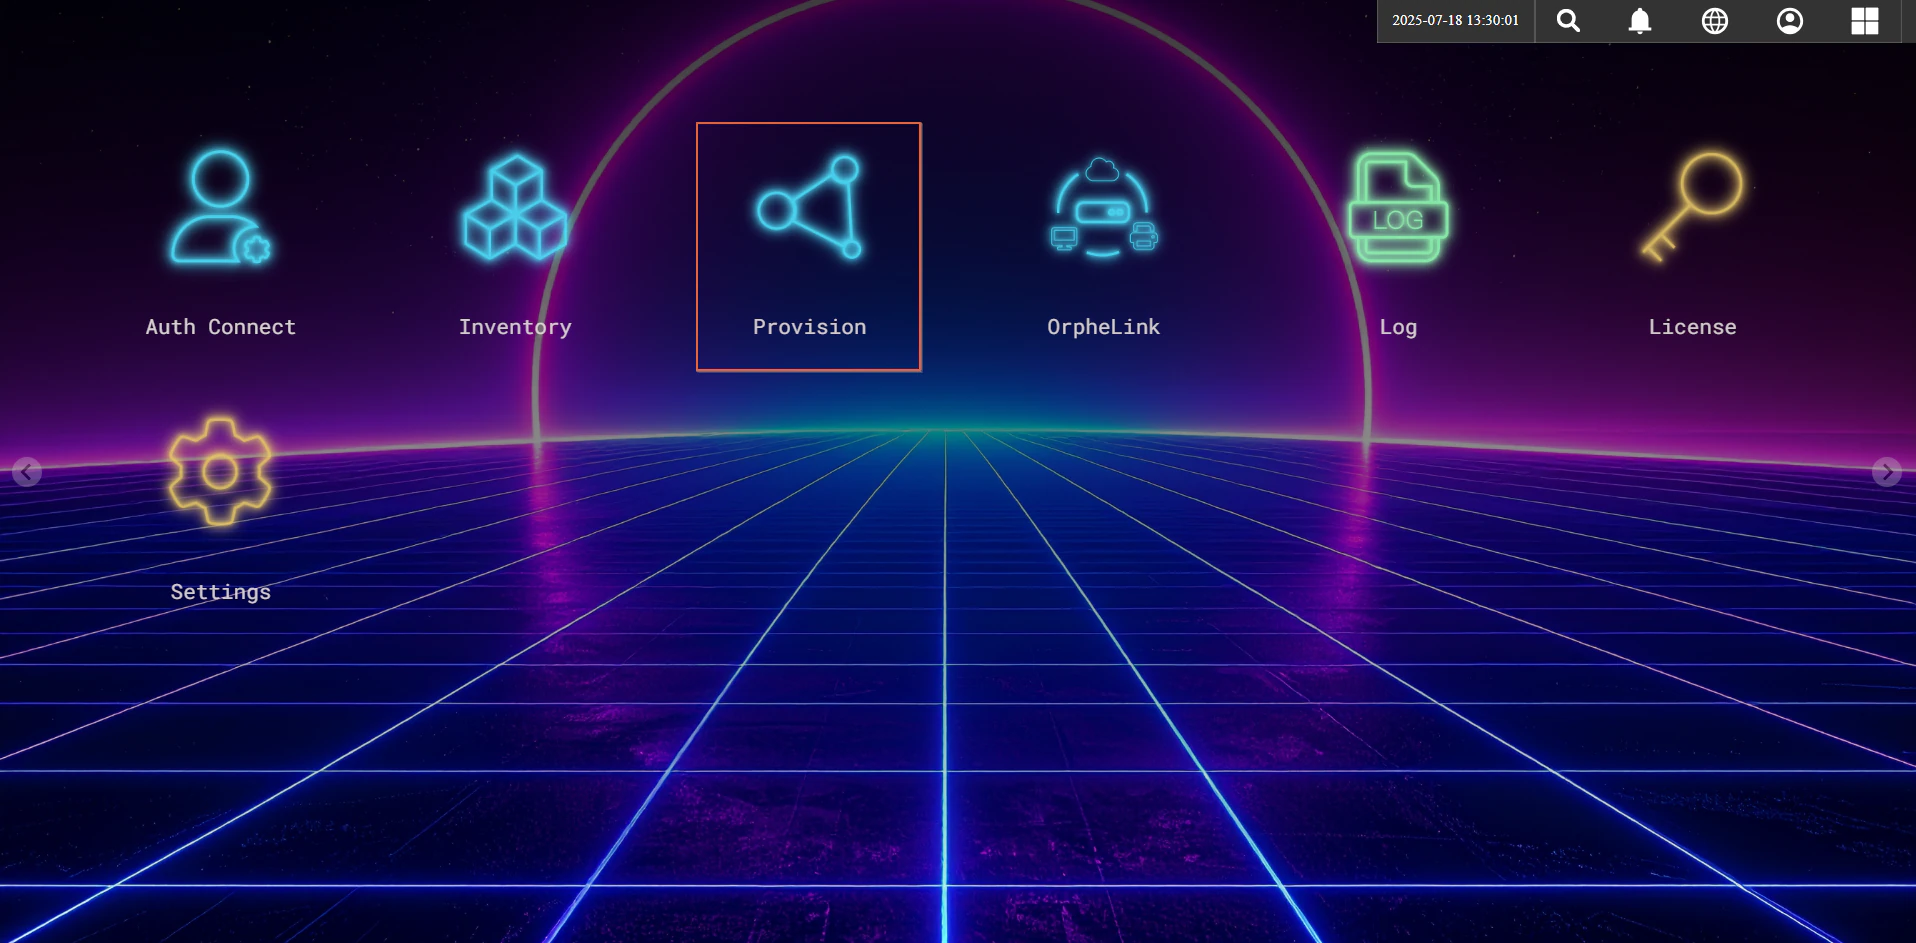
- Log in to the OrpheLink dashboard and navigate to the Provision page.
- Generate and copy a new Provision Key for your device.
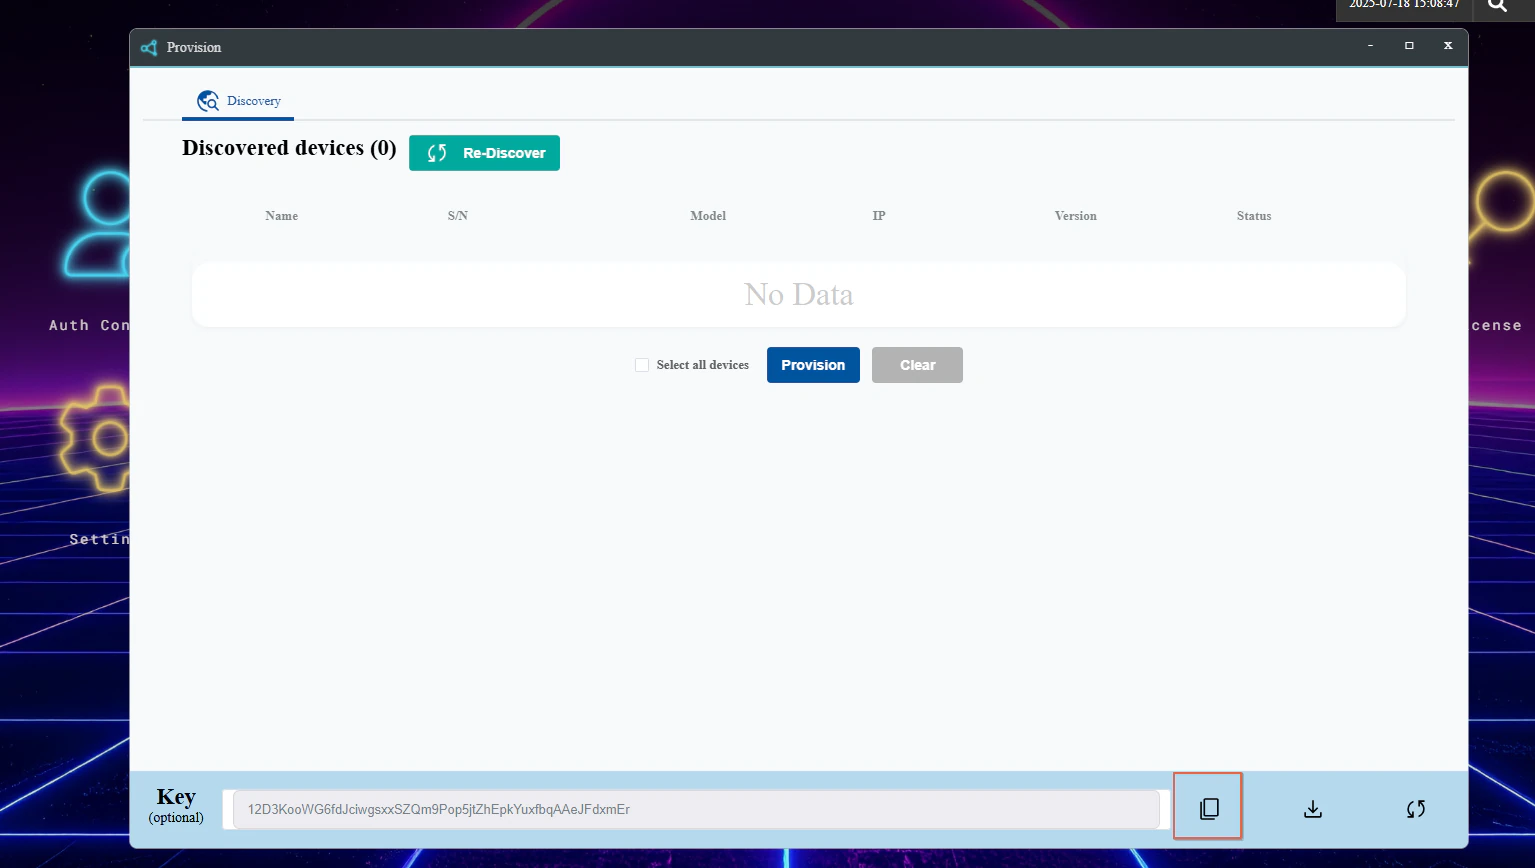
Step 3: Installation Using the One-Click Script
- Ensure curl is installed. It is usually available in the official repositories and can be installed via:
sudo apt install curl
- Run the script with the appropriate parameters:
sudo bash install.sh ARCH DOCKER_USERNAME DOCKER_PASSWORD PROVISION_KEY
- Replace
ARCHwith your system's architecture type (e.g.,amd64,arm64,armhf). - Replace
DOCKER_USERNAMEandDOCKER_PASSWORDwith your Docker Hub credentials. - Replace
PROVISION_KEYwith the Provision Key generated on the OrpheLink Provision page. - The script will automatically update the
PROVISION_KEYin yourdocker-compose.ymlfile.
- The script will automatically:
- Install Docker and Docker Compose if they are not already installed.
- Log in to Docker Hub using the provided credentials.
- Set the
PROVISION_KEYin thedocker-compose.ymlfile. - Build the Docker image for the specified architecture.
- Start the container using Docker Compose.
Step 4: Discover and Provision the New Agent in OrpheLink
- Return to the OrpheLink Provision page and click Re-discover. The new agent will appear in the device list.
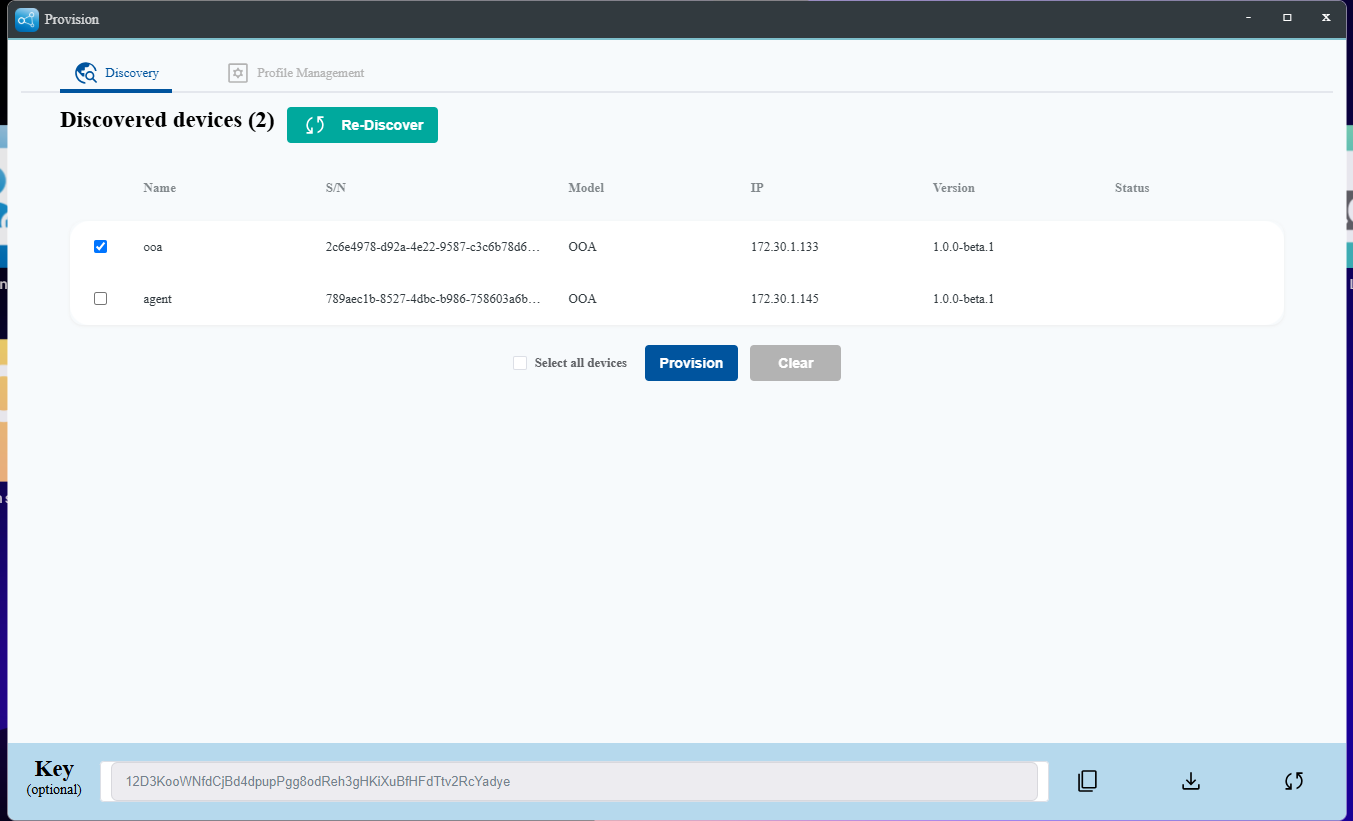
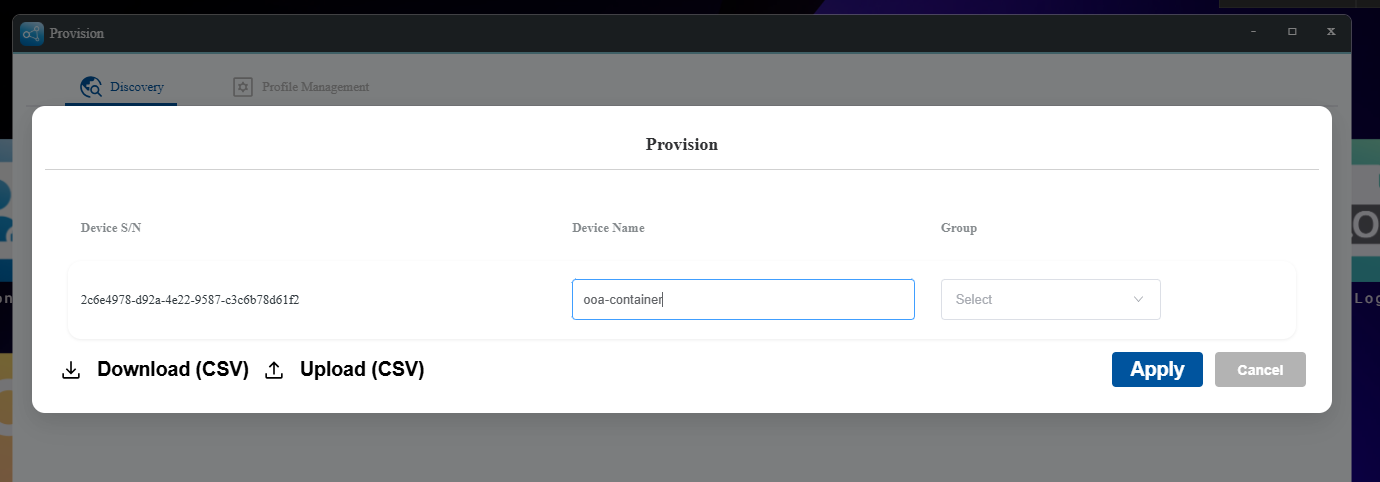
- Select the OrpheAgent device, then click the Provision button at the bottom to let OrpheLink take over management.
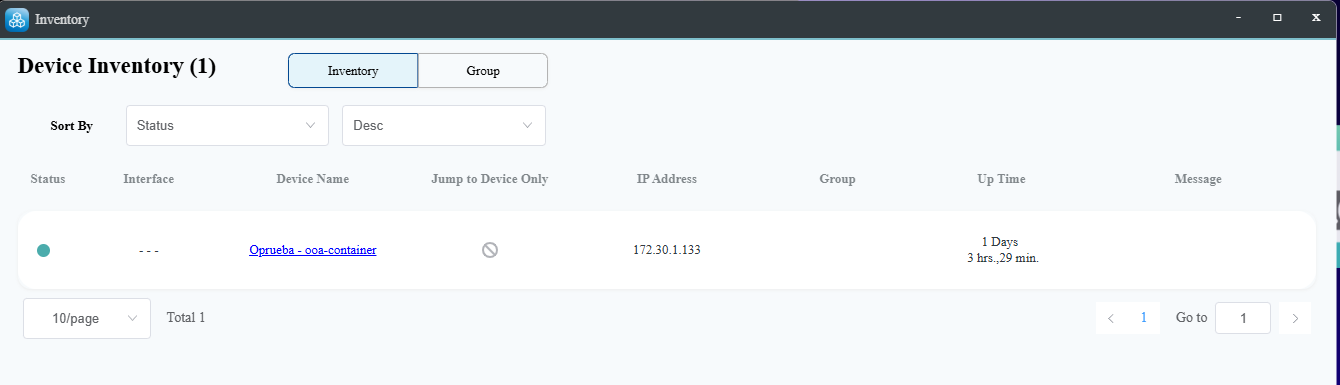
- After provisioning succeeds, verify that the device appears on the OrpheLink Inventory page.
Rebuild the Docker Image and Restart Containers Using the One-Click Script
To rebuild the Docker image and restart the containers, you can use the rebuild method in the install.sh script. Follow these steps:
- Run the
rebuildmethod with the desired architecture (e.g.,amd64,arm64, orarmhf):
sudo bash install.sh rebuild ARCH
Replace ARCH with your system's architecture type. For example:
sudo bash install.sh rebuild amd64
- The script will automatically:
- Build the Docker image for the specified architecture.
- Stop and remove existing containers.
- Prune unused Docker resources.
- Restart the containers with the updated configuration.
- By default, three named volumes will be created:
orphe-agent-db: Stores OrpheAgent database files.orphe-agent-logs: Stores OrpheAgent log files.orphe-agent-config: Stores OrpheAgent configuration files (such asorphe-agent.yaml).
Files Overview
Dockerfile: Defines the container build process.entrypoint.sh: Script to initialize the container and configure the agent.bin/: Contains precompiled binaries of the OrpheAgent for different architectures (amd64,arm64,armhf).docker-compose.yml: Configuration file for Docker Compose to manage the container.
Environment Variables
The following environment variables can be used to configure the OrpheAgent:
PROVISION_KEY: Set the provision key for the agent (default: empty).HOST_NAME: Set the host name for the agent (default:orphe-agent).MGMT_PORT_HTTP: Set the HTTP management port (default:0).MGMT_PORT_HTTPS: Set the HTTPS management port (default:0).CONTROLPLANE_TUN_PORT: Set the control plane tunnel port (default:0).DATAPLANE_TUN_PORT: Set the data plane tunnel port (default:0).DATAPLANE_SNAT_ENABLED: Enable experimental Data Plane SNAT support (trueto enable,falseto disable; default:false). When set totrue, the container will automatically start OrpheAgent with SNAT enabled (-sflag).!WARNING This is experimental and may cause unexpected behavior.
!NOTE Use
0to let the system assign a random port.
Notes
- The container runs in privileged mode to allow access to networking features such as
iptablesandiproute2. - The
--net=hostoption is used to share the host network with the container. - Logs are written to
/var/log/orphe-agent.loginside the container. - The
/etc/orphe-agent/directory contains configuration files for the OrpheAgent, includingorphe-agent.yaml. This directory can be mounted as a volume to persist configuration changes.
Known Limitations / Notes
- Supported on Linux systems only (
amd64,arm64,armhf). - Automatic OTA update is not supported yet (manual upgrade required).
- Currently tested only on native Ubuntu 18.04, 20.04, 22.04, and 24.04.