orpheagentVersion 1.1.9
Desktop
Provision devices with OrpheAgent Desktop and establish Data Plane connections in OrpheLink.
Set Up OrpheLink and Provision Devices with OrpheAgent Desktop
This guide explains how to install OrpheAgent Desktop, provision a device with a Provision Key, establish a Data Plane connection in OrpheLink, and share a subnet.
1. Sign Up for an OrpheLink Account
- Apply for and register an OrpheLink account.
- If you do not have an account, use the link below to register:
2. Download and Install OrpheAgent
- Download the corresponding OrpheAgent application for your operating system.
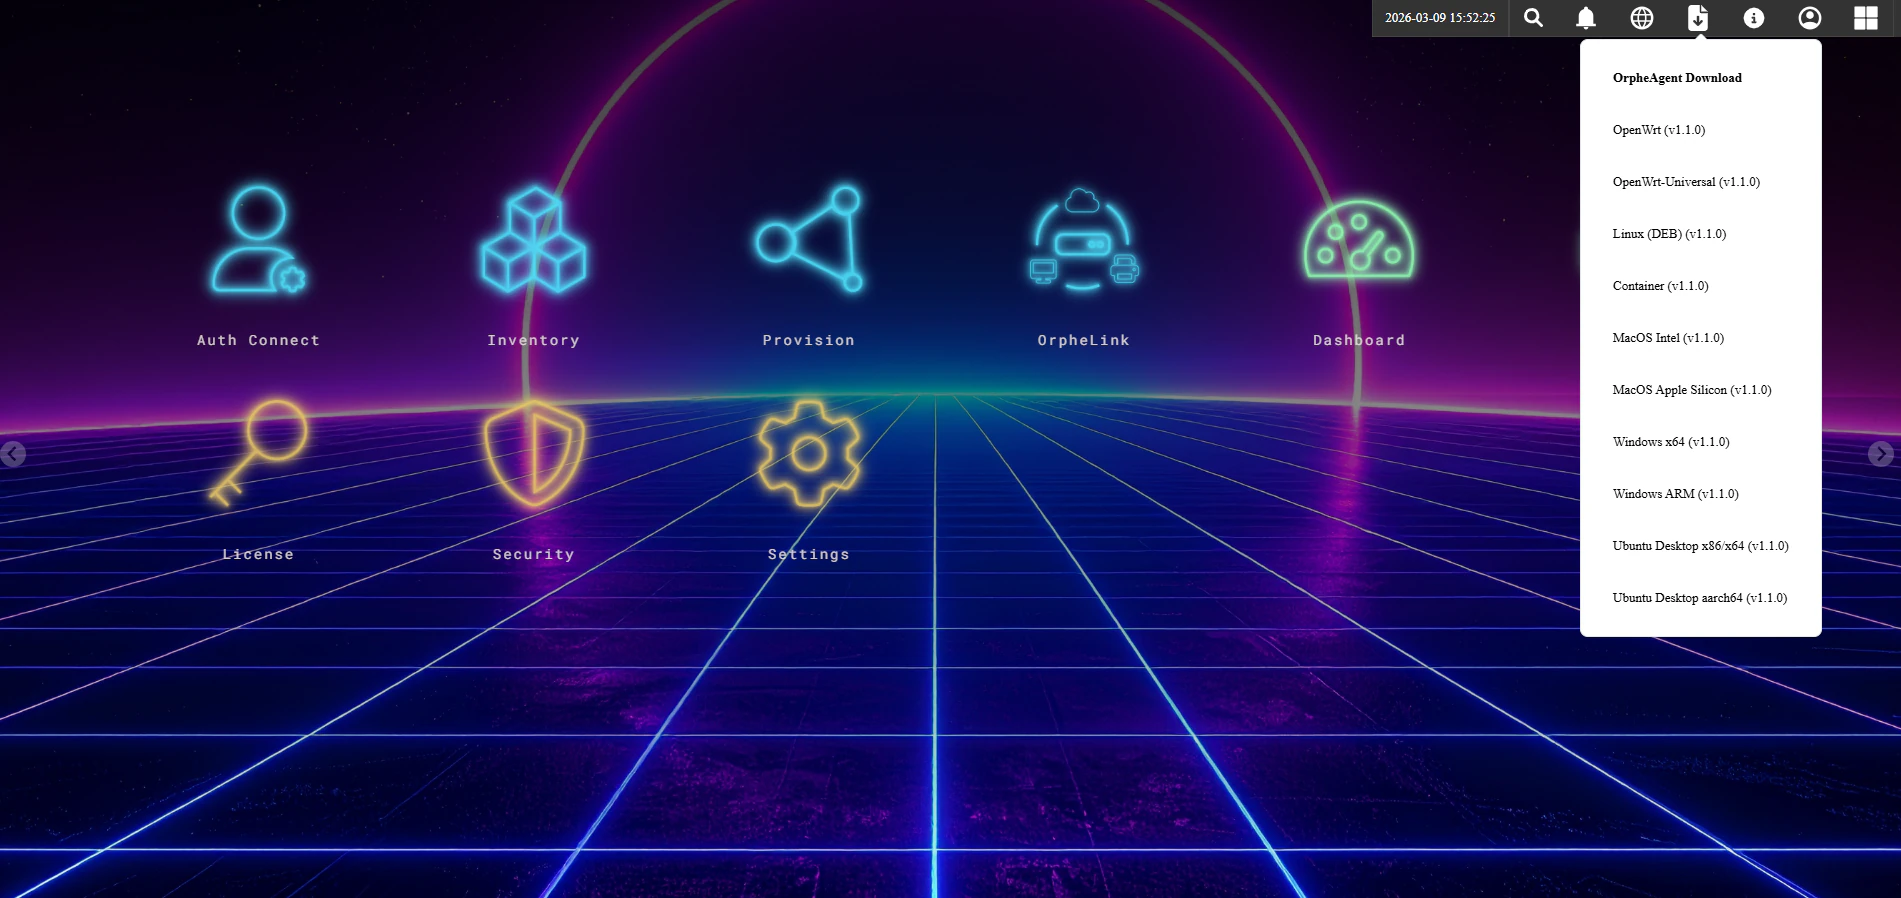
A. Windows and macOS
- Installation: Double-click the downloaded installer file.
- Action: Follow the on-screen setup wizard instructions to complete the installation.
B. Linux
- Installation: Open the Terminal and navigate to the directory where the file is downloaded.
- Command: Execute the following command to install (using the ARM64 version as an example):
sudo dpkg -i OrpheAgent-1.1.1-Installer-ARM64.deb
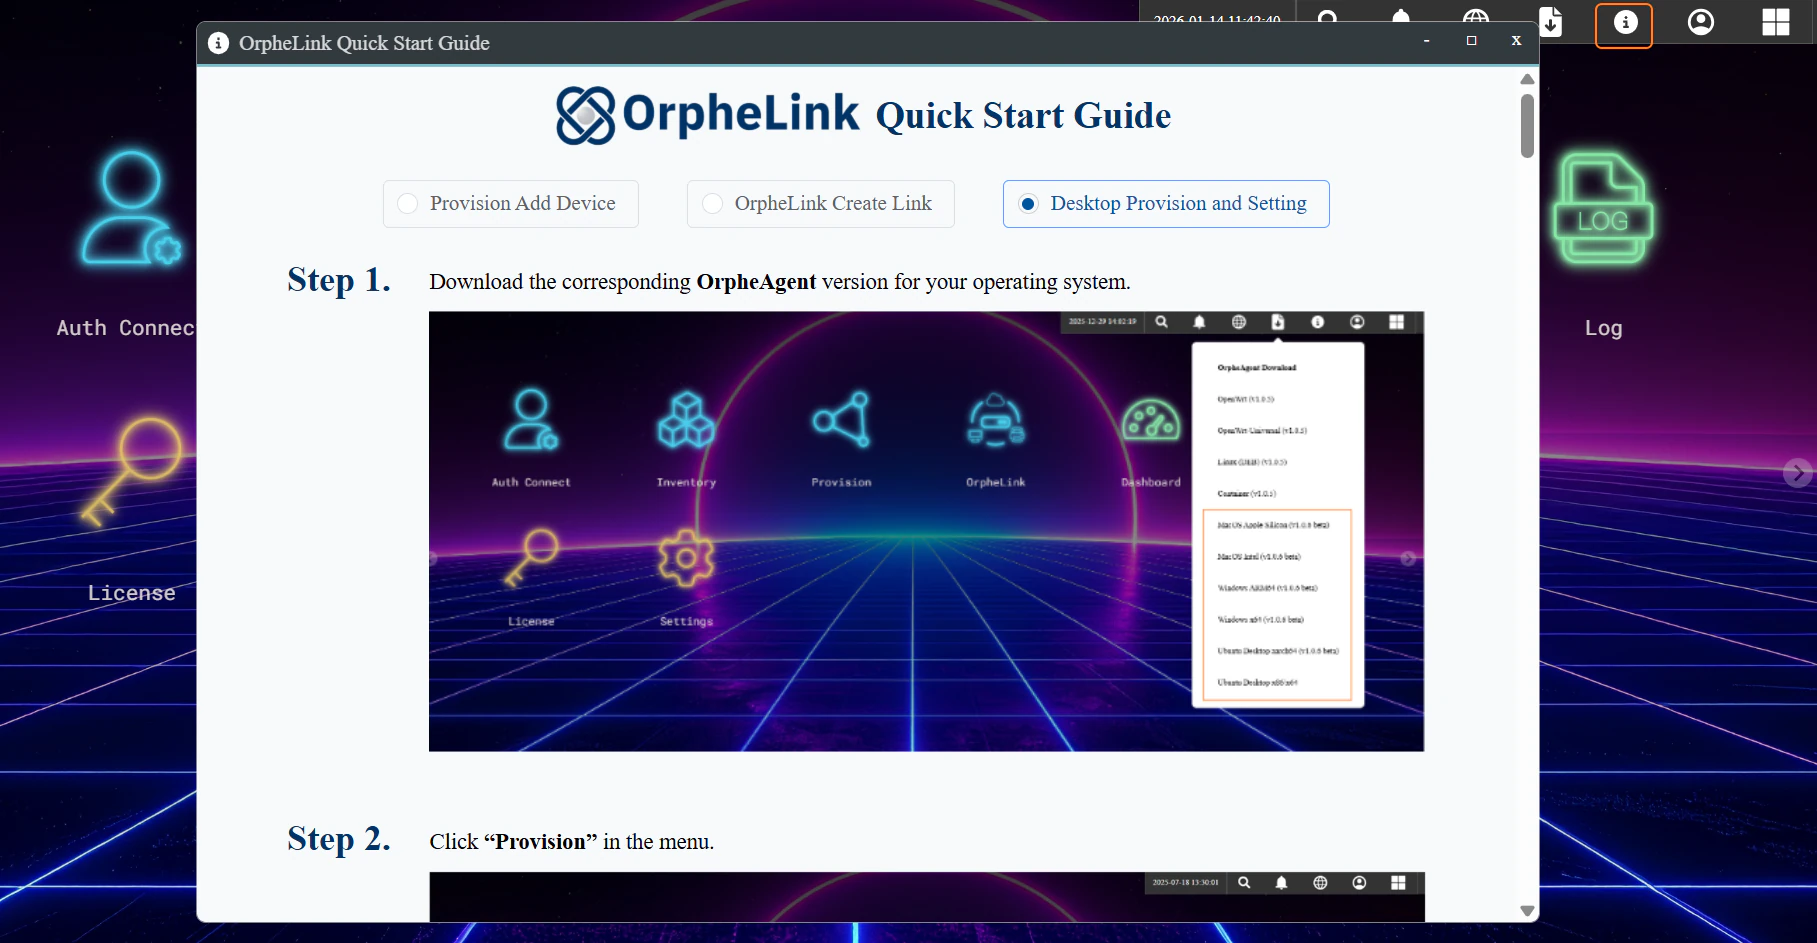
(Note: After installation, you can click the Information icon at the top right corner of the application screen to open the OrpheLink Quick Start Guide window.)
3. Obtain a Provision Key
- Log in to the OrpheLink web dashboard.
- Navigate to the Provision icon.
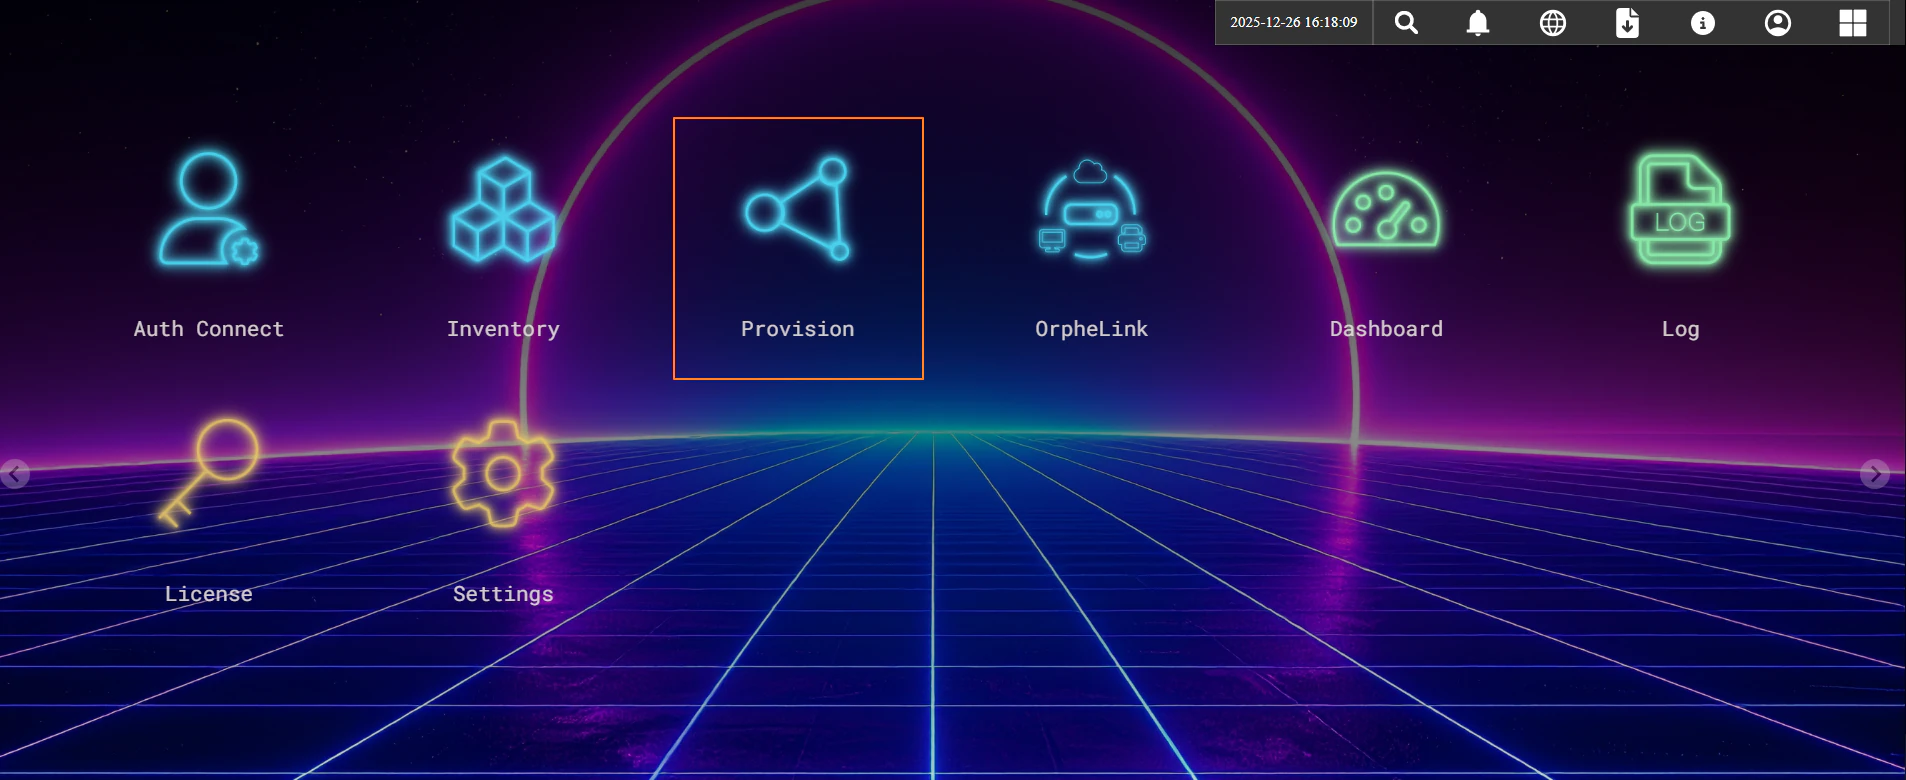
- Copy the Provision Key displayed at the bottom of the screen.
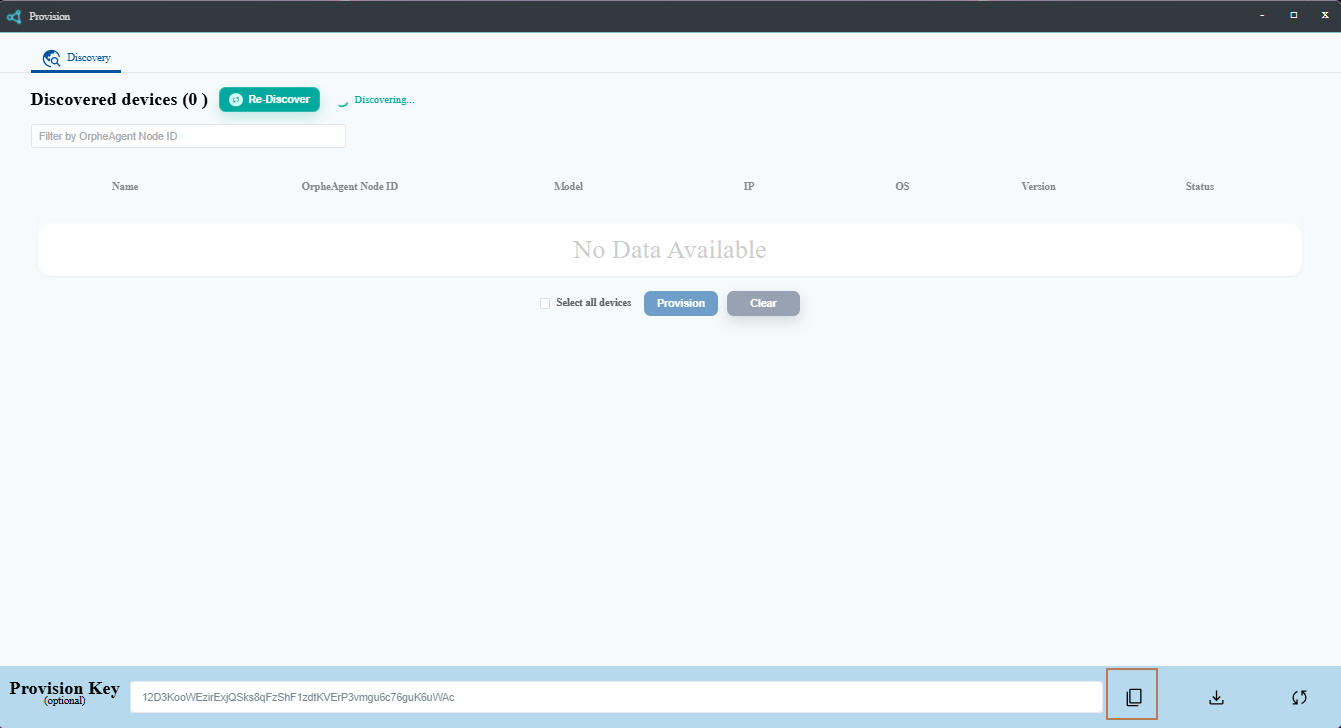
4. Configure OrpheAgent Desktop
- Open the OrpheAgent application on your computer.
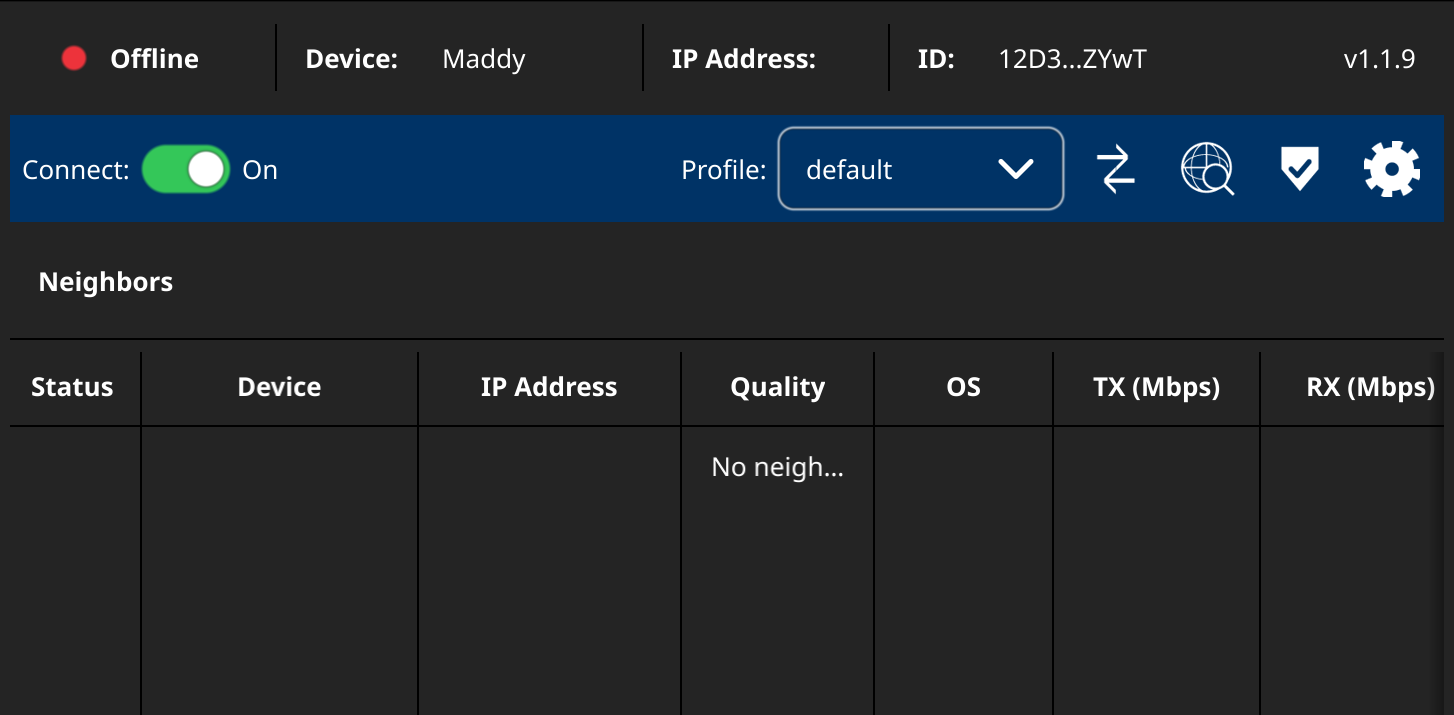
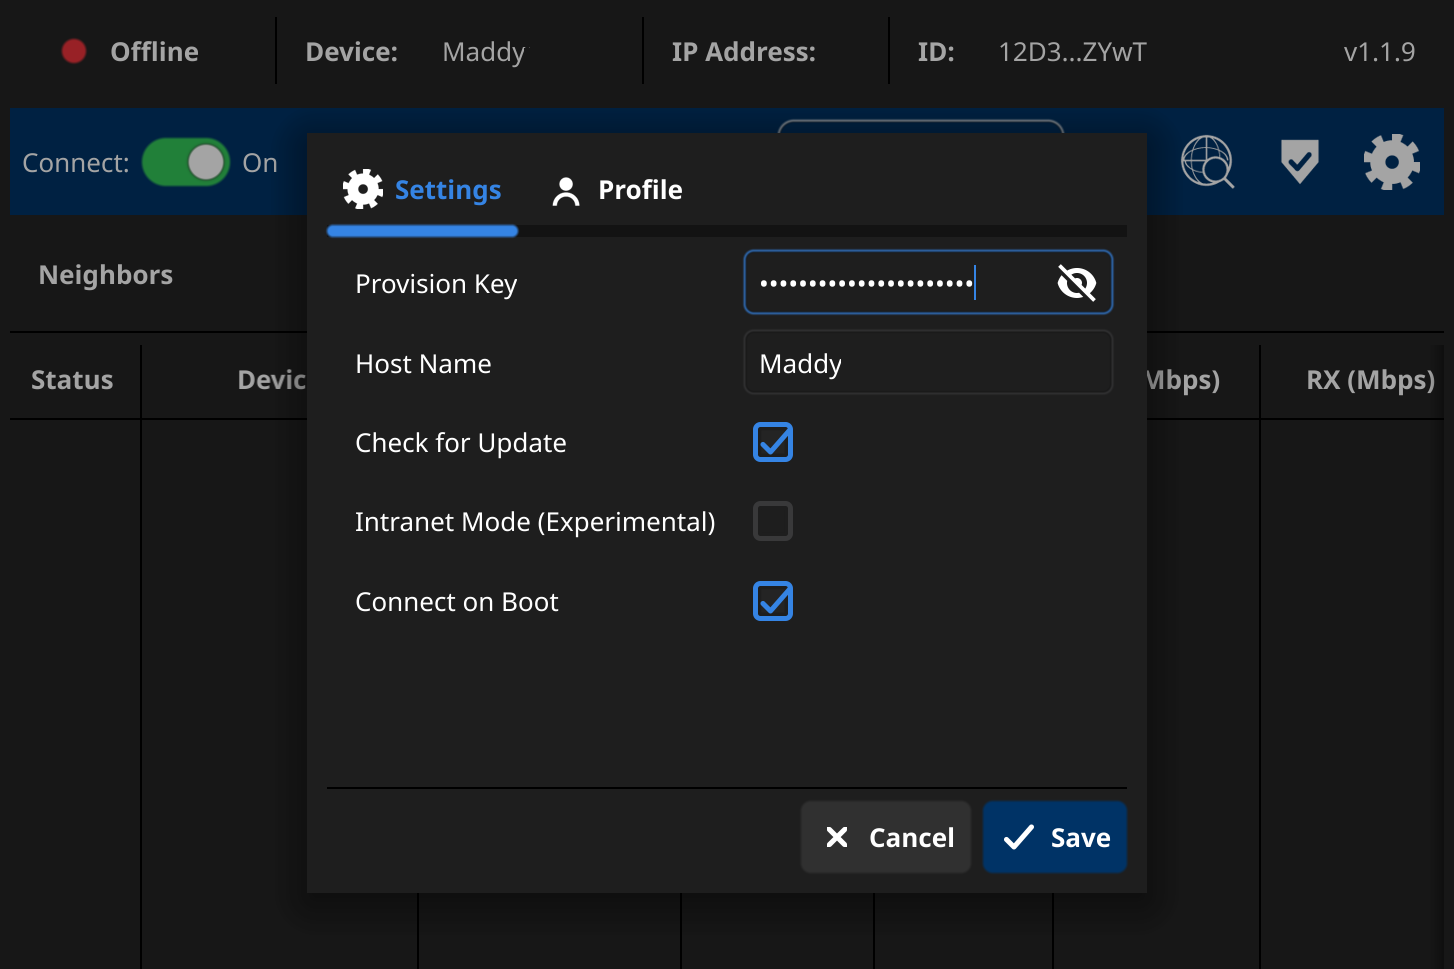
- Click the settings icon and go to Settings.
- Paste the key into the "Provision Key" field.
- Enter a Host Name and click Save.
5. Provision the Device to Inventory
- Return to the OrpheLink web dashboard and click the Provision icon.
- Confirm that the device appears in the Discovered devices list.
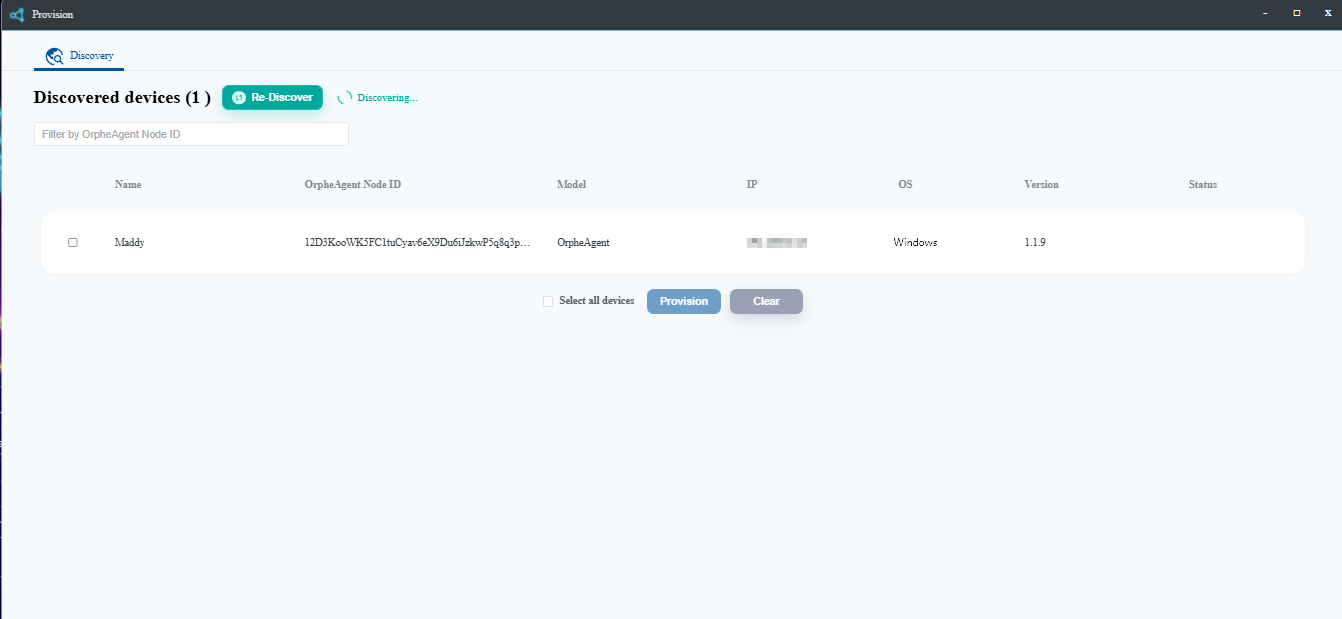
- Select the device and click the Provision icon to provision it.
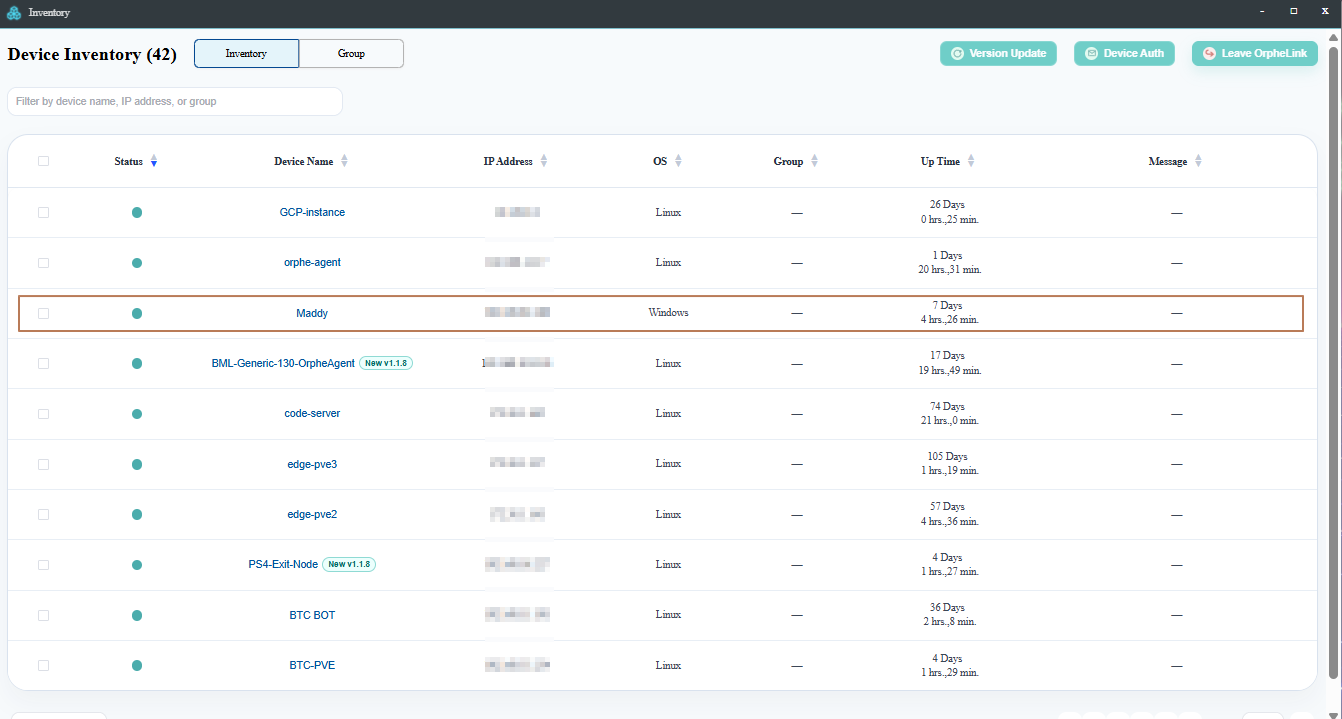
- Go to Inventory and verify that the device is listed with an Active status.
6. Establish a Data Plane Connection
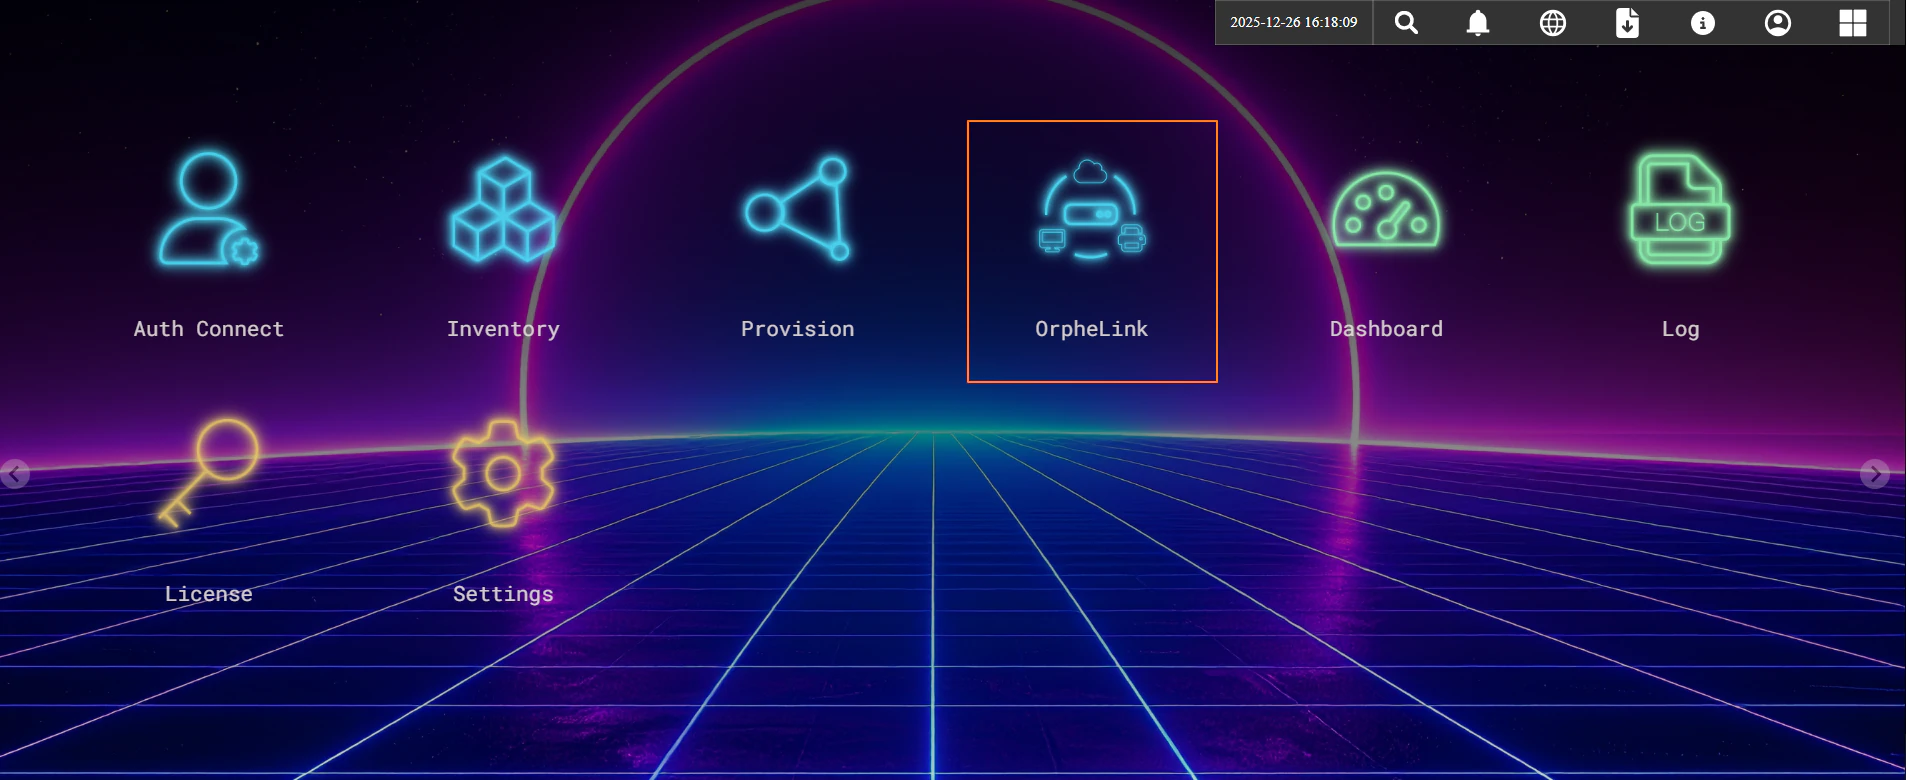
- Navigate to the OrpheLink icon in the web dashboard.
- Add a New Site
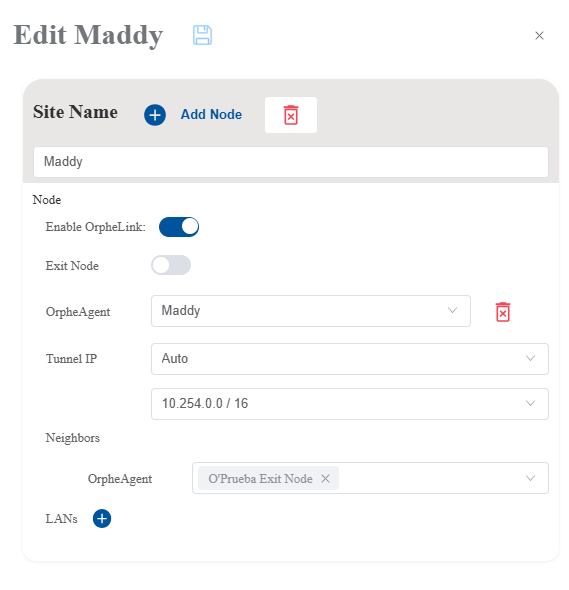
- Click the Add Site button.
- Configure Site Details
- Enter the desired name in the Site Name field.
- Select the appropriate OrpheAgent device from the list.
- Set Network Preferences
- Set the Tunnel IP configuration to Auto.
- Configure Neighbors
- In the Neighbors section, select the target OrpheAgent device to connect to.
- Save
- Click the Save icon to apply changes.
7. Configure OrpheLink Subnets
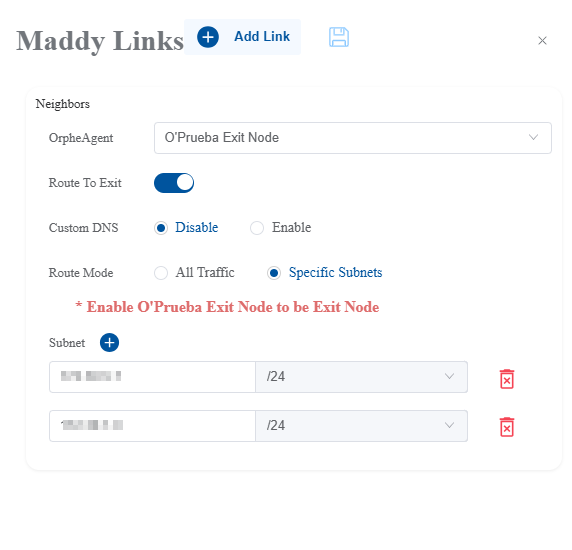
- Open Node Map: Click Get Node Map at the top right.
- Select Site: On the Topology of Site screen, click on your target site.
- Select Node: Click the specific OrpheAgent (node) you wish to configure.
- Edit Links: In the side panel, click the Edit icon next to the agent name.
- Add Subnet: Click the + button.
- Set the Exit node toggle as required.
- Enter the internal IP Address and Mask of the resources to share (for example,
192.168.22.0/24). - Save: Click the Save icon to apply changes.