OrpheConsole Quick Examples
OrpheConsole
OrpheConsole Quick Examples
This chapter provides common examples for operating and connecting to an OrpheConsole device, including serial console access, SSH, file transfer, and remote service access through OrpheLink.
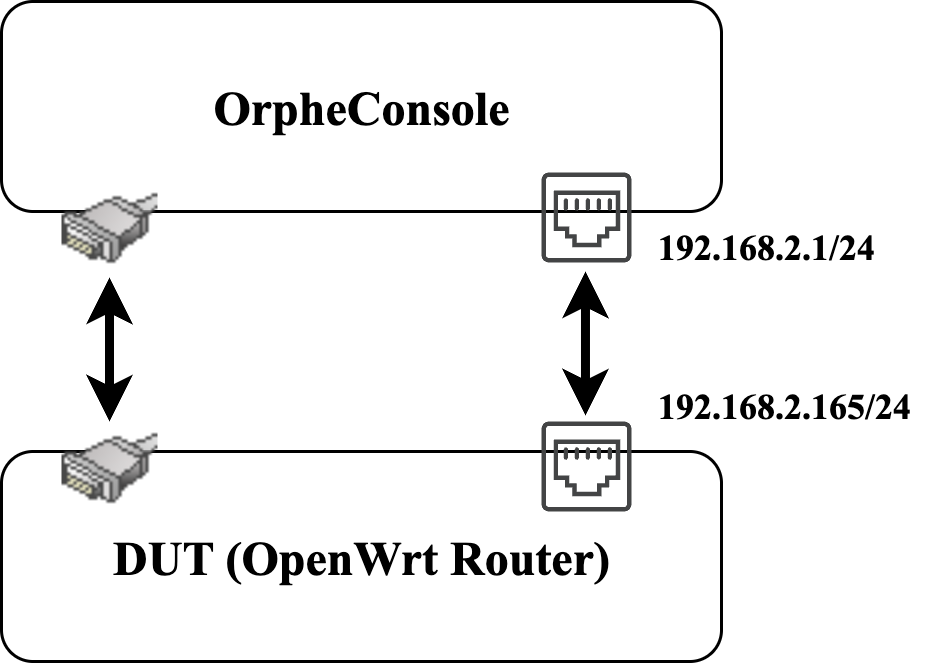
Environment
- An OrpheConsole device.
- A device under test (DUT) with an RJ45 management port or serial port.
- The OrpheConsole must be powered on and connected to the DUT through Ethernet or a serial interface.
Command Reference

Check Available Serial Ports
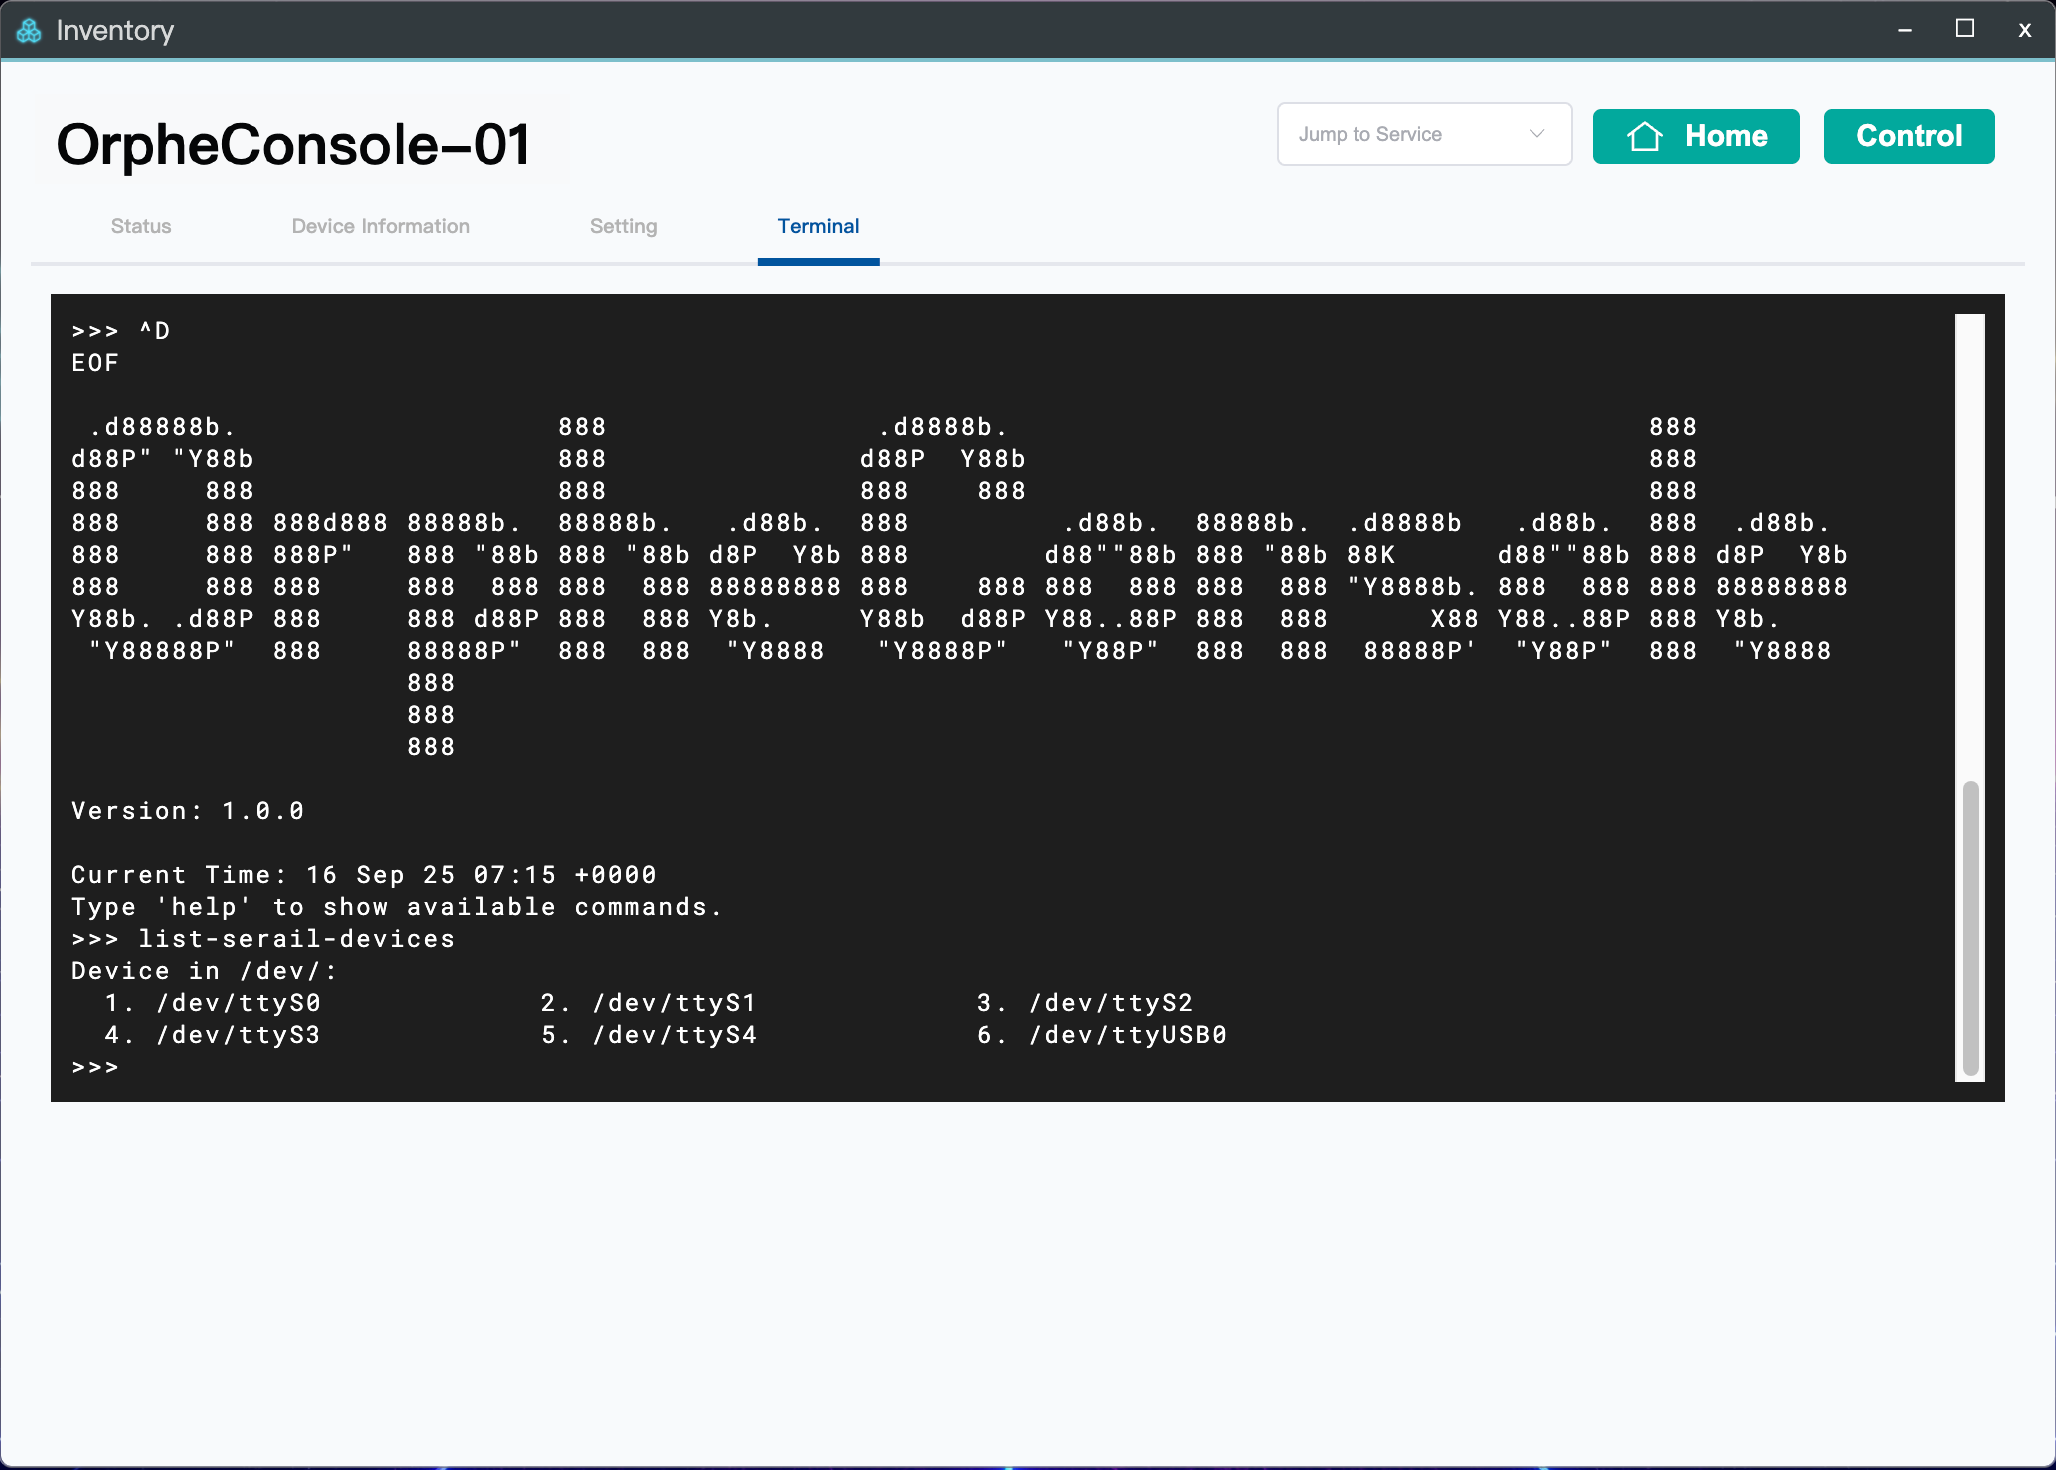
Confirm which serial device is available:
/dev/ttyUSB
Connect to the DUT Through Serial
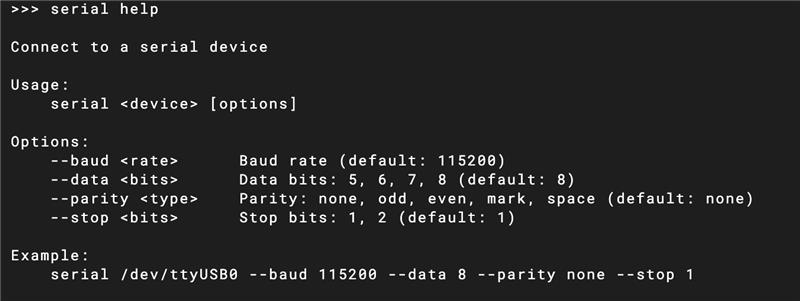
Connect with the default baud rate:
serial /dev/ttyUSB0
To specify a baud rate, append it to the command:
serial /dev/ttyUSB0 115200
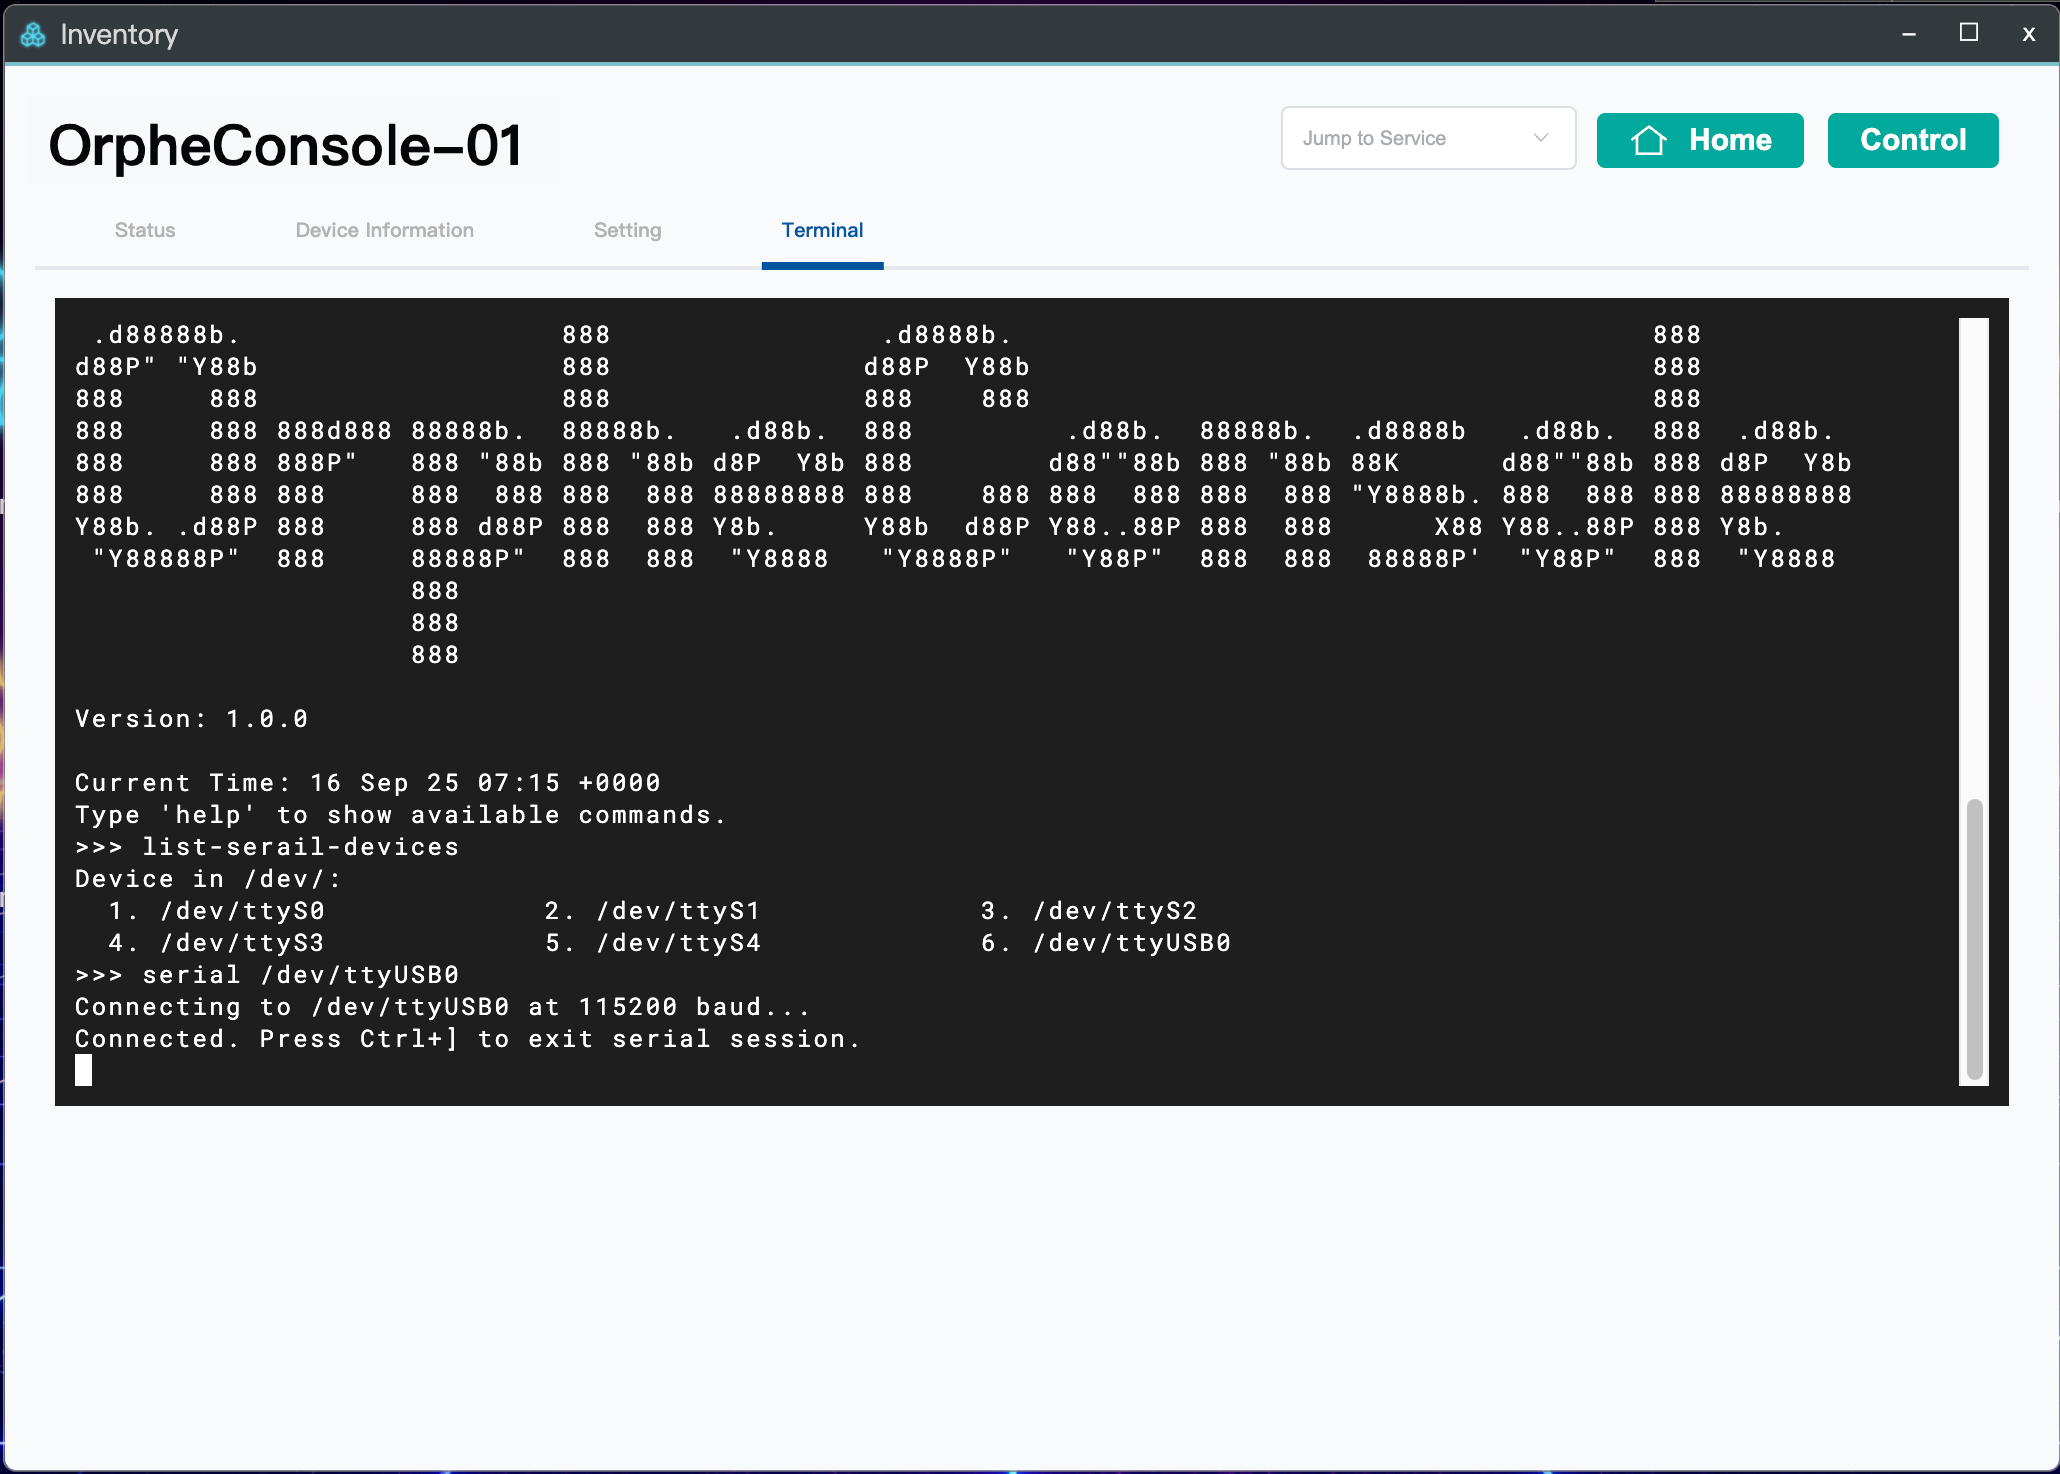
After connecting successfully, you can operate the DUT through OrpheConsole.
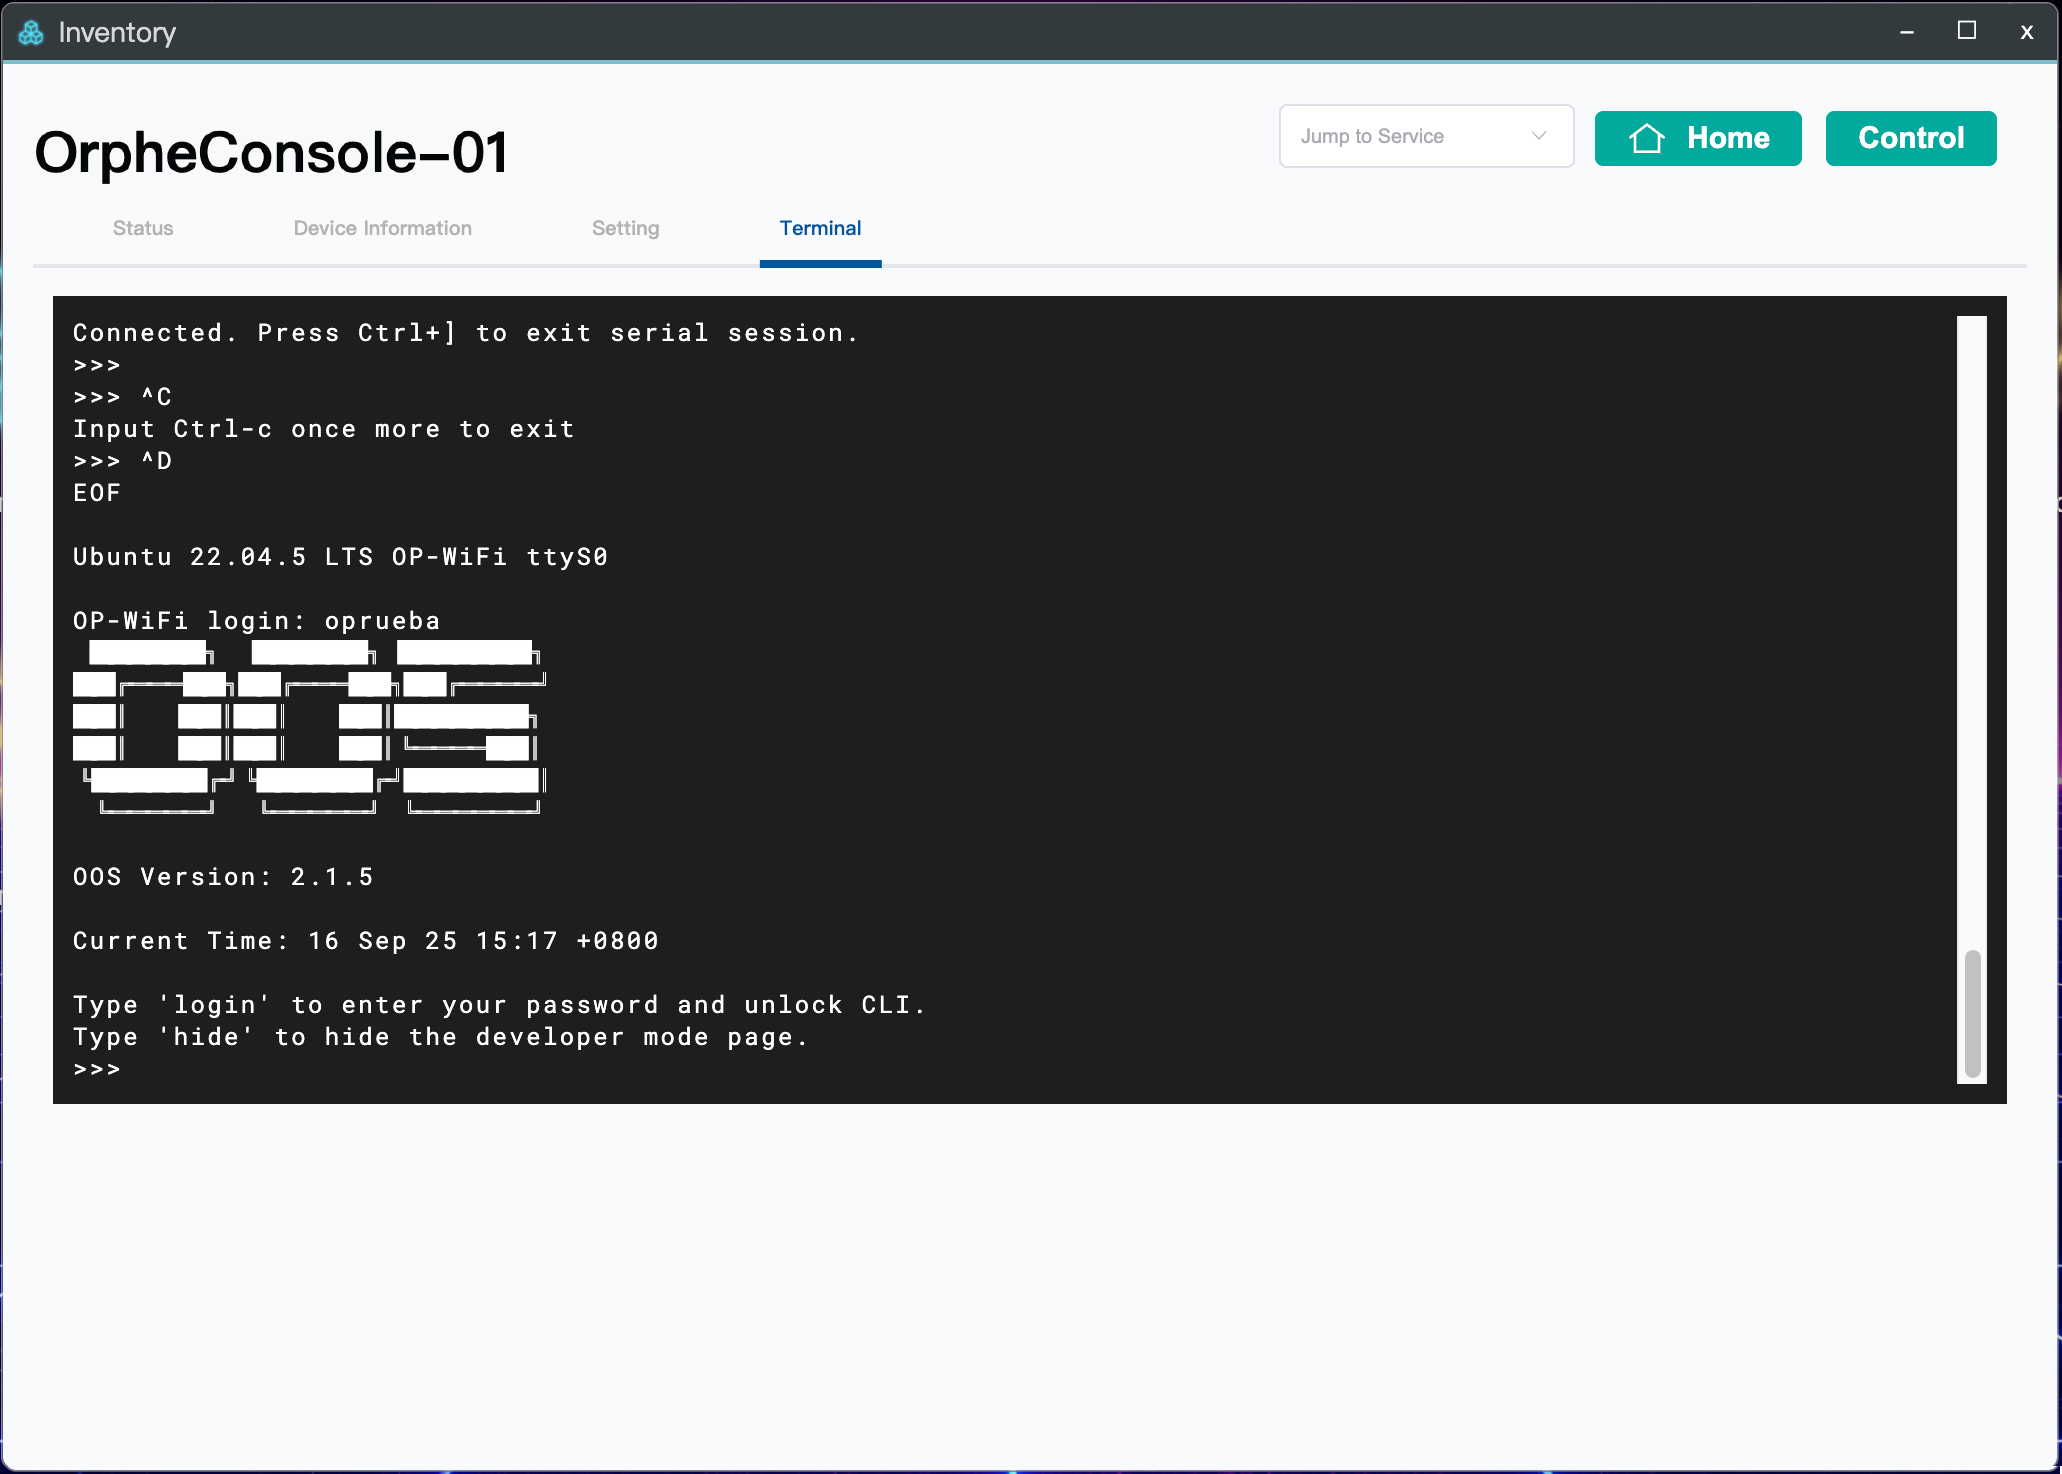
To exit the serial session and return to the host terminal prompt, press Ctrl+J.
Connect to OrpheConsole Through SSH
Use SSH to access OrpheConsole. The source document provides the following command and default password:

ssh Account
Default password:
password
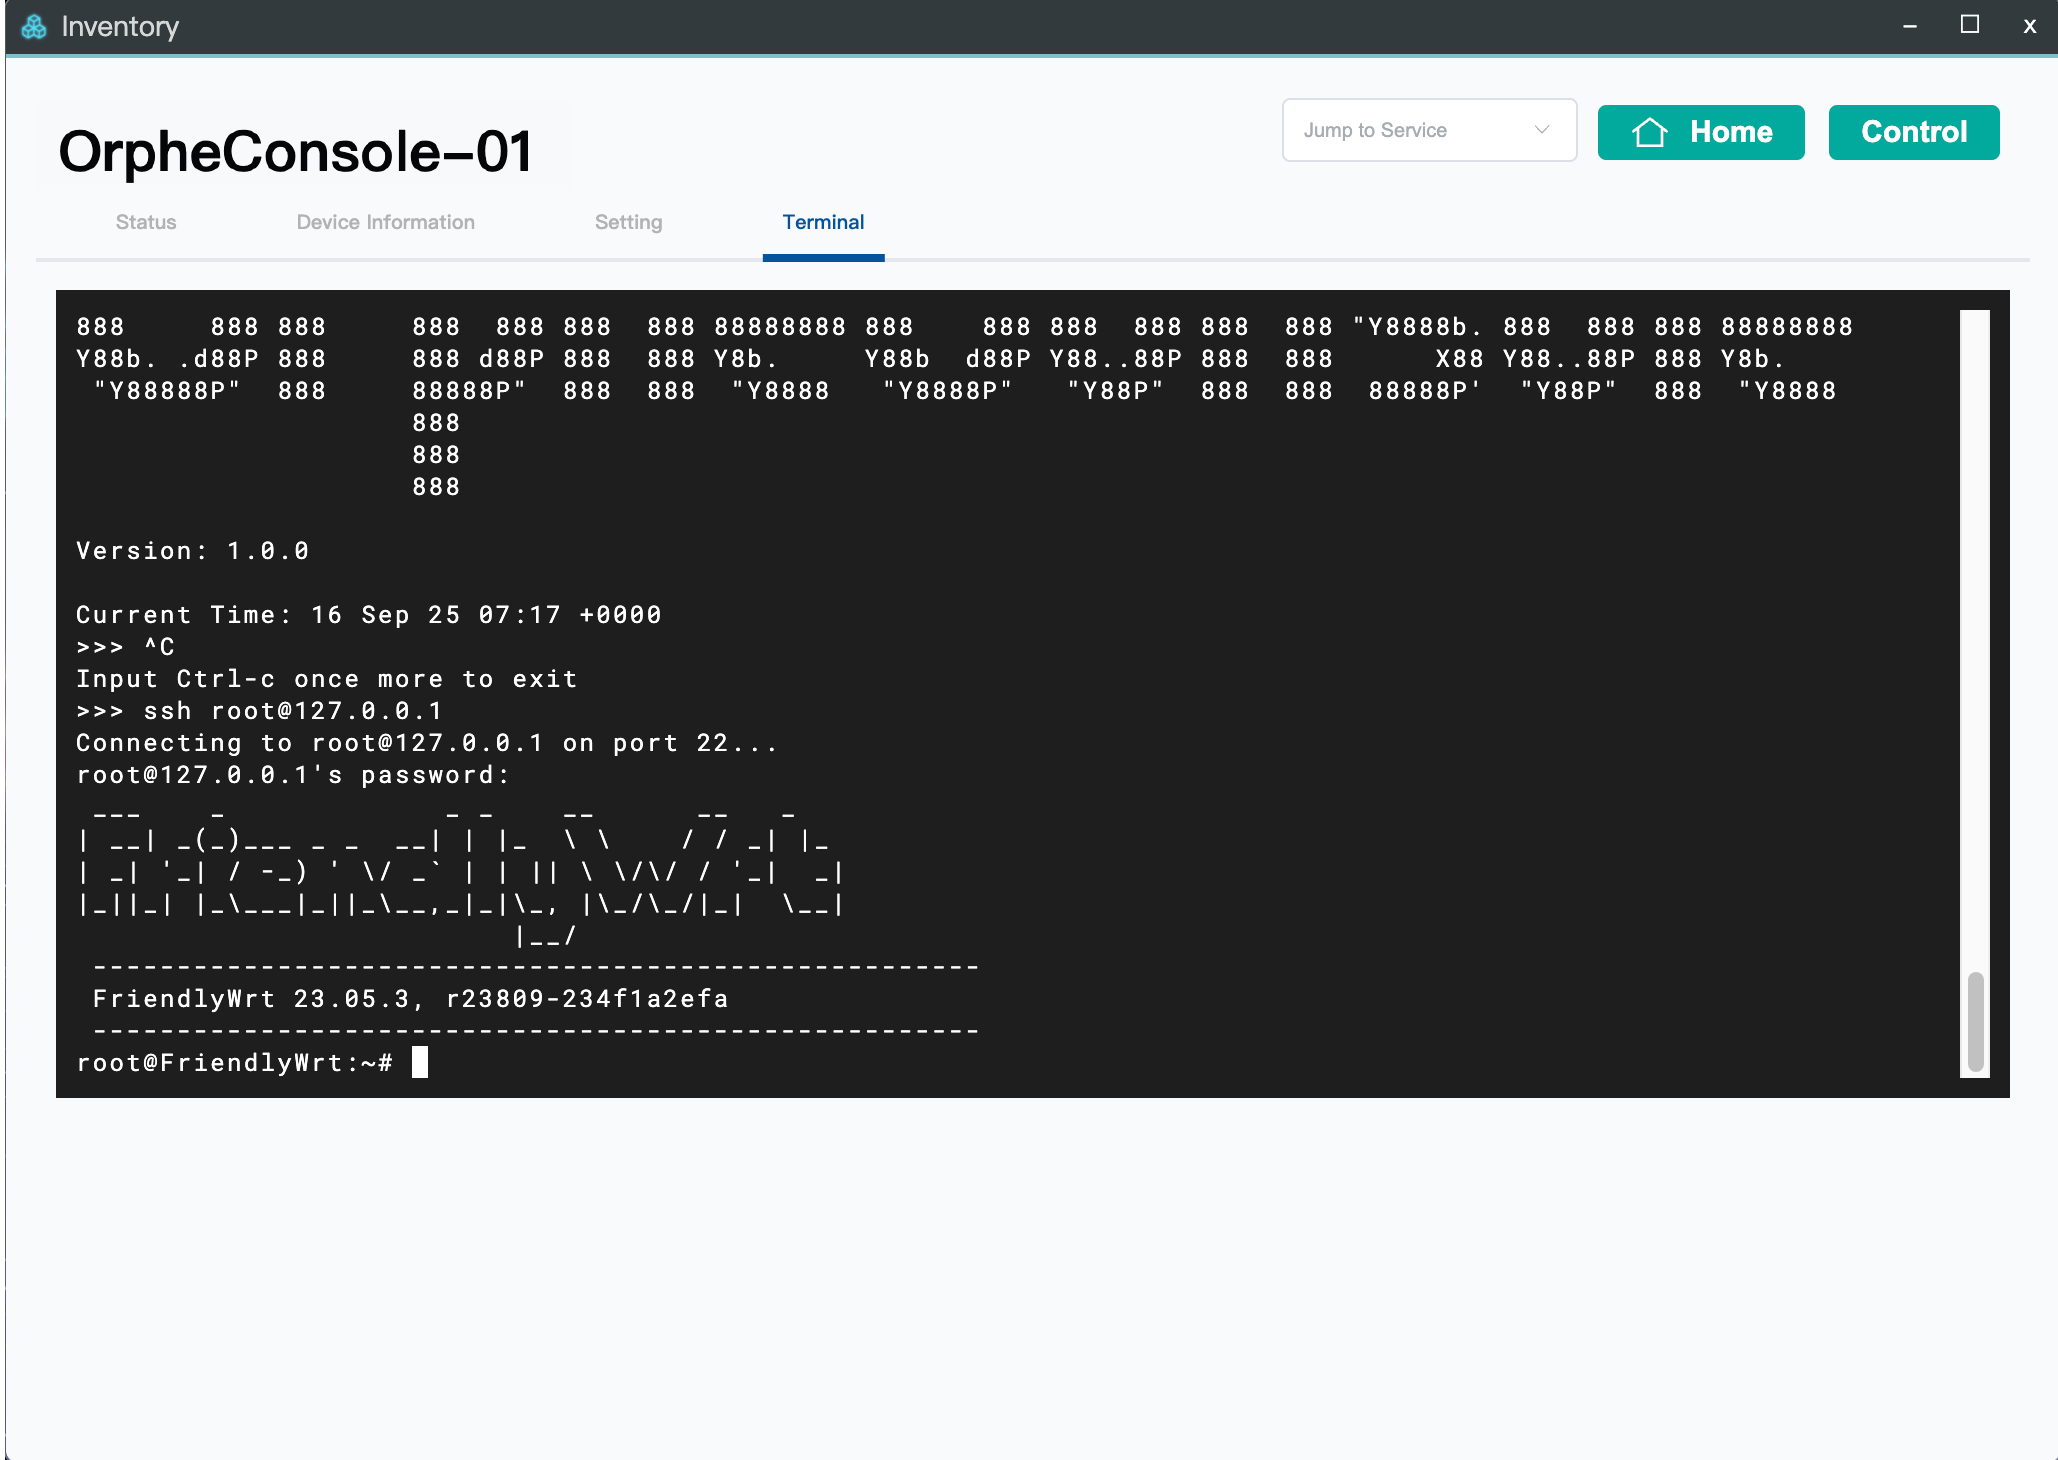
!WARNING TODO: The source command uses
Accountbut does not provide a complete SSH destination in text. Confirm the required username and host before publishing.
!TIP SSH can provide faster configuration and automation than the serial console.
Transfer Files Through SFTP
Install the SFTP client package on OrpheConsole:
opkg update
opkg install openssh-sftp-client
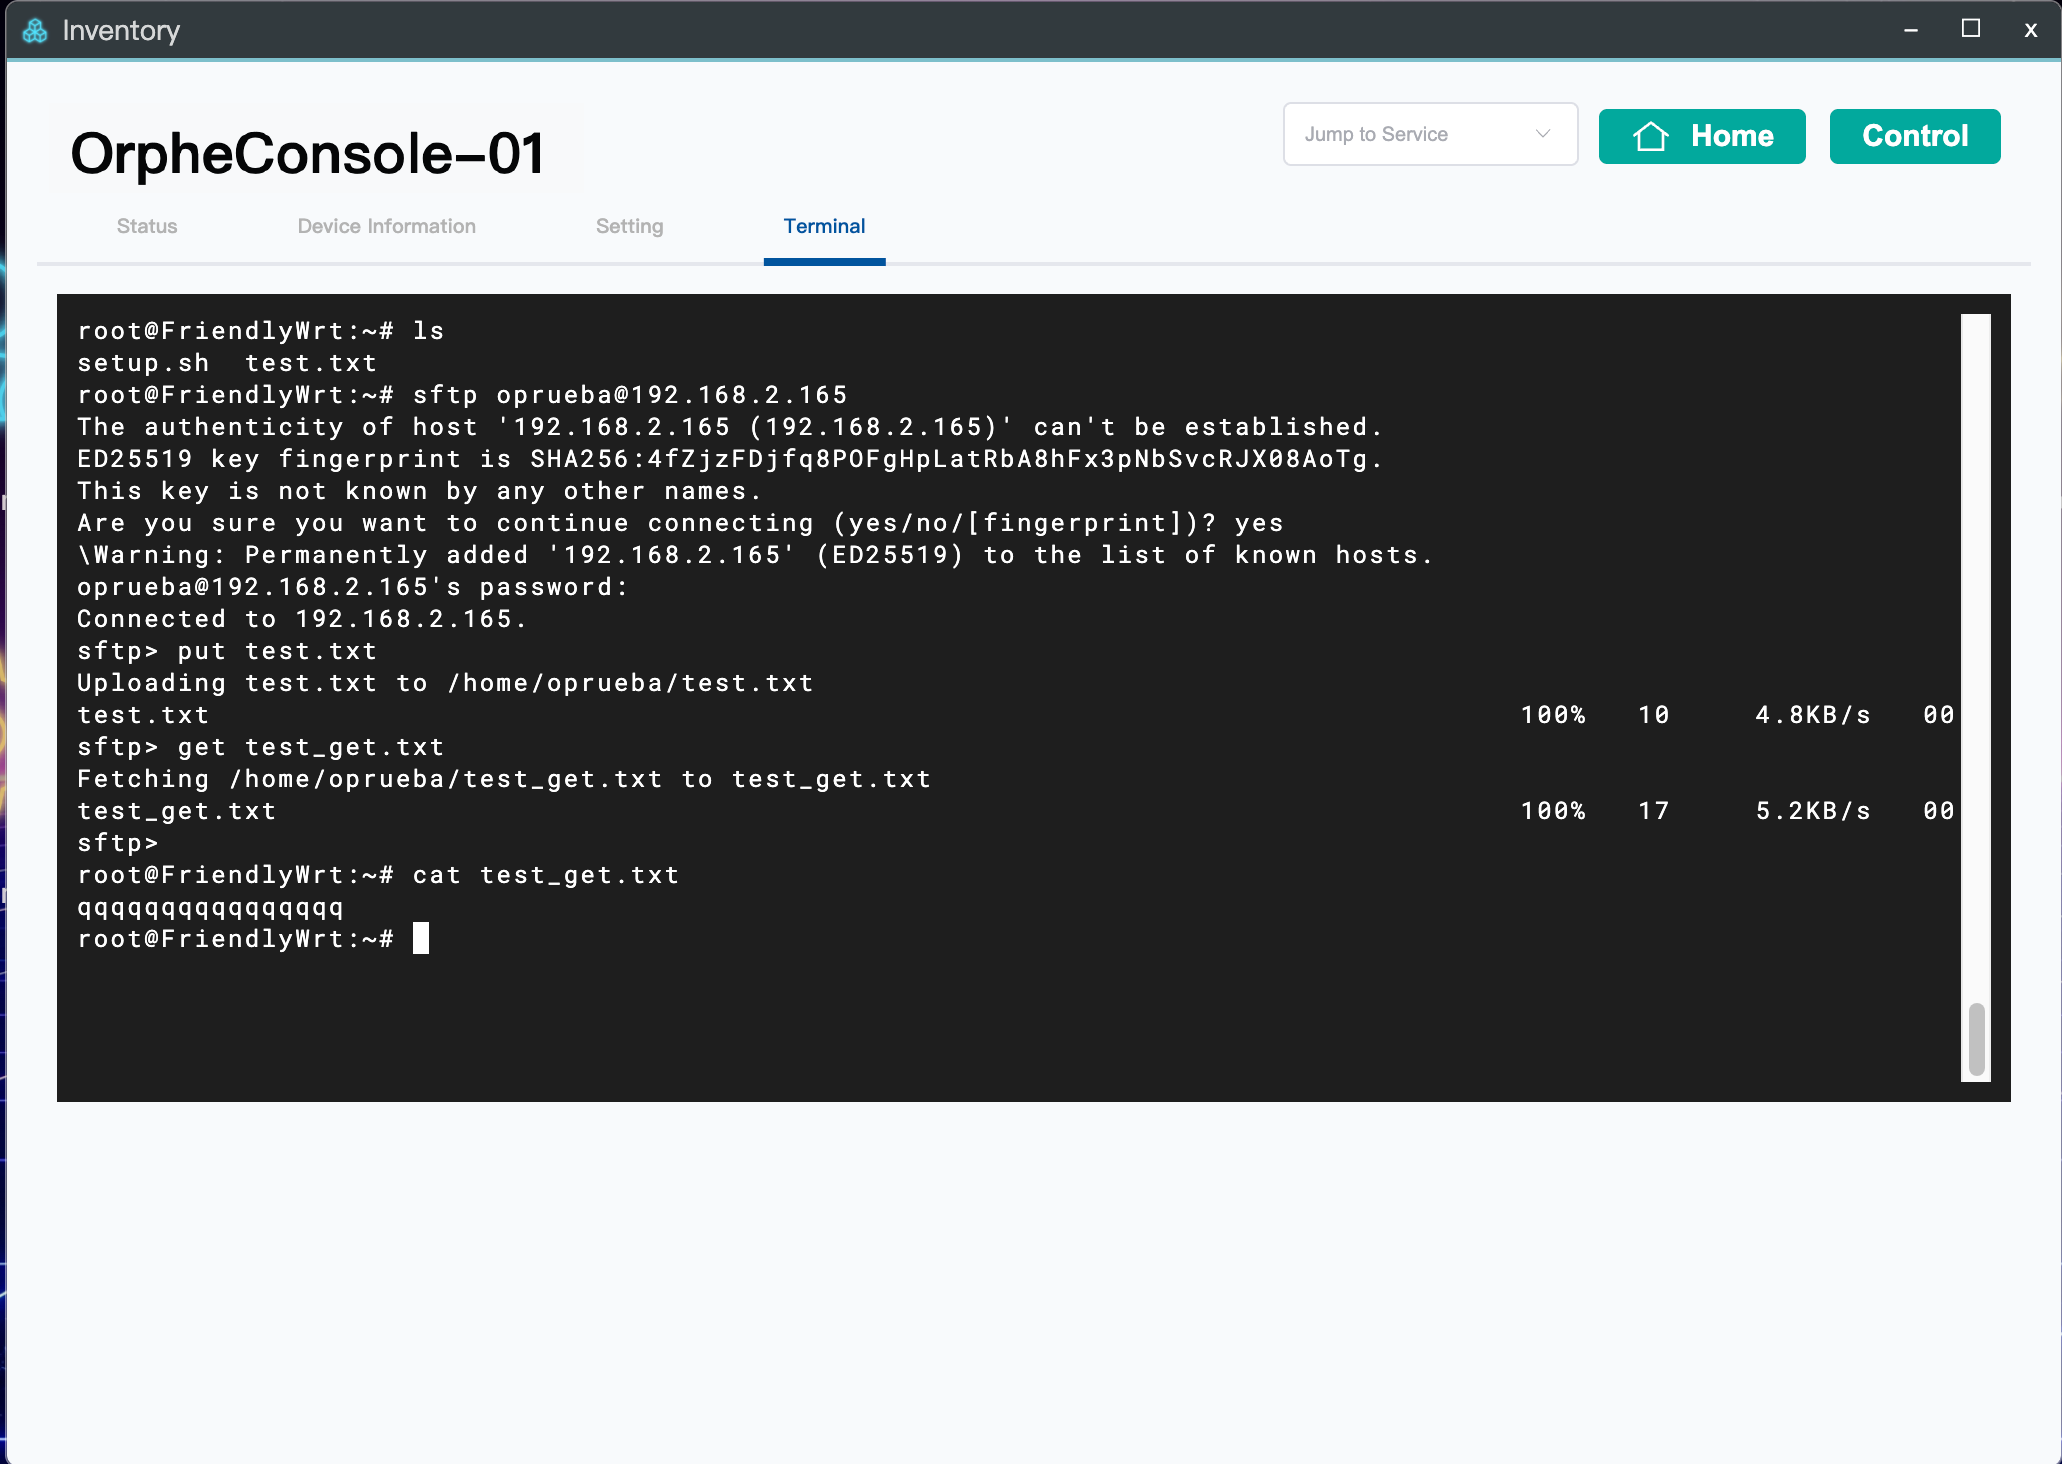
Then initiate the transfer from the local PC as shown below.

Connect to the DUT through its serial port and confirm that the transferred file was received and saved on the device. Use ls to verify that the file appears in the target directory, such as /tmp.
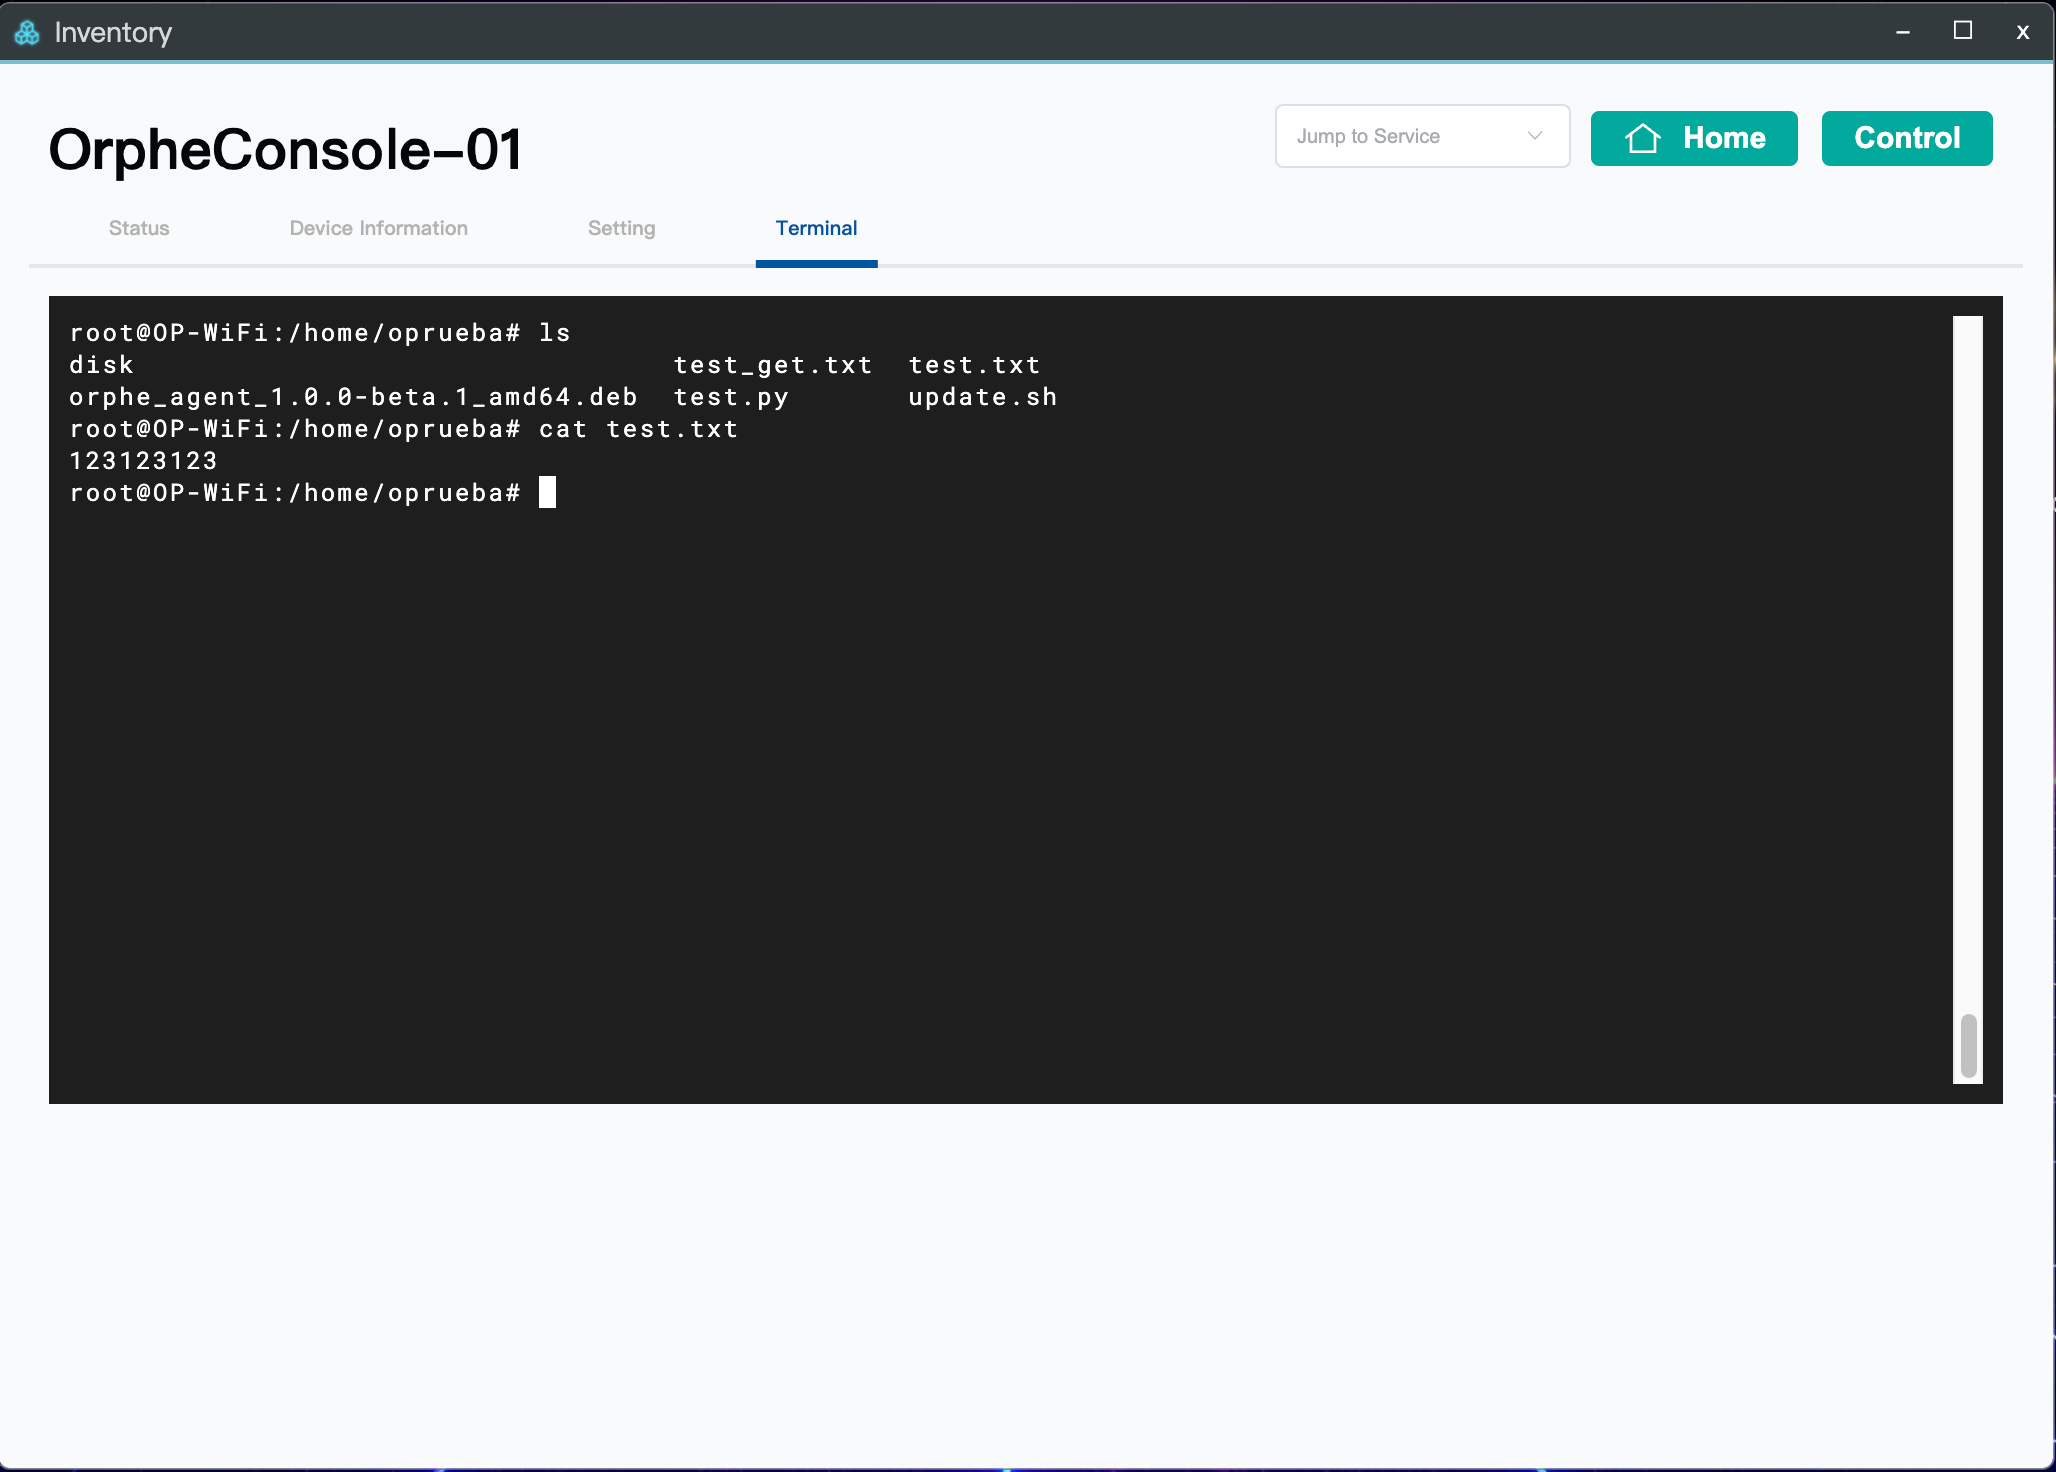
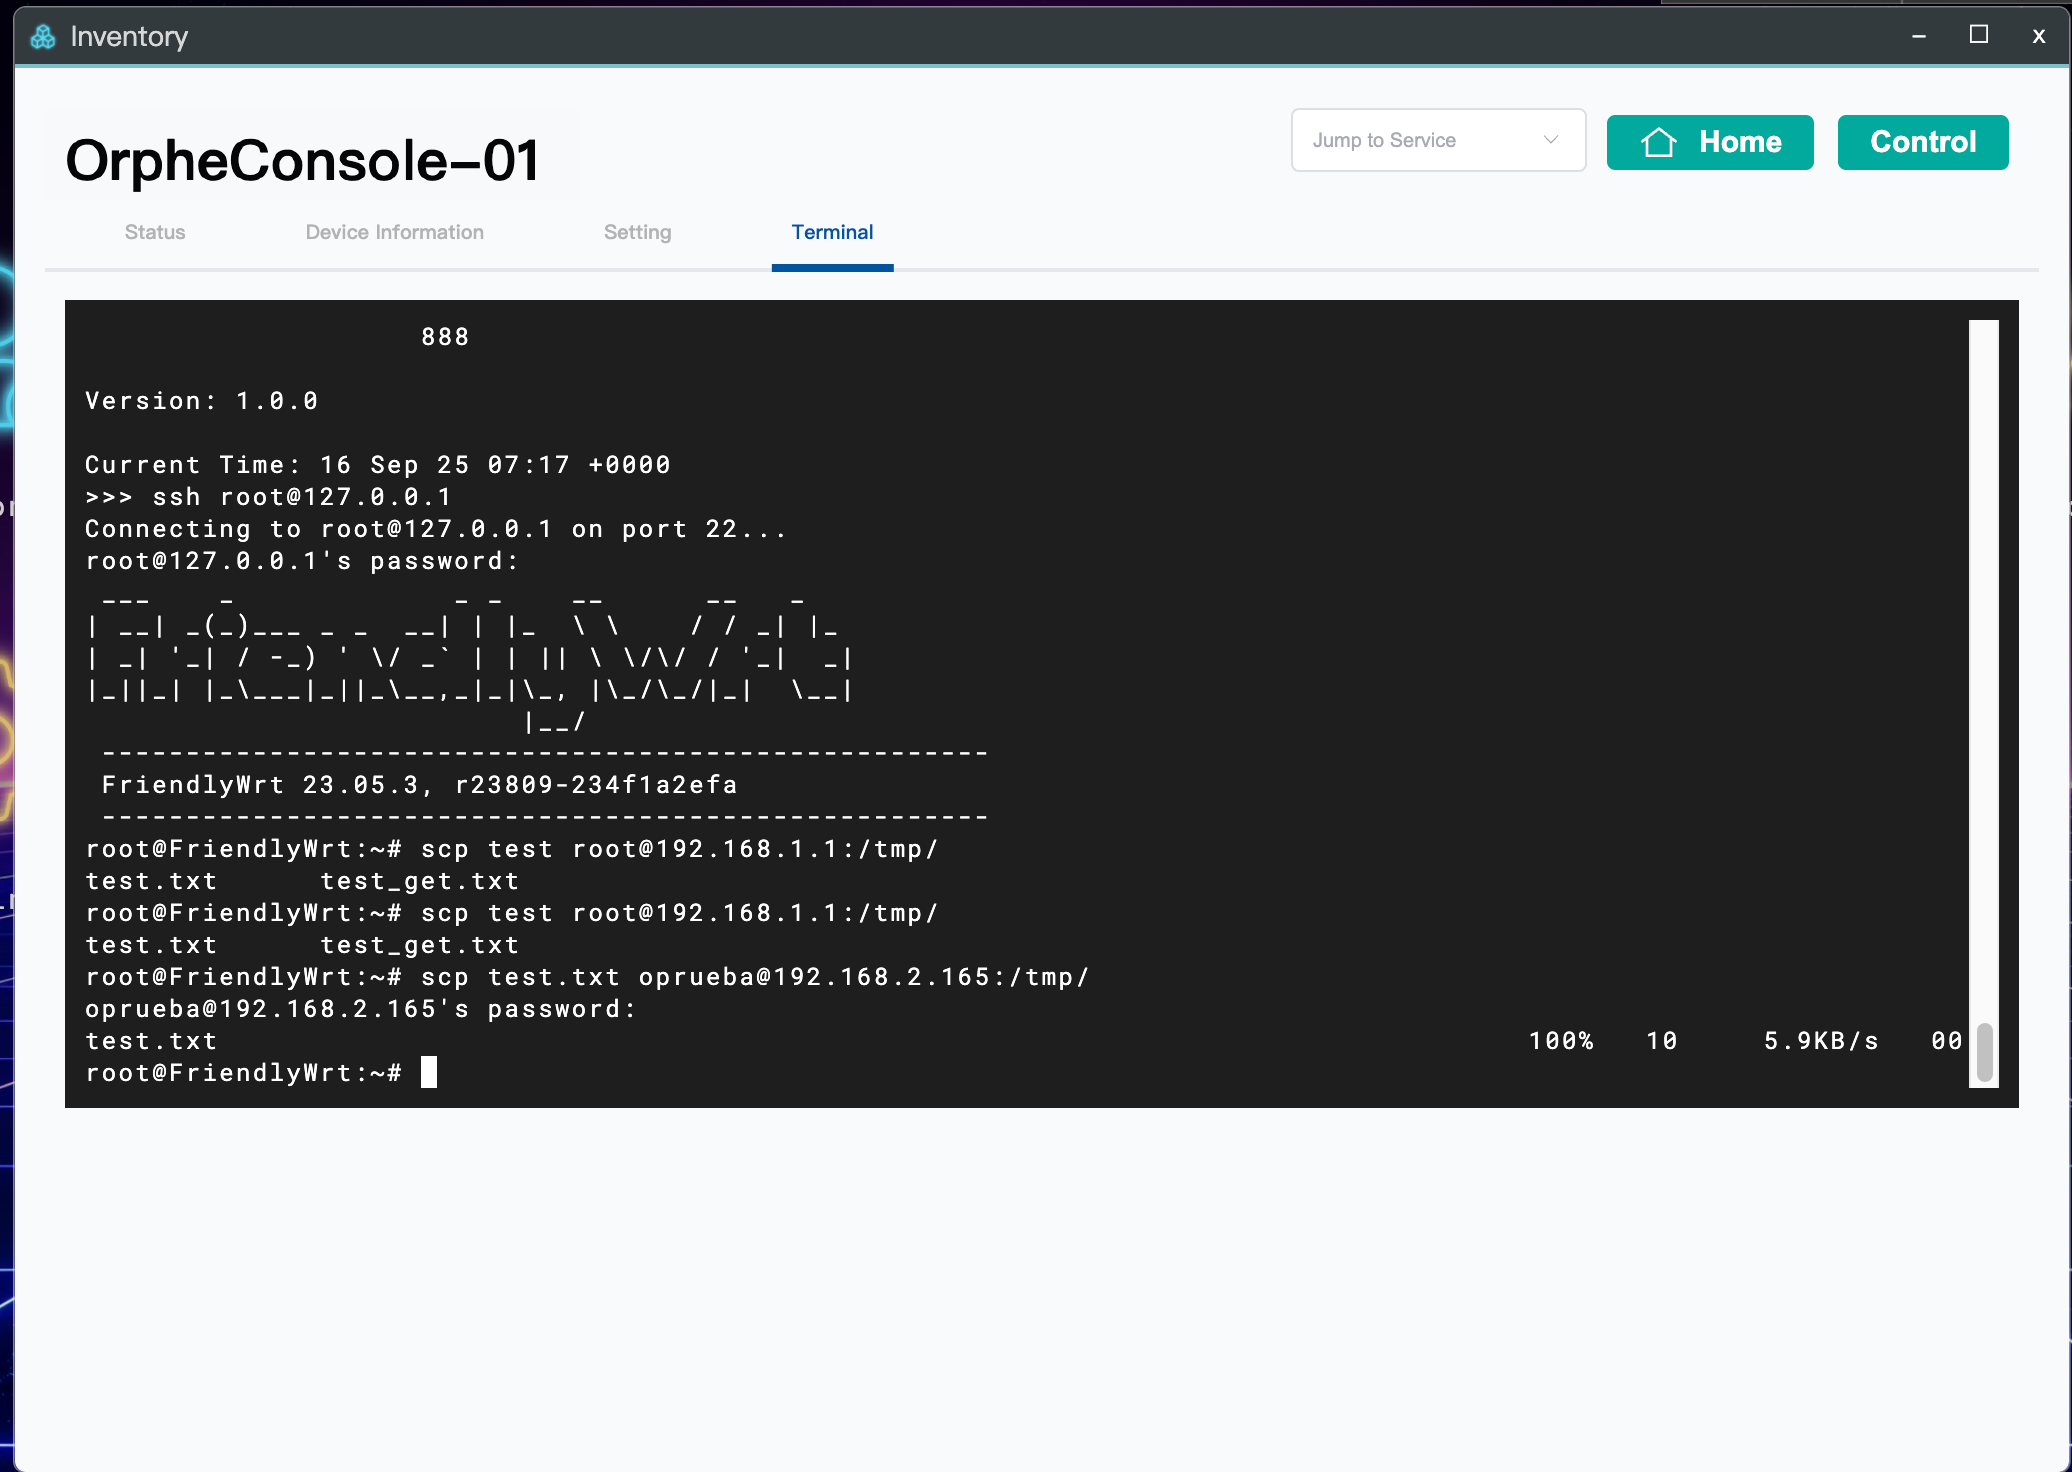
Transfer Files to the DUT with SCP
The following example uploads a file such as test.txt from the PC to the DUT.

Transfer Files from the DUT to OrpheConsole
Use SCP to transfer files from the DUT to a specified directory on OrpheConsole.

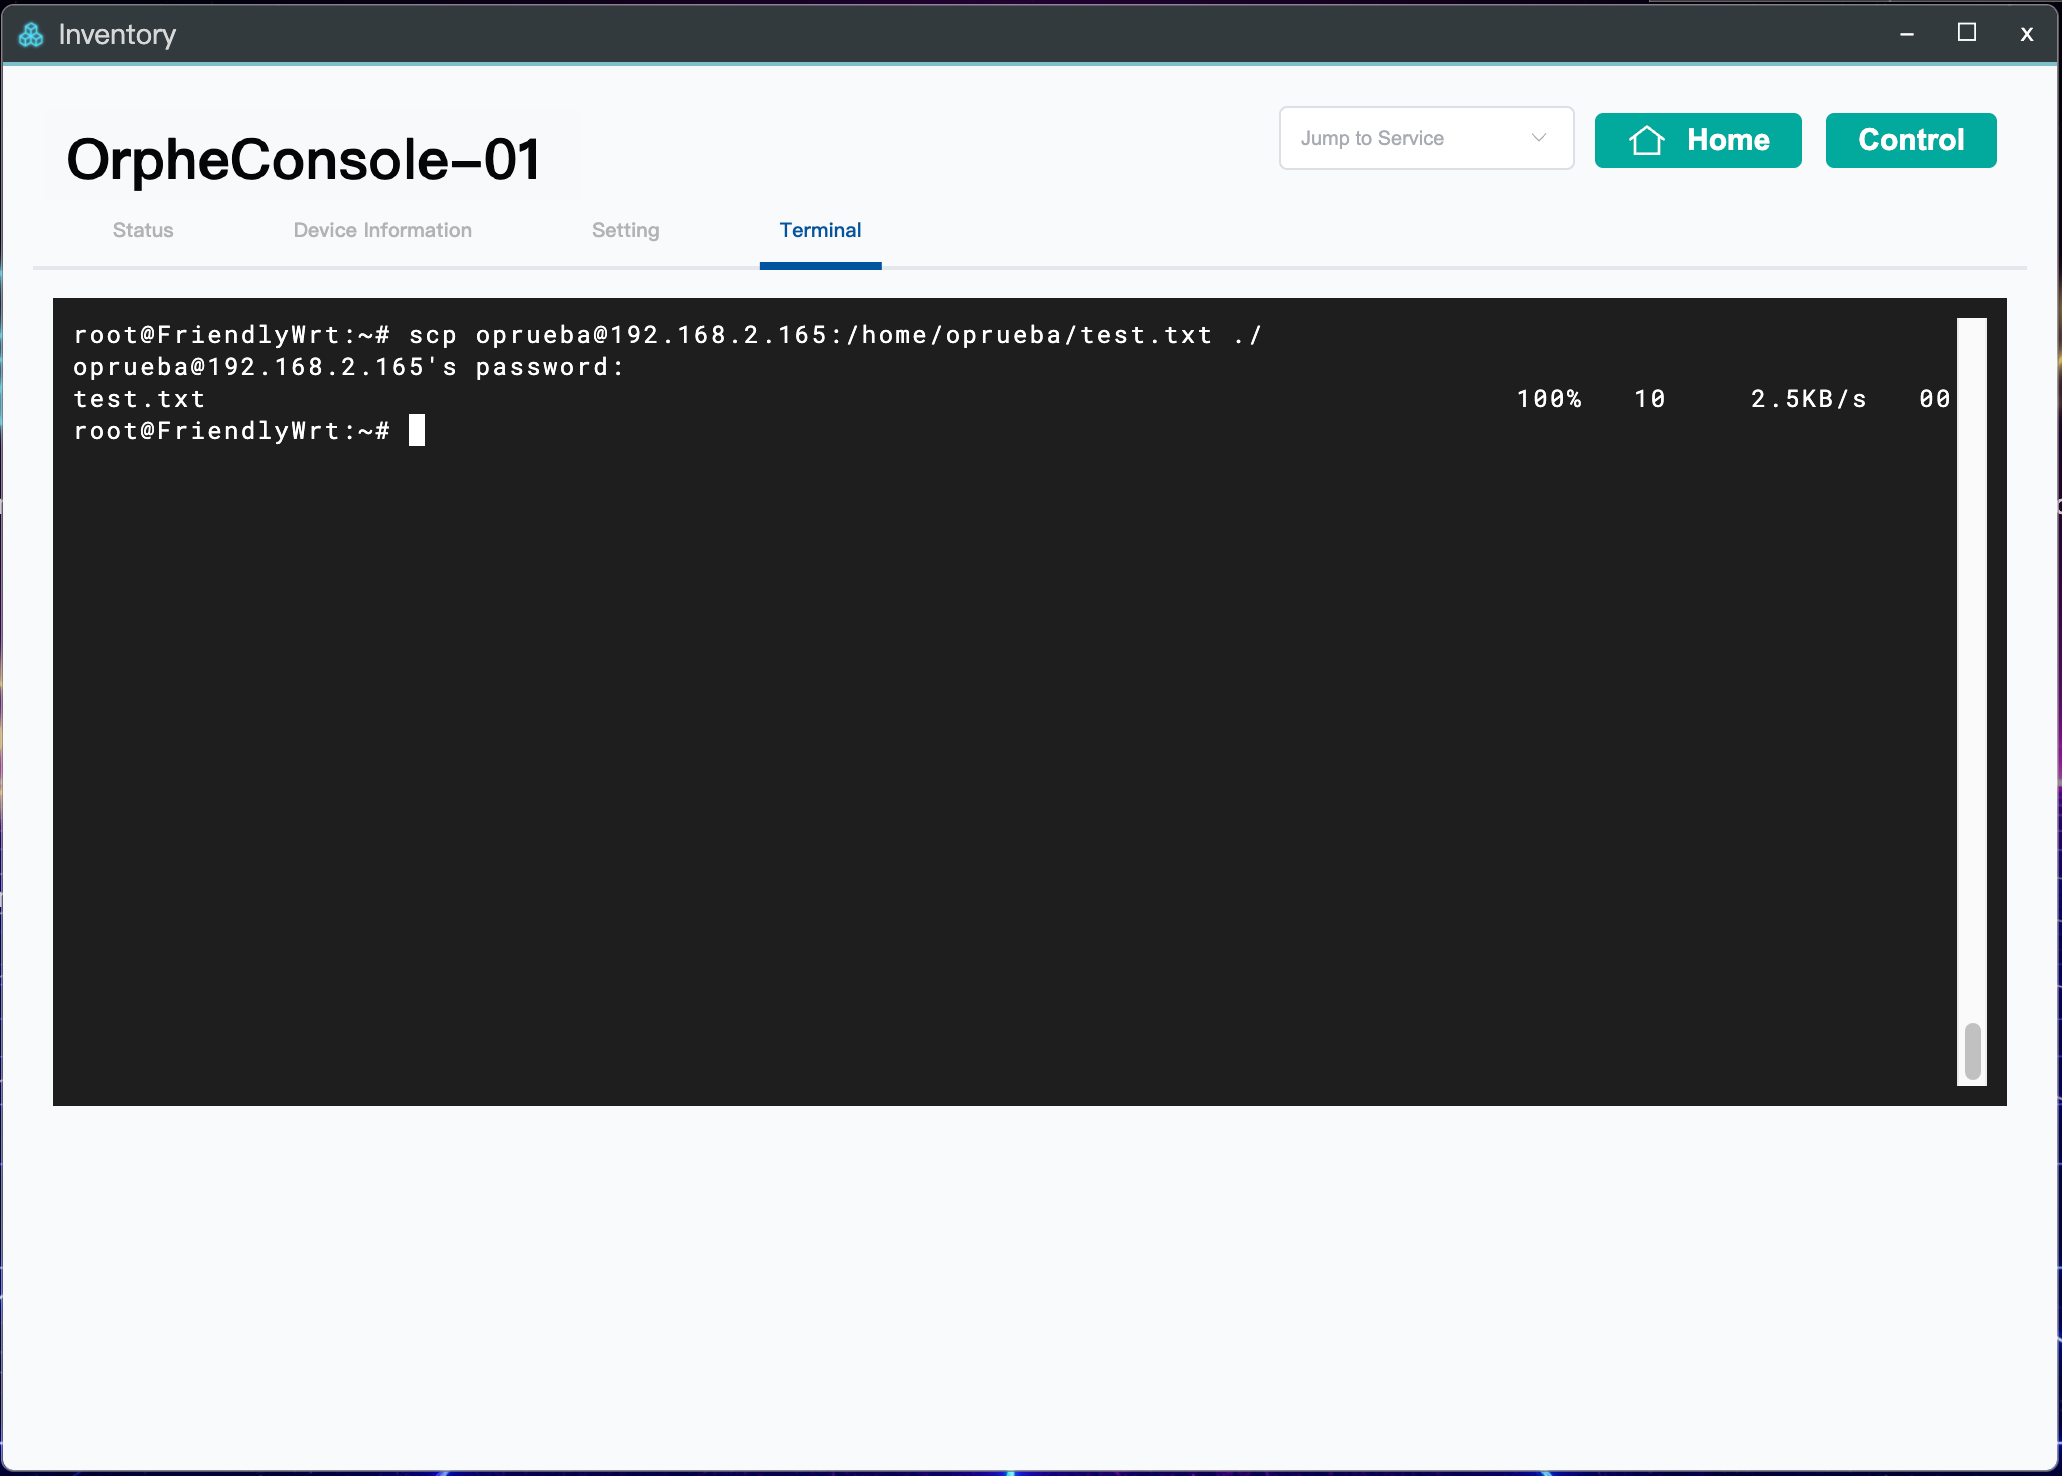
!WARNING TODO: The source document shows the SFTP and SCP commands only in screenshots. Add accessible text commands after their exact values have been confirmed.
Access the DUT Remotely Through OrpheLink
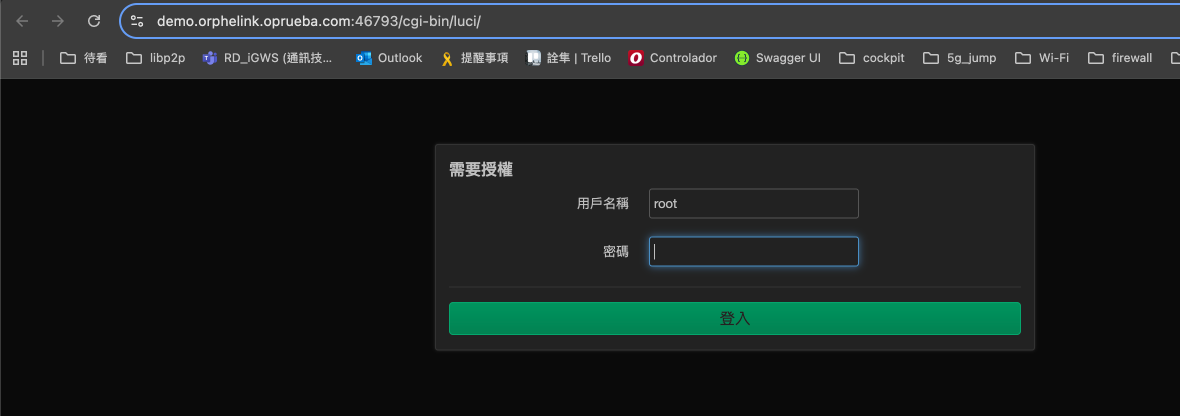
Use OrpheLink's Jump to Service feature to access a service running on a device connected to OrpheConsole, such as the OpenWrt LuCI Web UI.
1. Install the Required Packages
On OrpheConsole, install socat and screen:
opkg install socat
opkg install screen
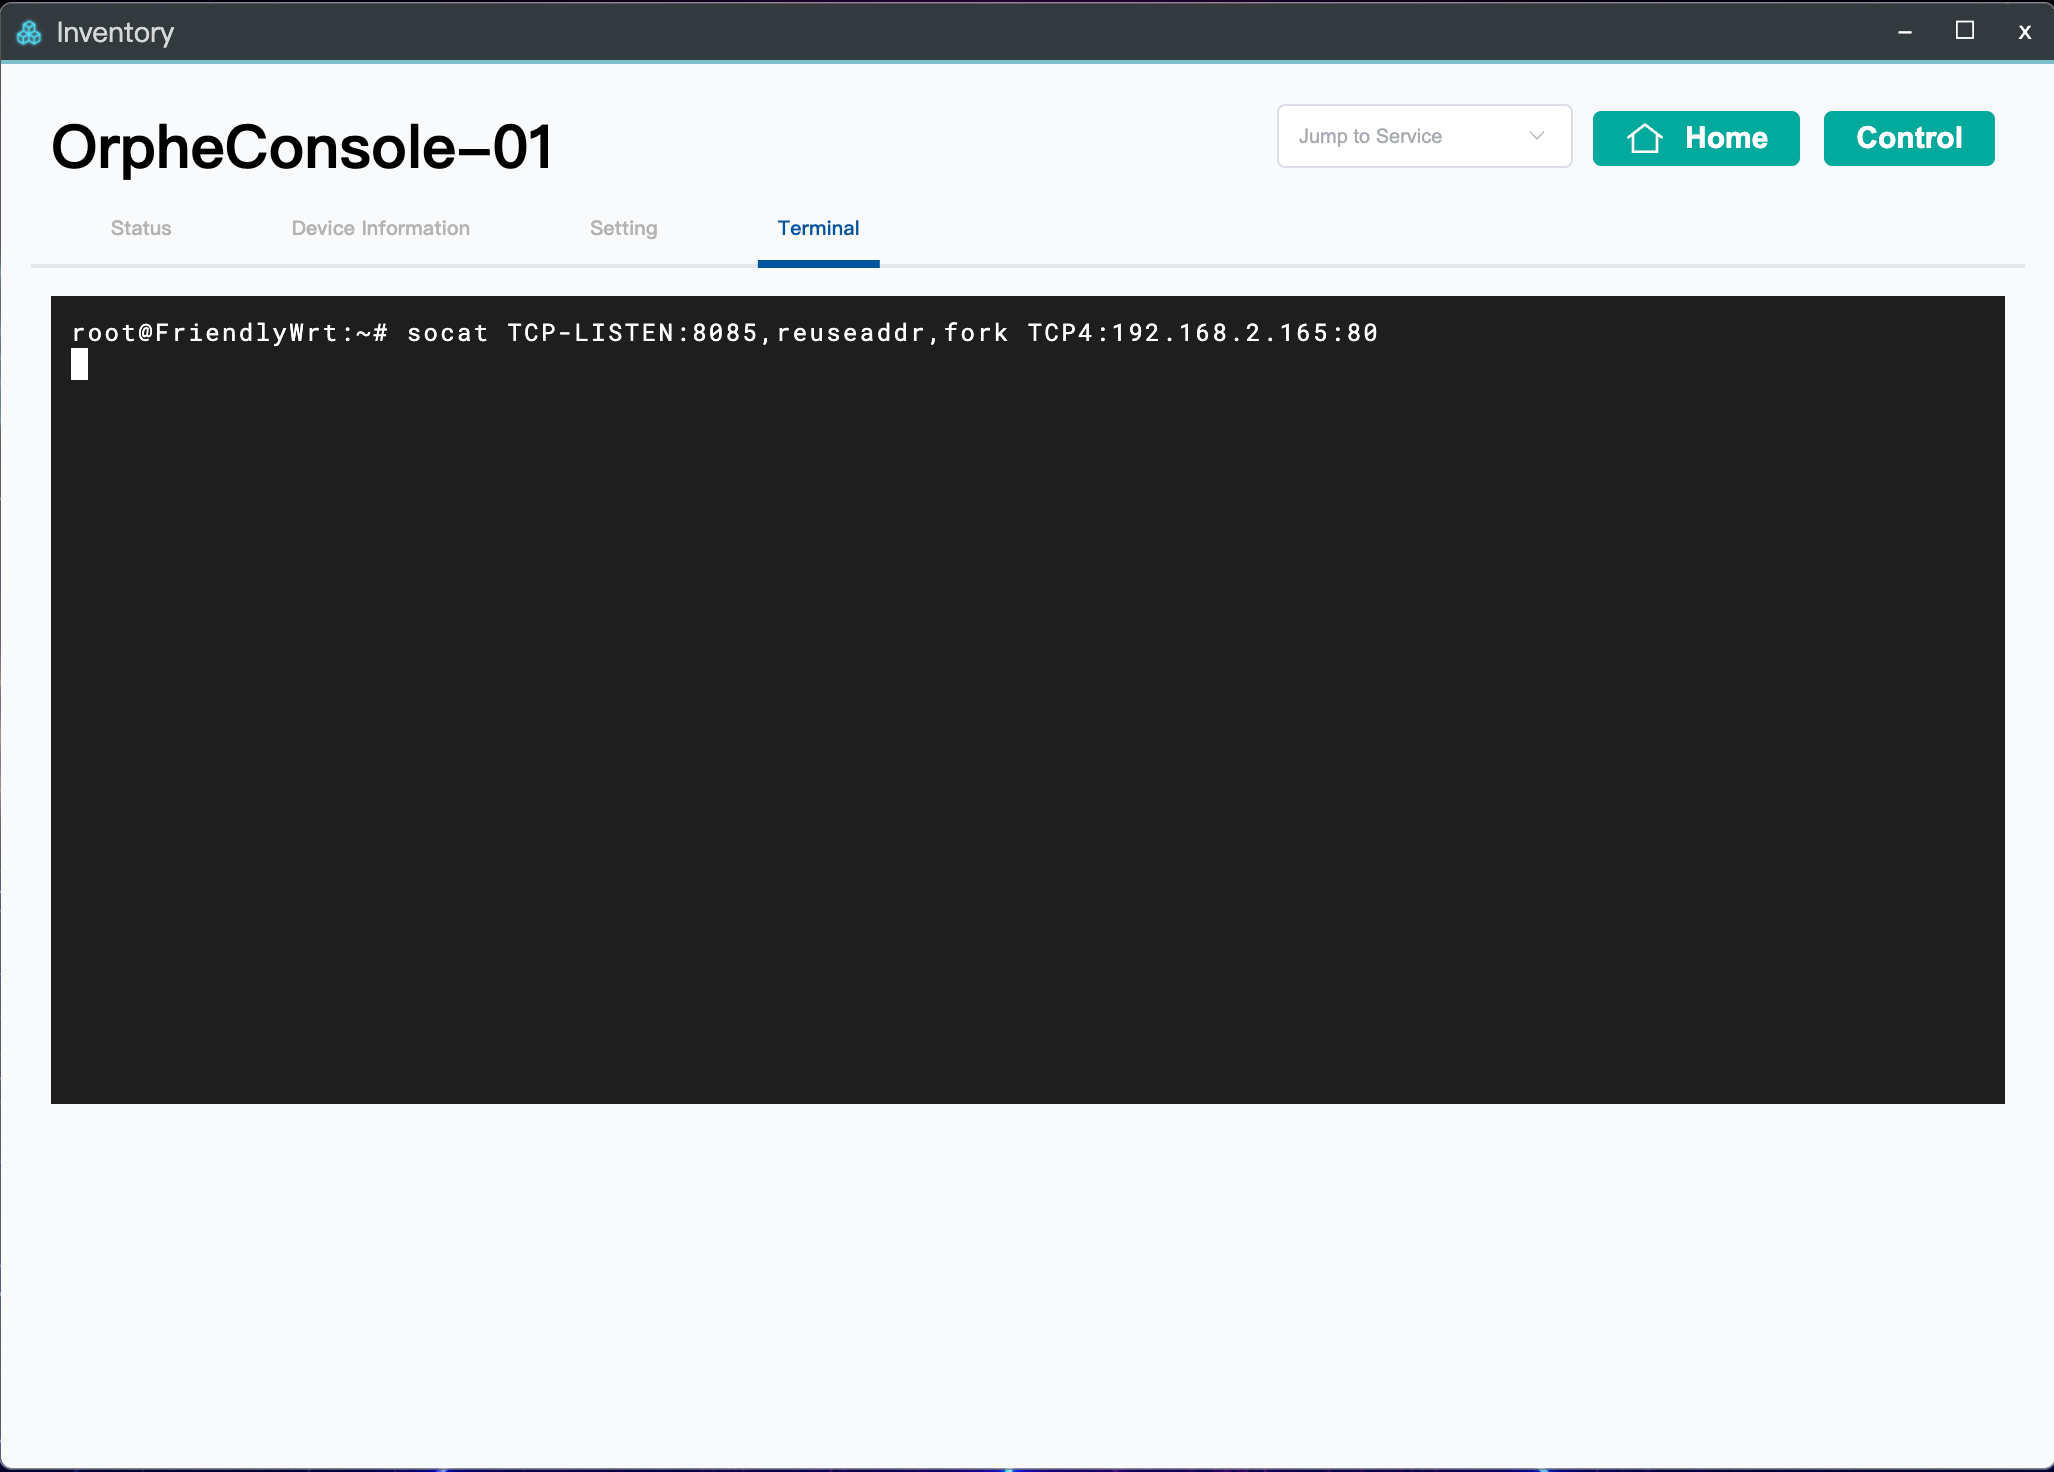
2. Start a Screen Session and Forward the Port
screen -S socat
Within the session, run:
socat TCP-LISTEN:8085,reuseaddr,fork TCP4:192.168.2.165:80
This forwards OrpheConsole port 8085 to DUT port 80, assuming that the DUT Web UI runs on port 80.
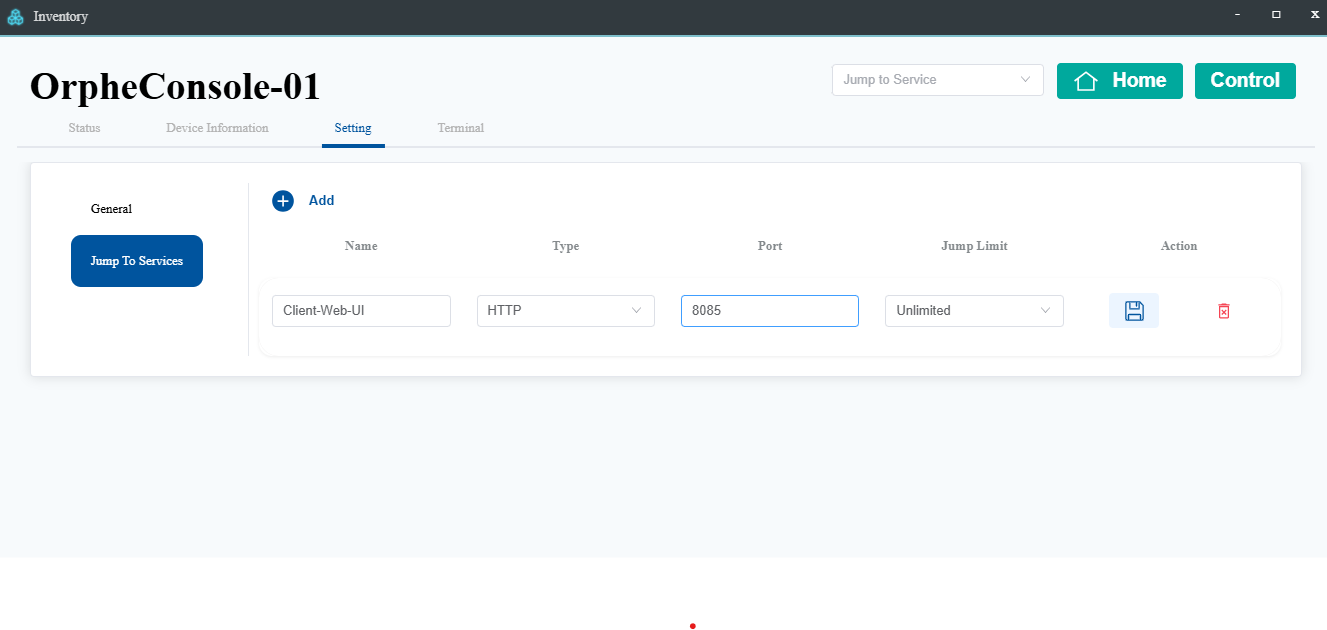
3. Configure Jump to Service in OrpheLink
- Sign in to OrpheLink and click Inventory.
- Click the device name.
- Open Setting.
- Select the Jump to Service settings.
- Click Add to add a service.
- Click the save icon.
- Select Client-Web-UI from the Jump to Service list.
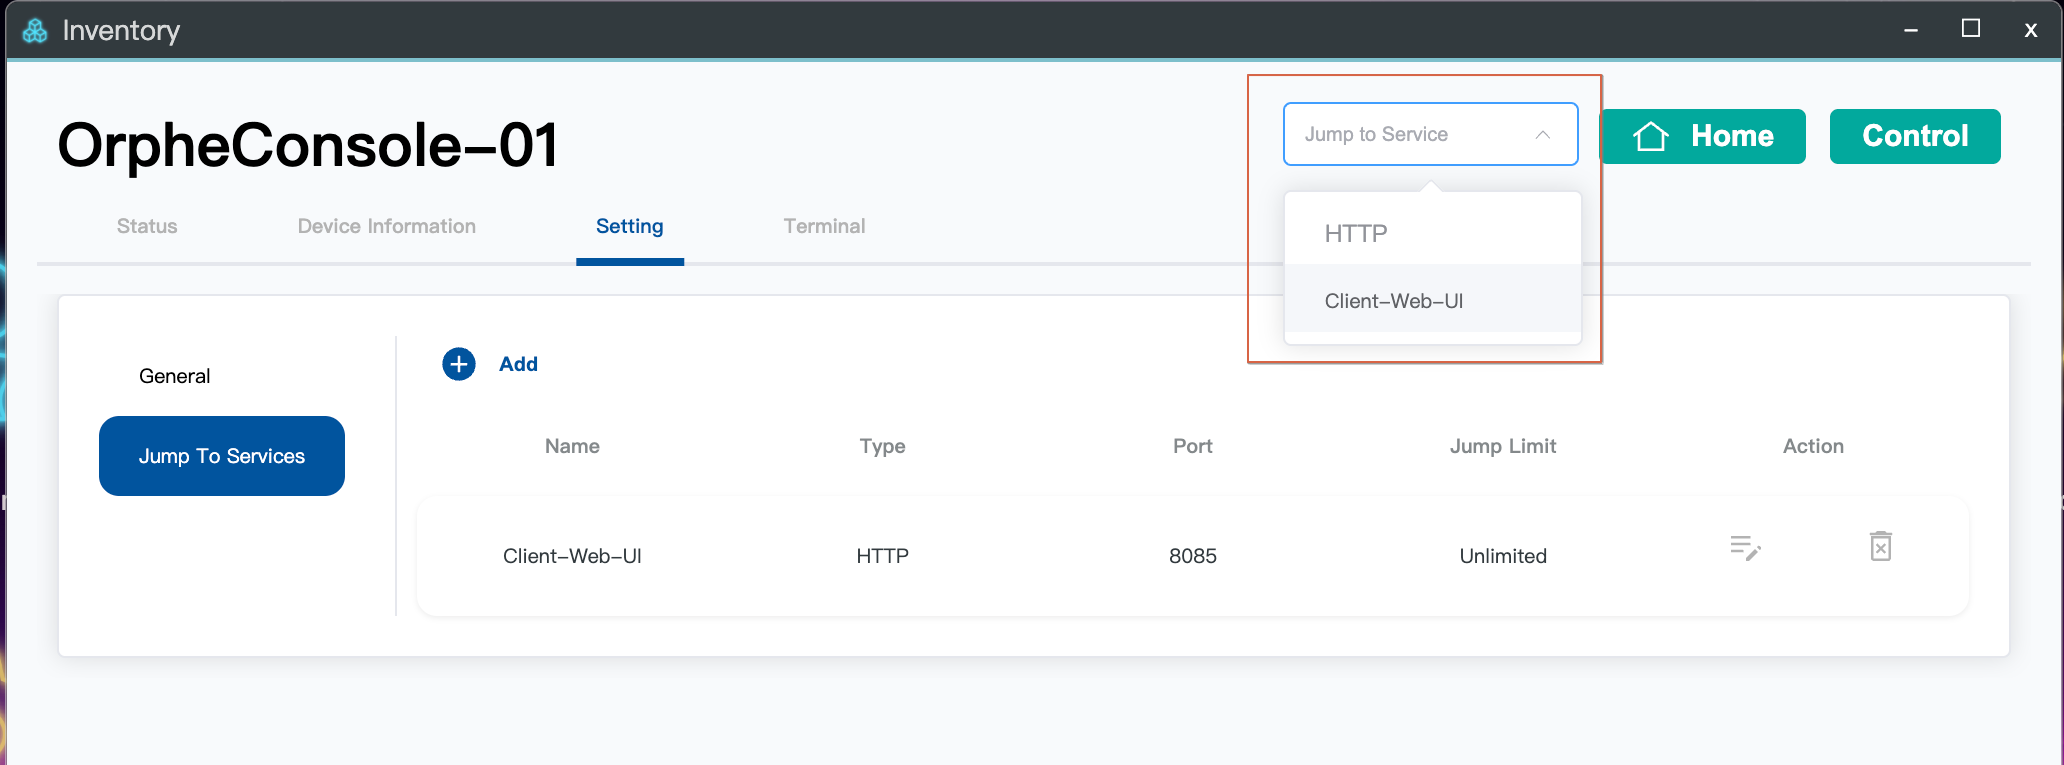
You can now access the DUT's OpenWrt LuCI Web UI remotely through OrpheLink.